Piñata Party!
First of all I want to say, piñatas are awesome! Nothing makes a party like beating on some inanimate object until it spews candy. And until recently, it never occurred to me that people wouldn’t have access to a Mexican Mercado to pick one up or that they didn’t know how to make their own piñata.
This is one of the easiest family friendly projects to do and really you don’t need a “party” excuse to make your own this weekend.
All you need is: balloons, firm paper, newspaper cut in 2 inch wide strips, flour, water, a baking dish, sheets of crepe paper, glue, and any other embellishment you want to add.
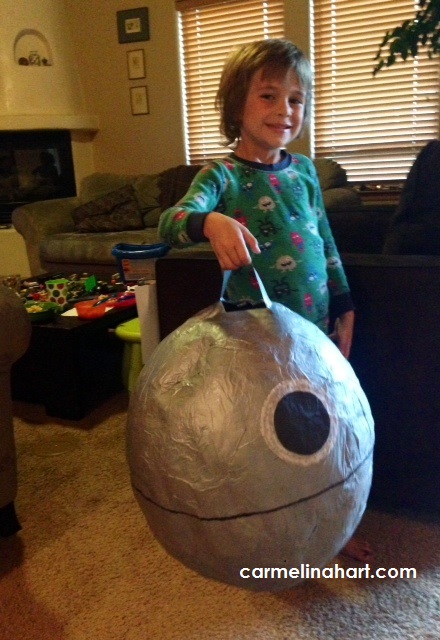
Step #1 – Decide what shape you want your piñata. Don’t go crazy with this first step, to ensure piñata success, keep it simple. We chose the Death Star, because everything we do involves Star Wars.

Step #2 – Blow. Balloons work great as a frame for your piñata and you can always use multiple balloons or firm paper to get the shape you want, just glue or twist them together. Luckily the Death Star is round (keep it simple).

Step #3 – In a long baking dish, combine flour and water together to create a paste. Work with it a little bit with your hands, you do want it the consistency of paste. The amount depends on the size of your project and the good news, if you run out, just make more, it you have too much, it’s just flour, throw it out.
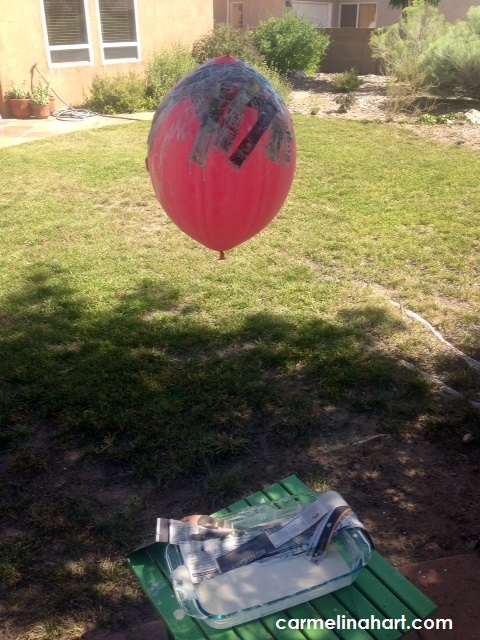
Step # 4 – Dip the strips of newspaper in the paste, remove the excess, drape it on the frame and smooth it out. Repeat the process until your frame is almost completely covered. Be sure to leave a hole on the top, so you can load it with candy.
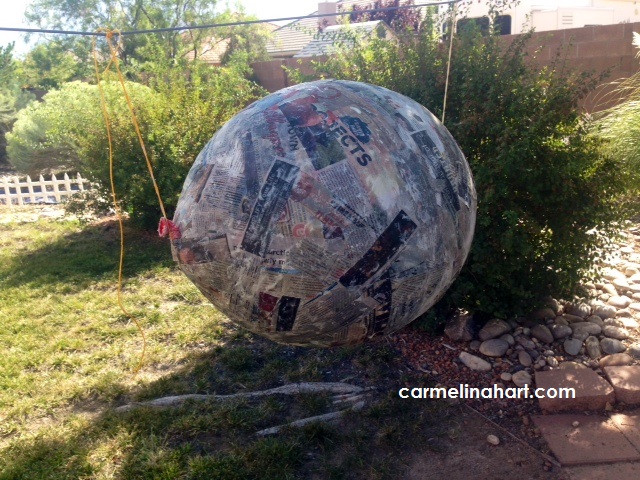
Step # 5 – Let it dry. Completely! Then pop the balloon. It might just pop by itself and scare the piñata stuffing out of you!

Step # 6 – Decorate it with crepe paper. We made our Death Star smooth and glued large pieces of the paper on the surface, then smoothed it out. But, it is very common to cut the crepe paper into 1×1 inch squares and use a pencil to apply the decorative paper. Just take the pencil eraser place it in the center of the square and cinch the paper it around, then dip it in a little glue and apply it to the “naked piñata.” Make sure to cover all of the newspaper.
Step # 7 – More drying. Yaaaawn!
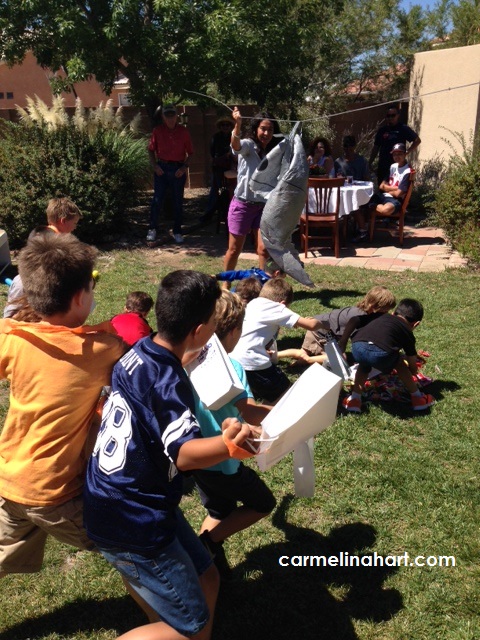
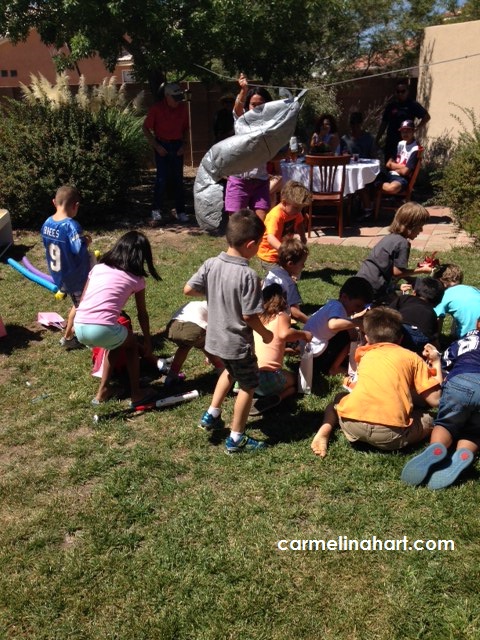
Step # 8 – Fill it with candy and cover the hole with a piece of crepe paper. Instant party! Hang it up, grab a bat and give it a smack. Adult supervision is suggested, watch who’s swinging the bat and where it goes once the candy is flying. You might be surprised how quickly a party ends when someone gets hit with a bat.
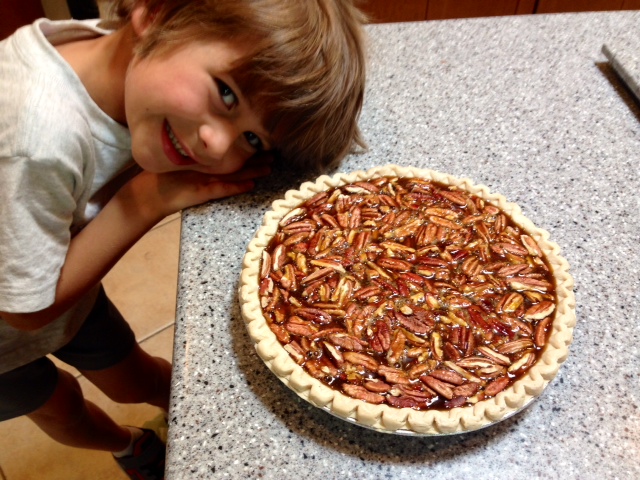
Smiley Pie Face! A kid friendly pie pecan.
This Summer I have decided that Azul and I are going to do as much as we can, and sometimes one activity leads to another. Luckily, I have an aunt who owns a pecan farm in Southern New Mexico, so visiting her was on our Summer break list. We stayed the weekend and had a blast!
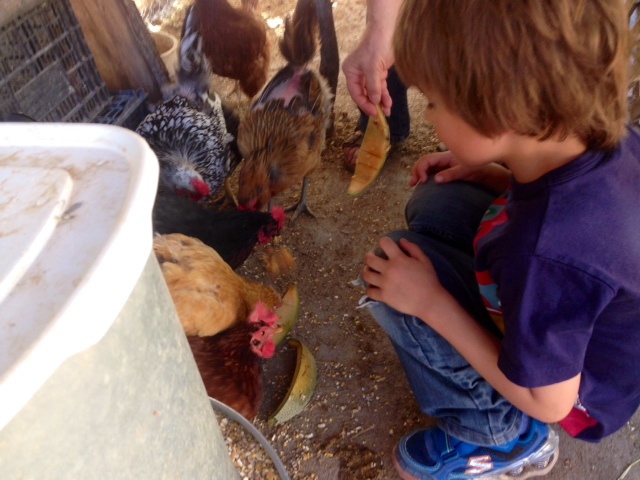
Azul was able to interact with the animals, feed the chickens and collect their eggs.
He ran in the mud in-between the freshly irrigated pecan trees.

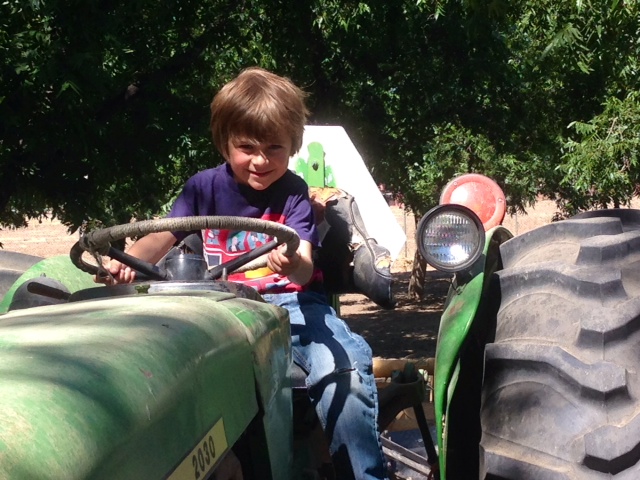
And he was able to get on the tractor.
We made out like bandits that weekend, and upon our return home we relished in all our booty.

Fresh eggs and pecans!
The next question was, what do we do with all of this? After much consideration, we decided to make pies. This was not on the original Summer break list, but a welcomed addition.
This recipe is from America’s Test Kitchen. It’s super kid friendly and delicious. Of course, you don’t have to visit a pecan farm in order to complete this recipe and bonus, no corn syrup needed.
This is what you do need:
1 cup maple syrup
1 cup packed light brown sugar
½ cup heavy cream
1 tablespoon molasses
4 tablespoons unsalted butter, cut in pieces
½ teaspoon salt
6 egg yolks, lightly beaten
1 ½ cups pecans, toasted and chopped
9 inch unbaked pie shell
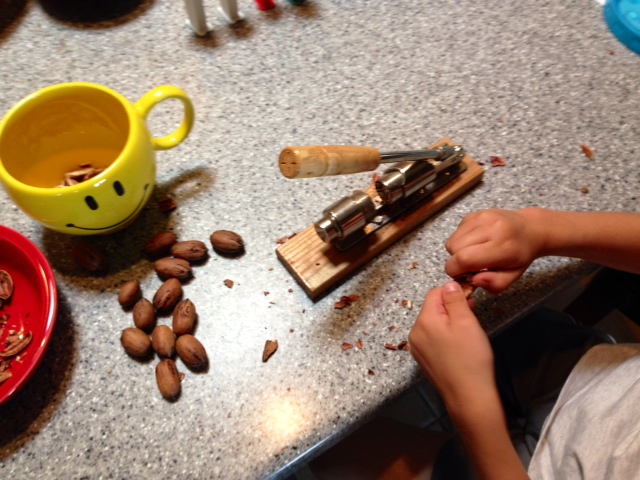
Step 1 – Shell the nuts (if your nuts are shelled skip to Step 2) This took us about an hour and my little helper started strong, but after about ten minutes he said with a stretch of his arms, “Ahhh! I need to take a break.” And he moved from the kitchen counter to the couch. I continued cracking. I did hear a small voice proclaim, “Nothing’s better than sitting back and listening to nut cracks! How relaxing!” He did say, “nut cracks,” that was not a typo. If you can get your kids to stay longer, more power to you!
Step 2 – Pre-heat oven to 450 and adjust the oven rack to the lowest level.
Step 3 – Make the filling by heating the syrup, sugar, cream and molasses in a saucepan over medium heat stirring occasionally until the sugar dissolves. Slowly stirring can be a perfect chore for your child. Keep in mind, they’re at the stove.
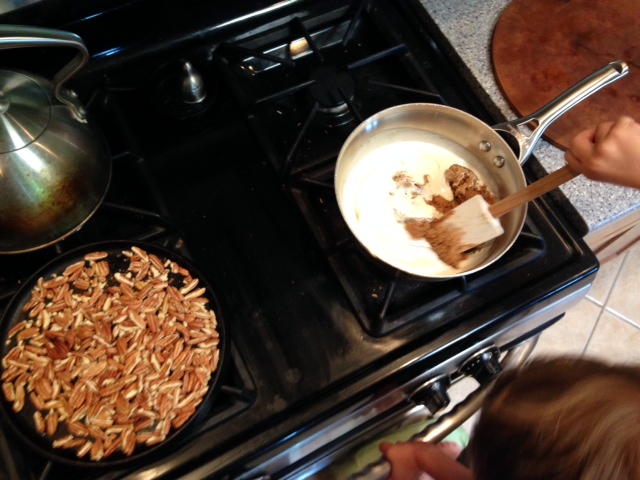
Step 4 – Lightly toast the nuts and remove them from the heat.
Step 5 – Remove the filling from the heat and let cool for five minutes. Then whisk in butter and salt until combined. Next whisk in eggs yolks until incorporated. More stirring and more kid participation. Yay!
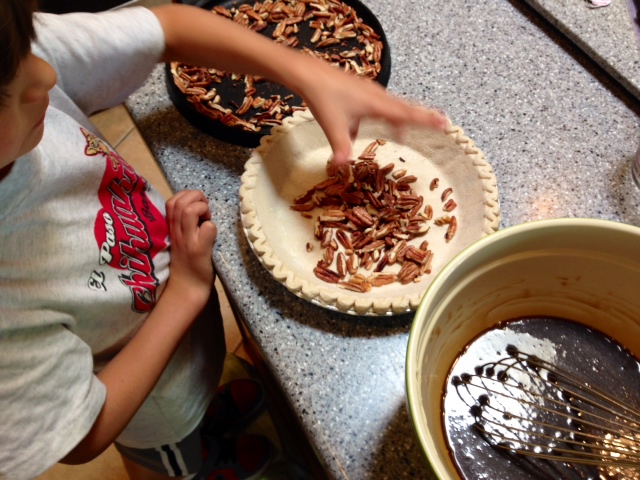
Step 6 – Scatter pecans in the pie shell and carefully pour filling over the nuts. The scattering can be done by your child without any concerns of injury. I suggest you do the pouring.
Step 7 – Place the pie in the hot oven and immediately reduce the temperature to 325. Bake for 45 to 60 minutes, until filling is set and center slightly jiggles when gently shaken. This is all you parent.
Step 8 – Cool pie on a rack for one hour, then refrigerate for three hours to set. This seems to take an eternity!

Step 9 – Eat! Bring it to room temperature before serving. Everyone gets to do this. Unless you have a nut allergy! And if you do, this is not the pie for you.
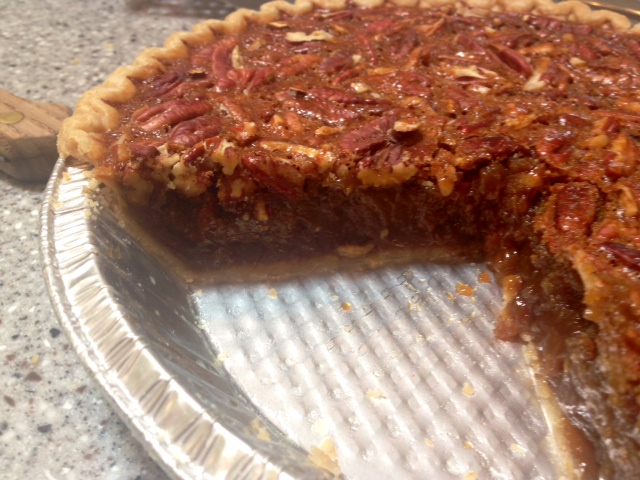
My five year-old loved it so much he said, “I want this for my birthday instead of cake!”
It’ll bring a smile to your face!
Best Kids Valentine’s Day Cards Ever!
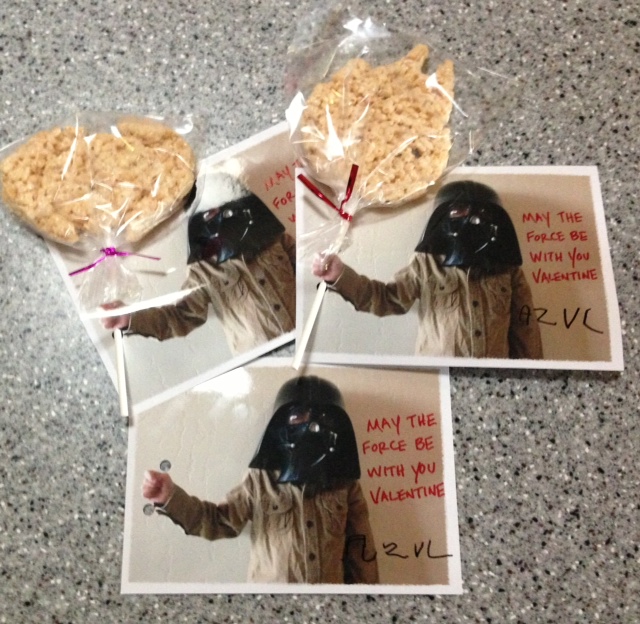
Super easy and super cool, in five steps.
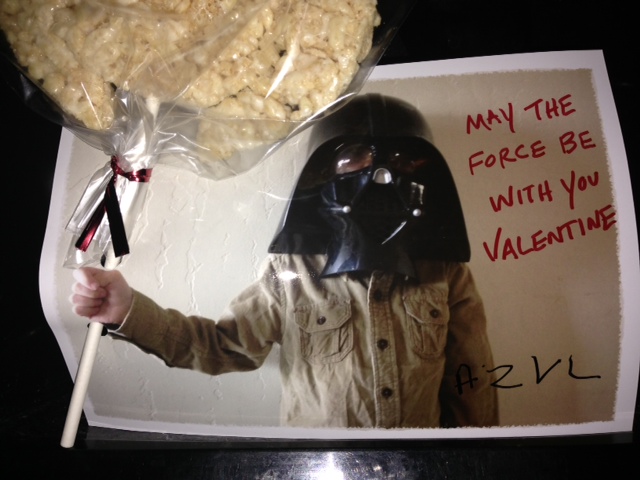
Step 1 – Take a picture of your child holding their arm out and their hand in a fist.

If you would like to choose a theme it will add to the card. We chose Star Wars, of course. Print the pictures in 5×7 landscape style. Print as many pictures as you need cards. Yay! That was cheap and easy.
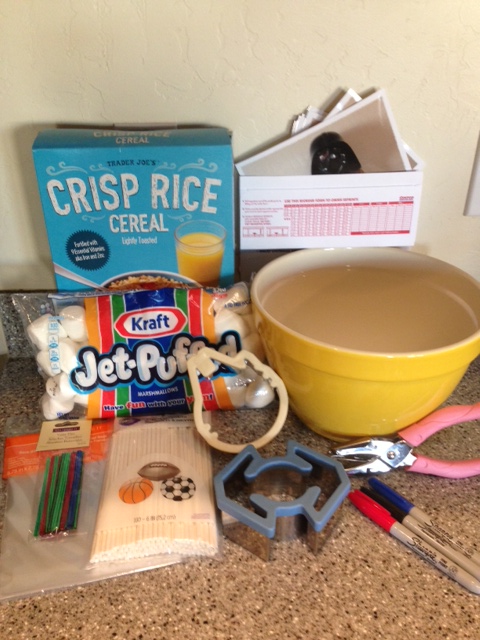
Step 2 – Gather all of your supplies. You will need:
 The pictures
Sharpies
A hole punch
Lollipop sticks
Small plastic bags
Twist ties
Cookie cutters
And the ingredients for the Rice Crispy Treats (Rice Crispies, marshmallows and butter)
Done and done!
Step 3 – Prepare the cards.
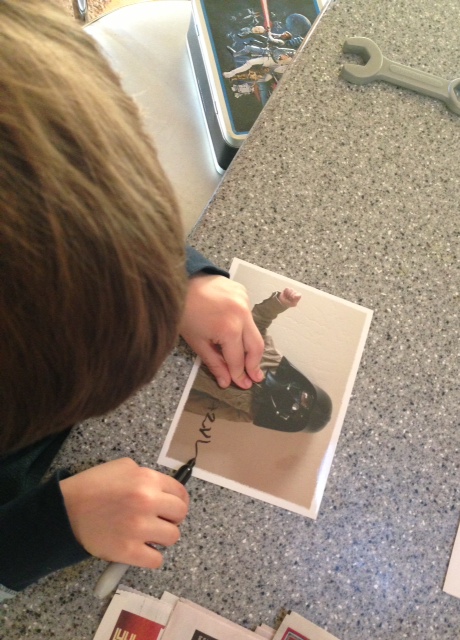
Write your child’s Valentine greeting on the 5×7 picture or let them write it if they can or some combination of both. Then punch two holes in the card, one above the hand and one below. Whew! Everyone was able to do something on this step.
Step 4 – Make the Rice Crispy Treats and let cool completely in the pan. Butter the cookie cutters and cut out the shapes. We used our Millennium Falcon and X-wing Fighter cookie cutters. Let the shapes cool in the refrigerator for 15 minutes. Next, melt one marshmallow, place the tip of a stick into the melted marshmallow, then immediately insert the sticky tip into the Treat, and repeat. Once all the Treats have their sticks firmly in place, individually put them in a bag and twist tie it closed. Don’t forget to eat the leftover pieces!
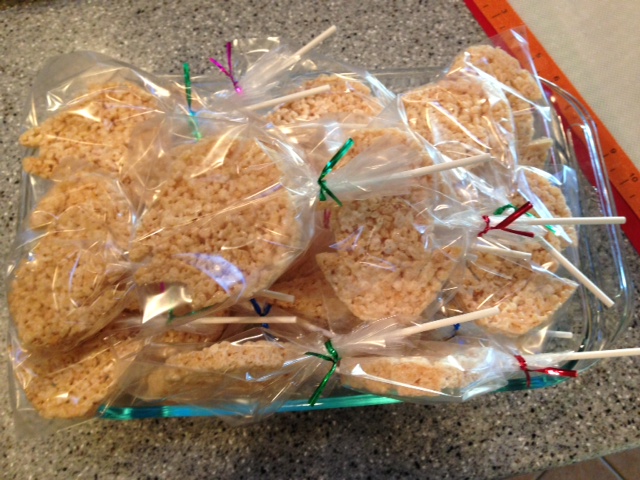
Step 5 – Finish the cards! Slide the stick from the Treat through the holes in the card, in the top hole and out the bottom hole and you have the Best Kids Valentine’s Day Cards Ever! May the Force be with you!