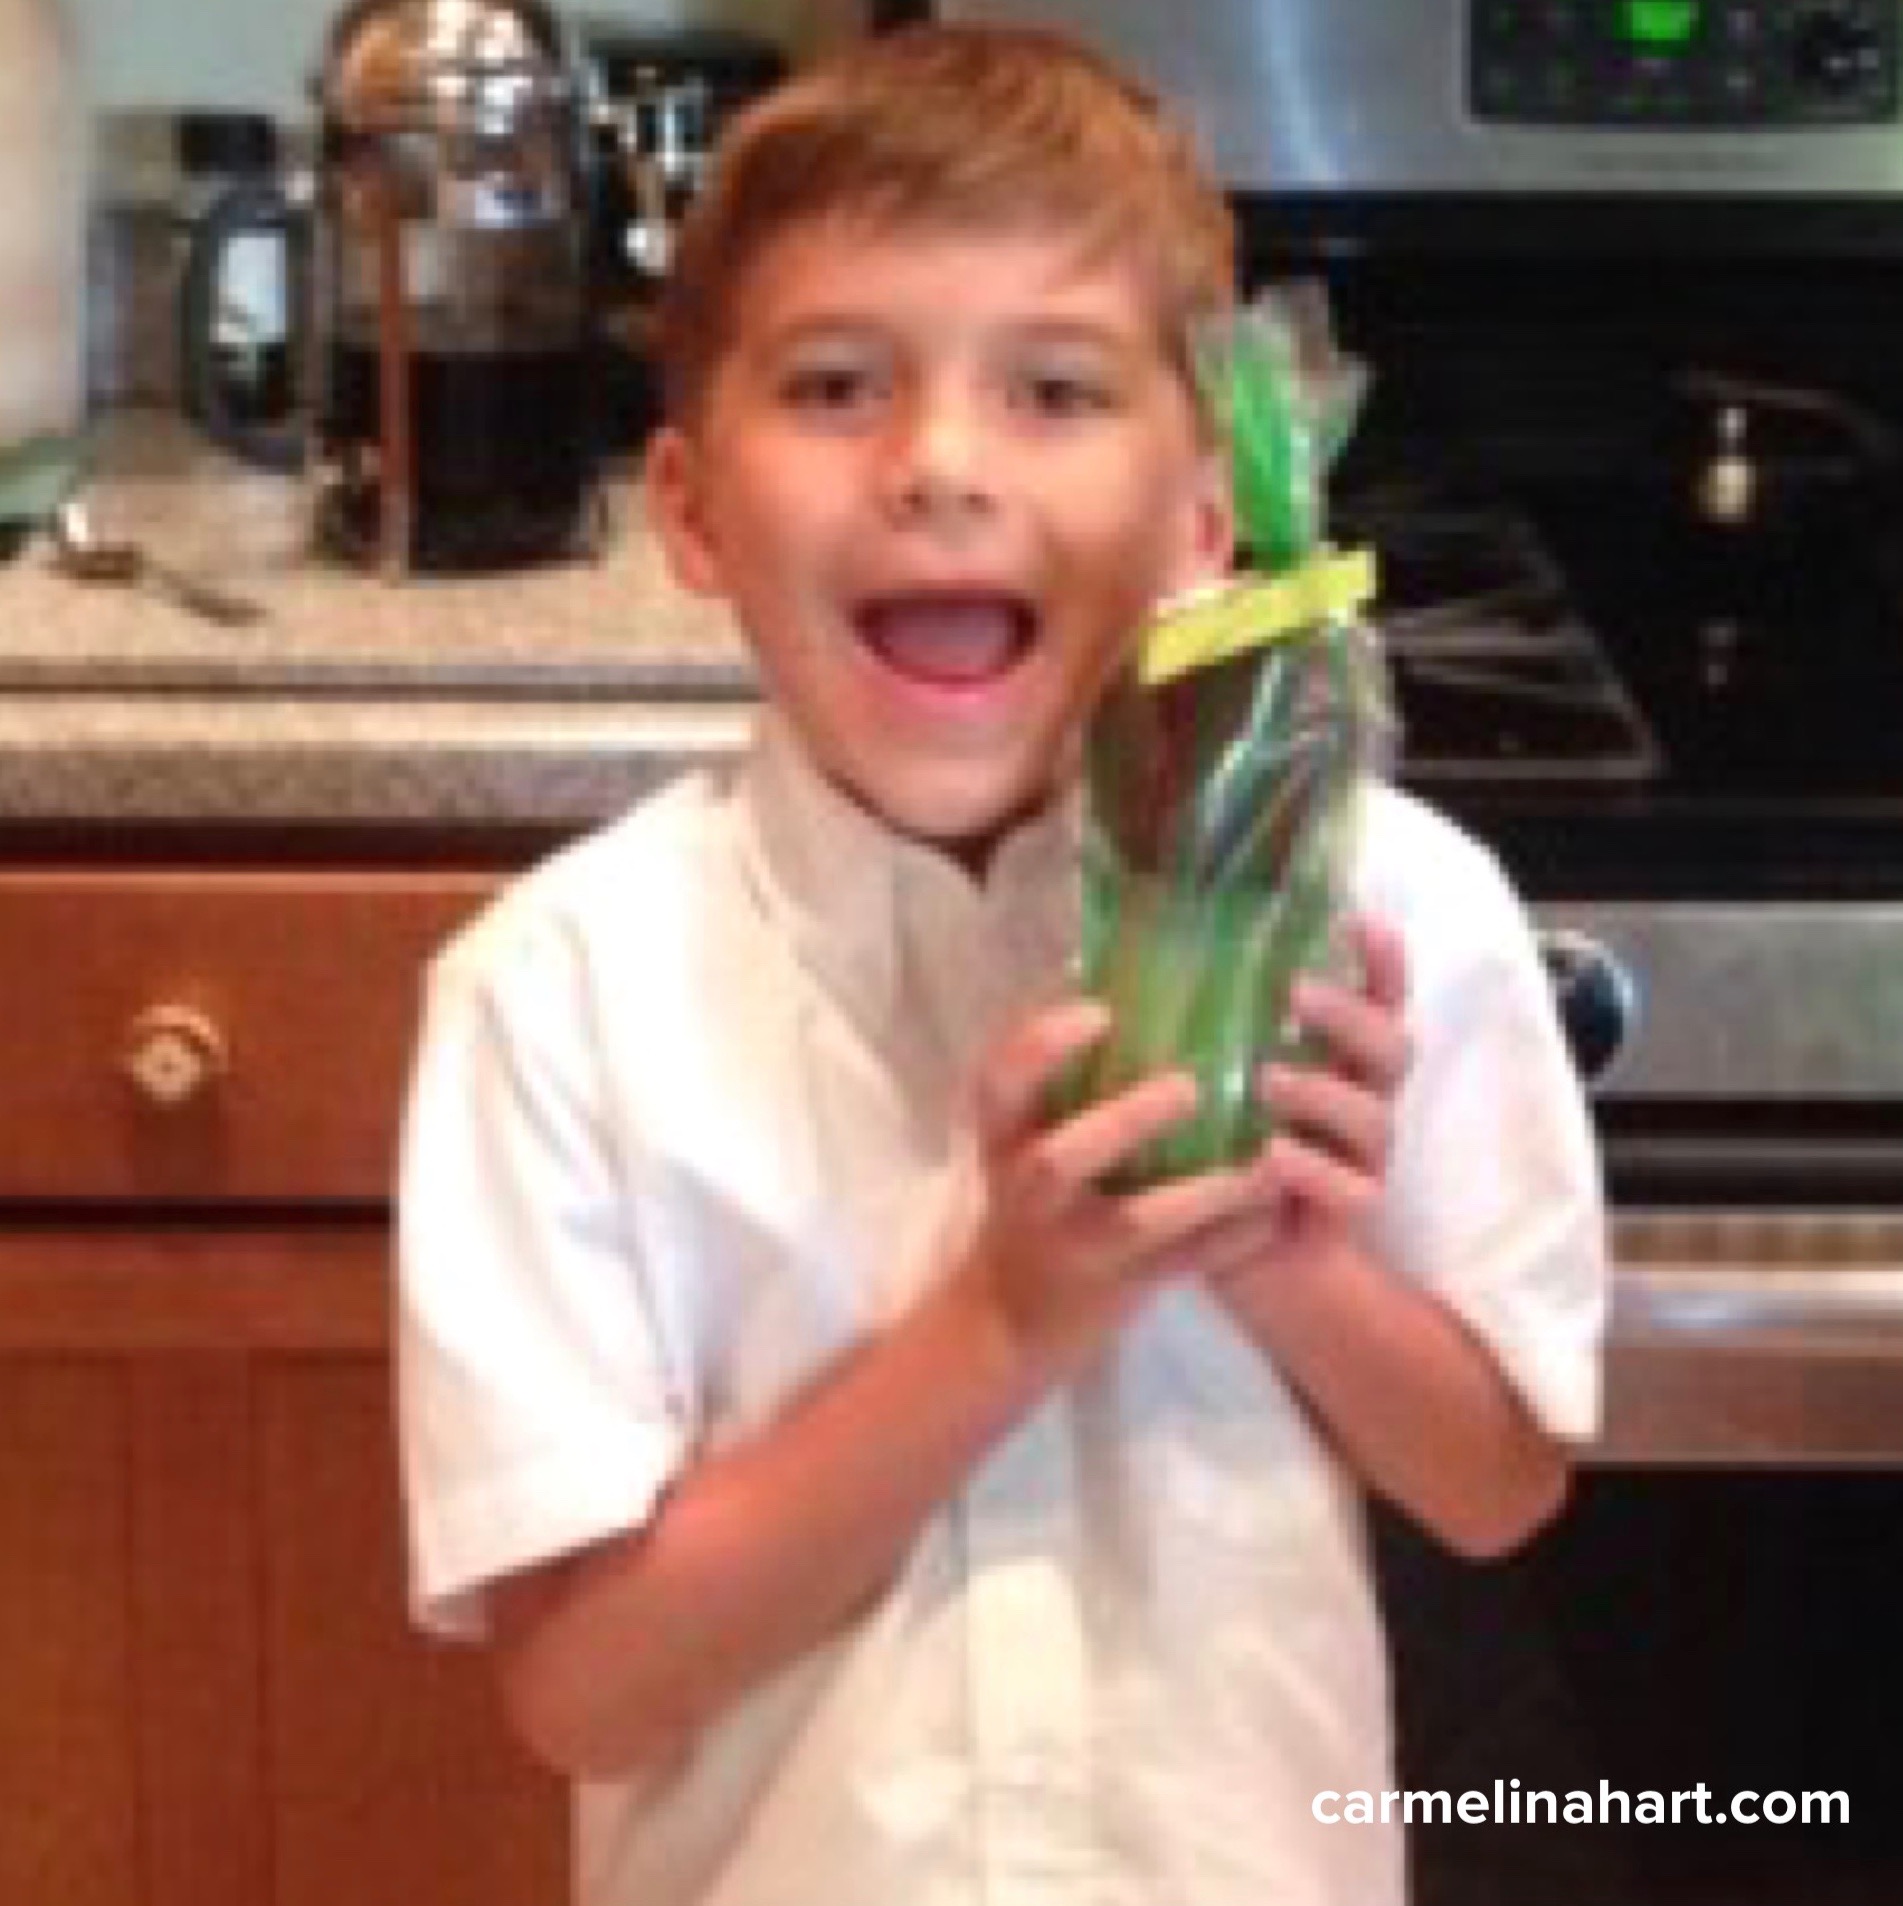
I Pick You To Be My Valentine
Valentine’s Day is one of our favorite holidays because we (okay, mostly me) love to make cards for Azul’s class. The ritual of actually making cards, came from his pre-school teacher when he was three. Her instructions were to make the cards and the entire family had to take part. Store-bought cards were allowed. So, not wanting to get in trouble with the pre-school teacher (you know how snotty they can be), we did as we were told and five years later, we still are.
This year’s project took some convincing and a little begging, things were thrown around like, “It’s the second grade, it’s not that gross, it’s funny, it’s just a play on words, come on, laugh, there’s candy” and then finally, “you won’t get an infraction, but if you do, I’ll tell the teacher it was my idea.” I used everything I had and succeeded, my eight year-old finally broke and we made the cards I wanted …
I pick you to be my Valentine, is this year’s theme.
 What you’ll need:
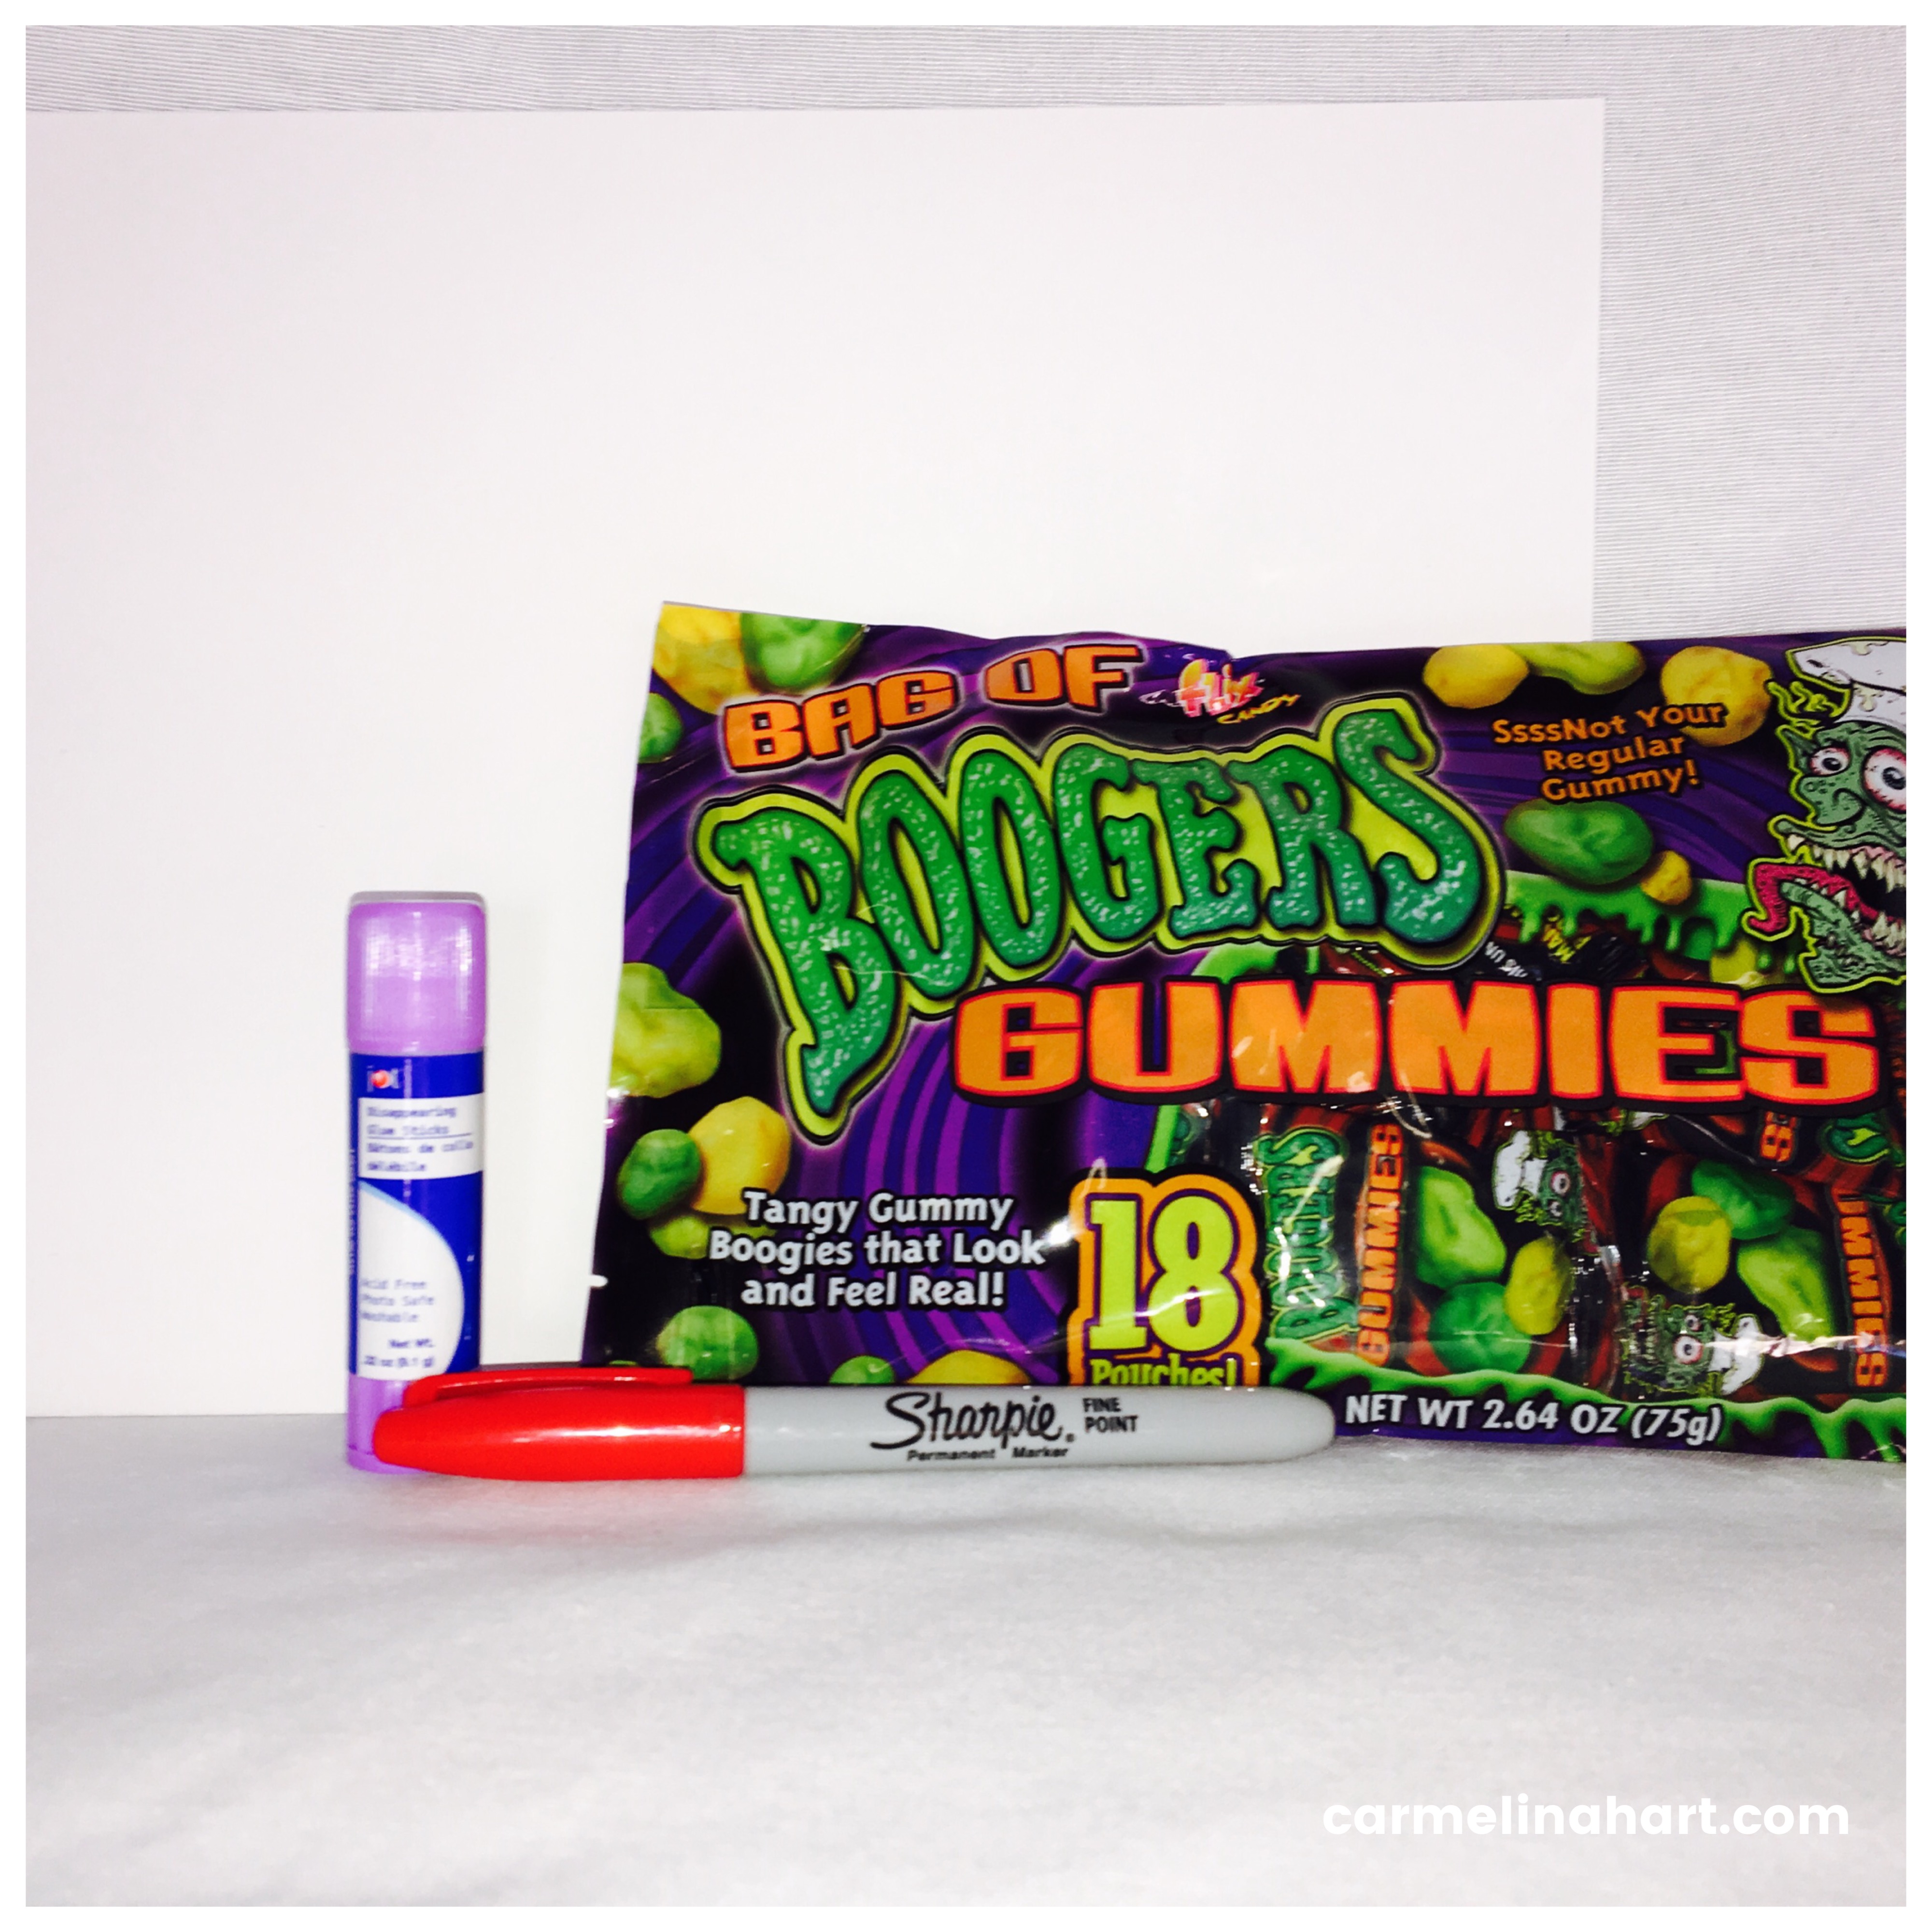
Bag of gummy boogers Candy, don’t be gross!
Sharpie
Glue stick
Card sock and Printer (If you print them yourself, like we did.)
Really, it’s not much!
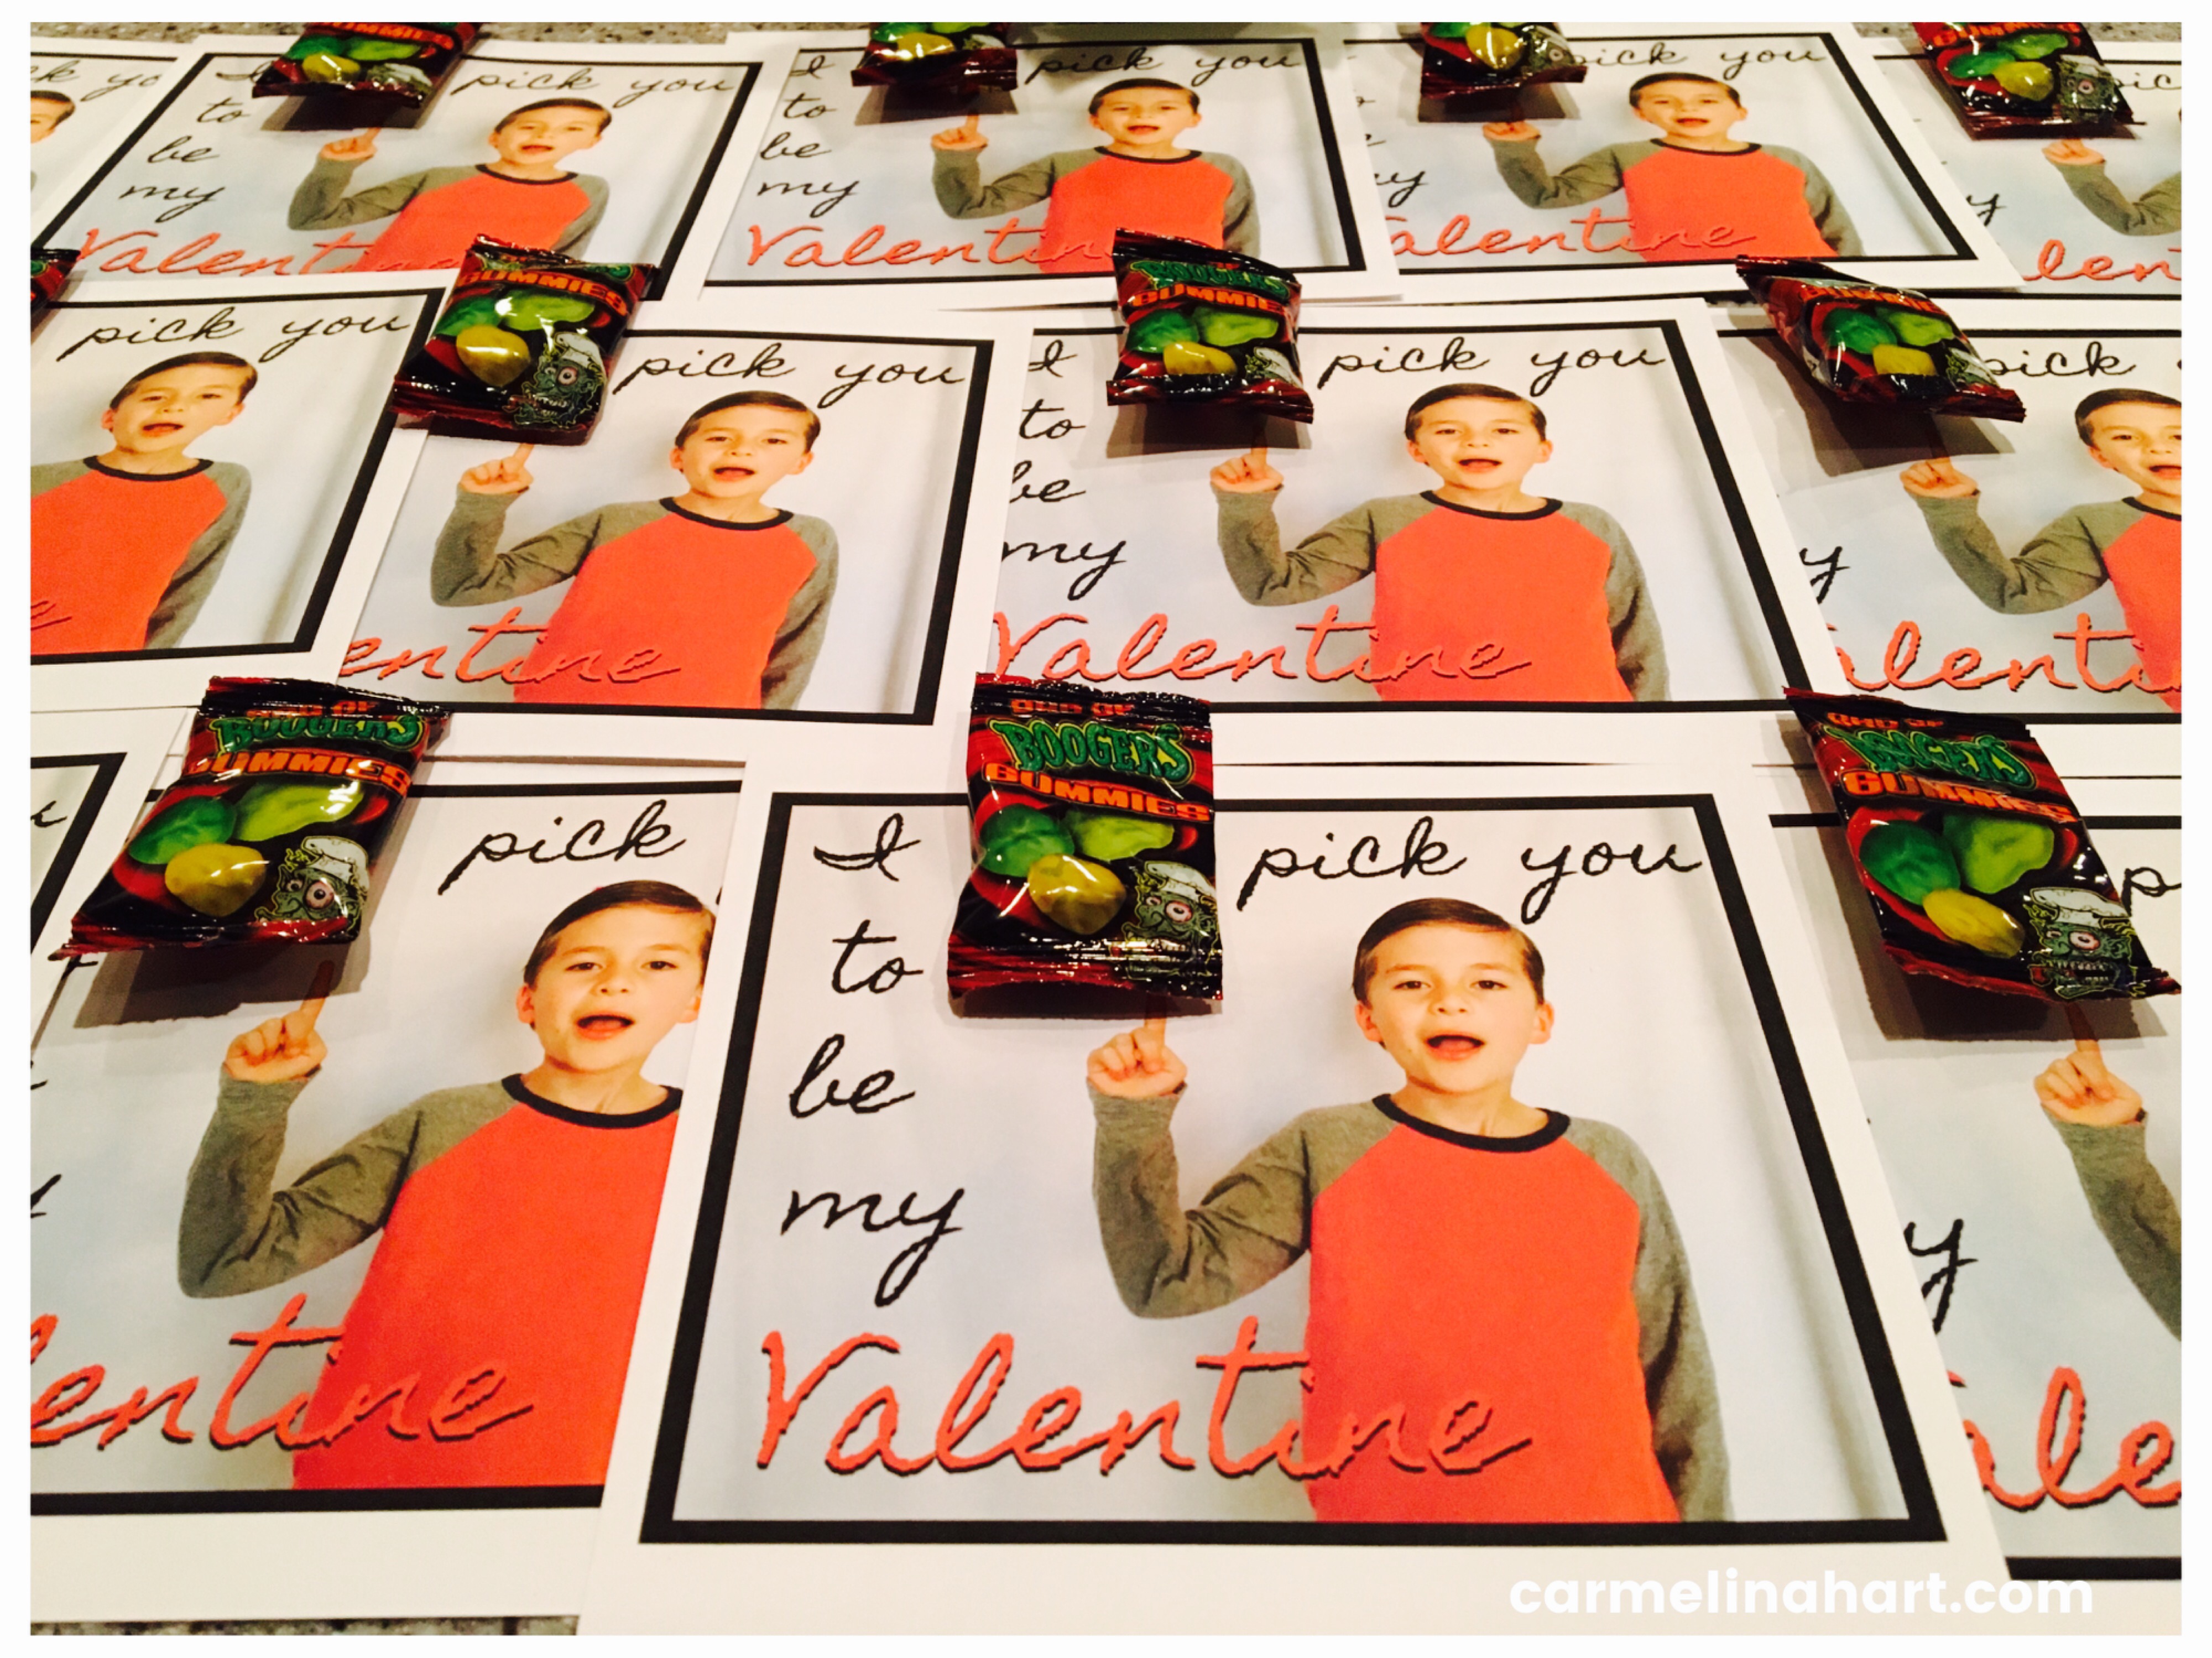
Step 1) We took a few pictures with different expressions, while he held his hand next to his shoulder and his index finger pointing up. And he picked the one he wanted to use.
 Step 2) I used a picture app to write the saying on the picture to complete the card.
Step 3) We printed the cards at about 5” x 6” two to each sheet of paper and cut them to size. You can also have them printed fairly inexpensively at places like Costco. 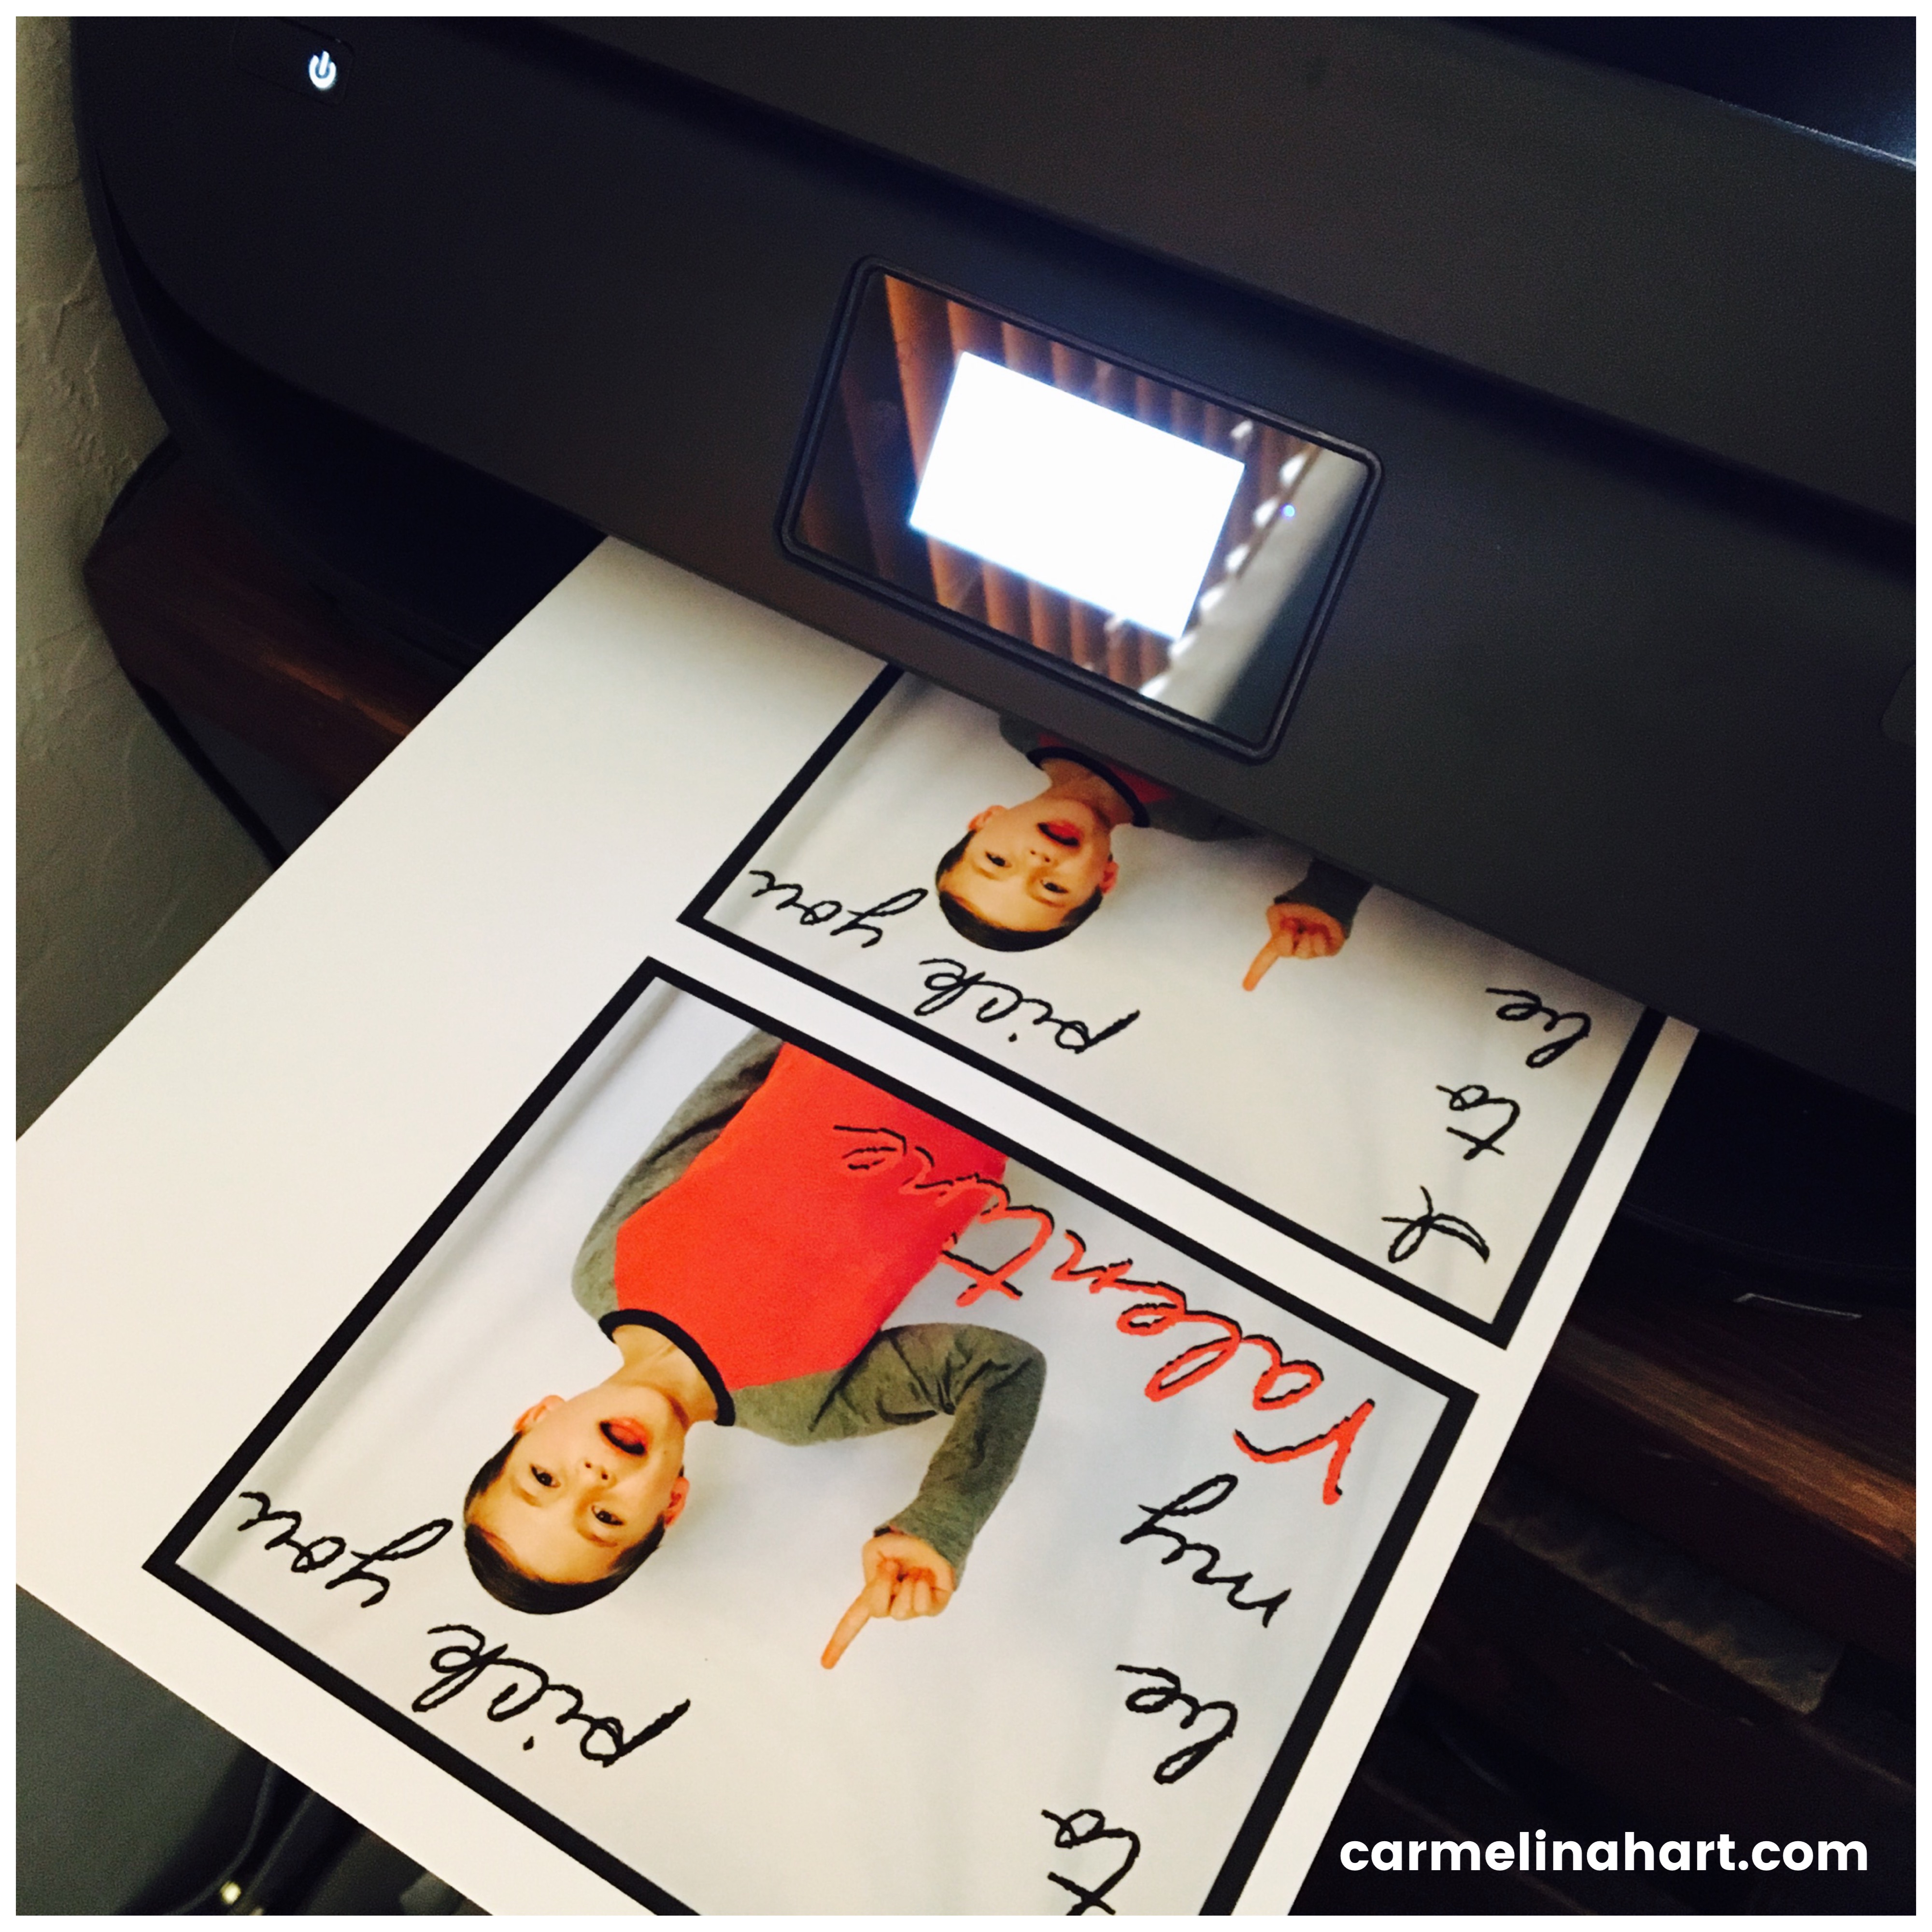 Step 4) He wrote the names of each of his friends in class, on the back of the cards.
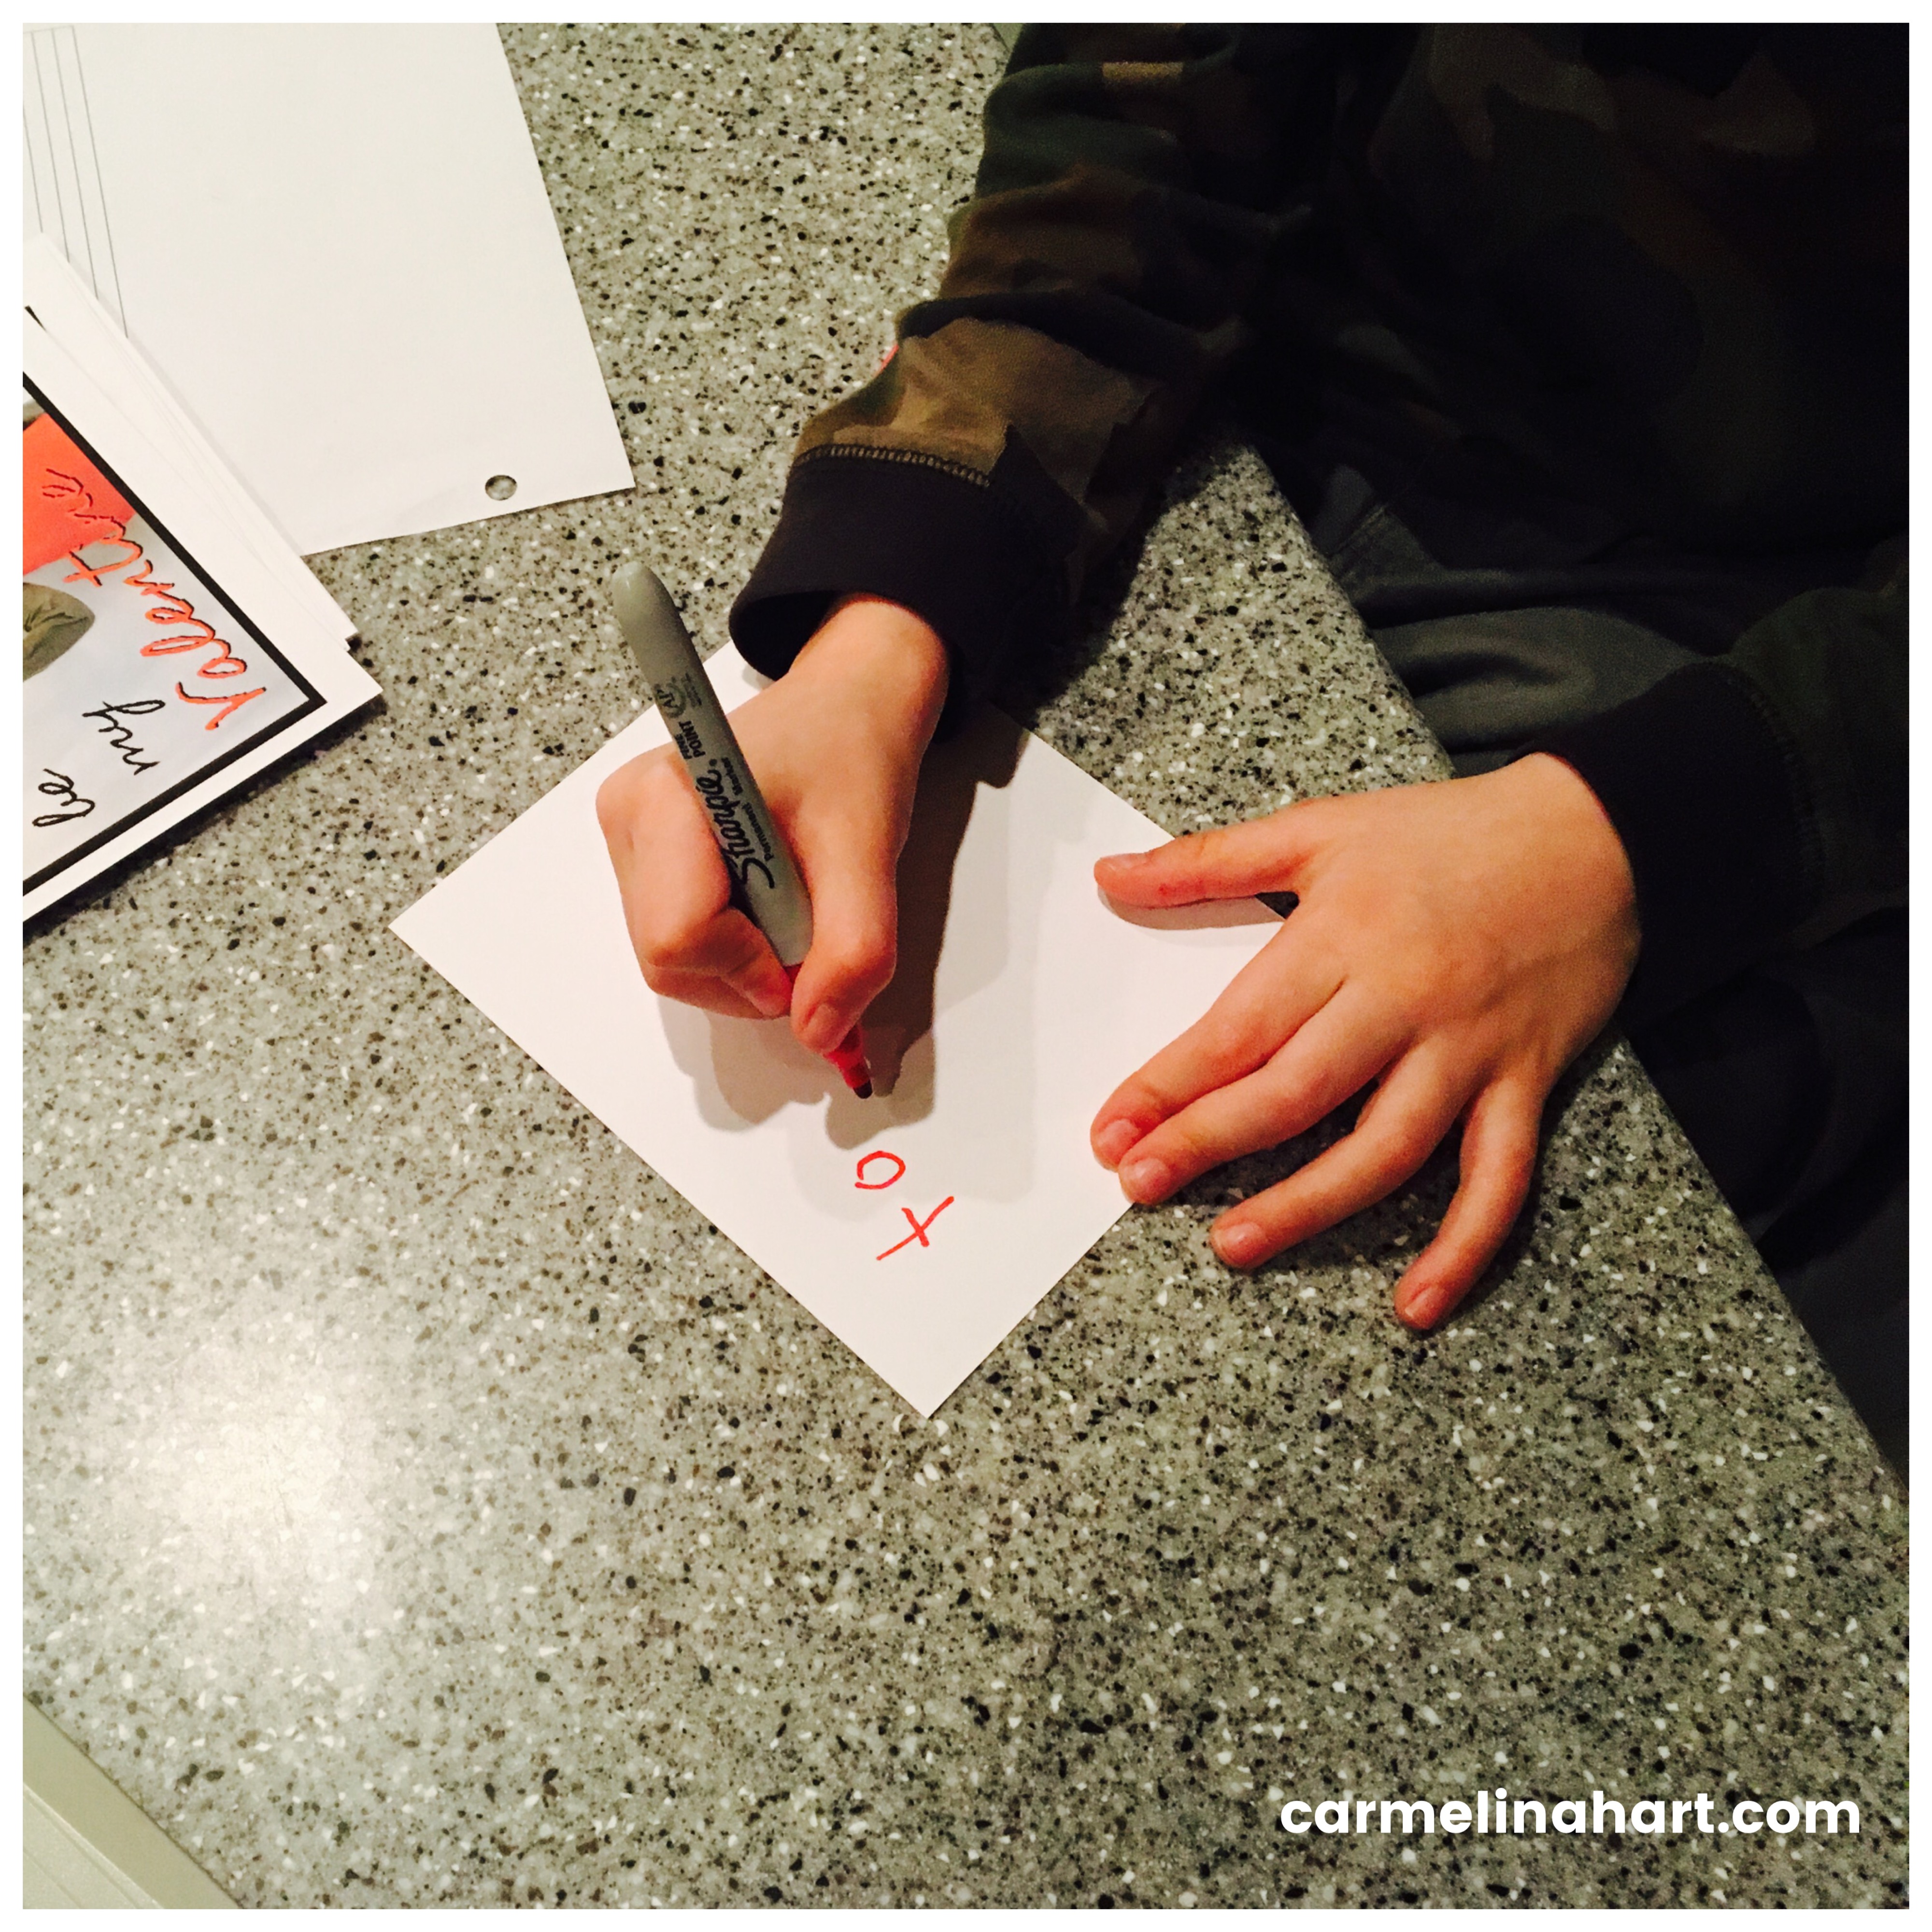
Step 5) Then he glued each small bag of gummy boogers to the tip of his finger on the card. I promise, it was glue!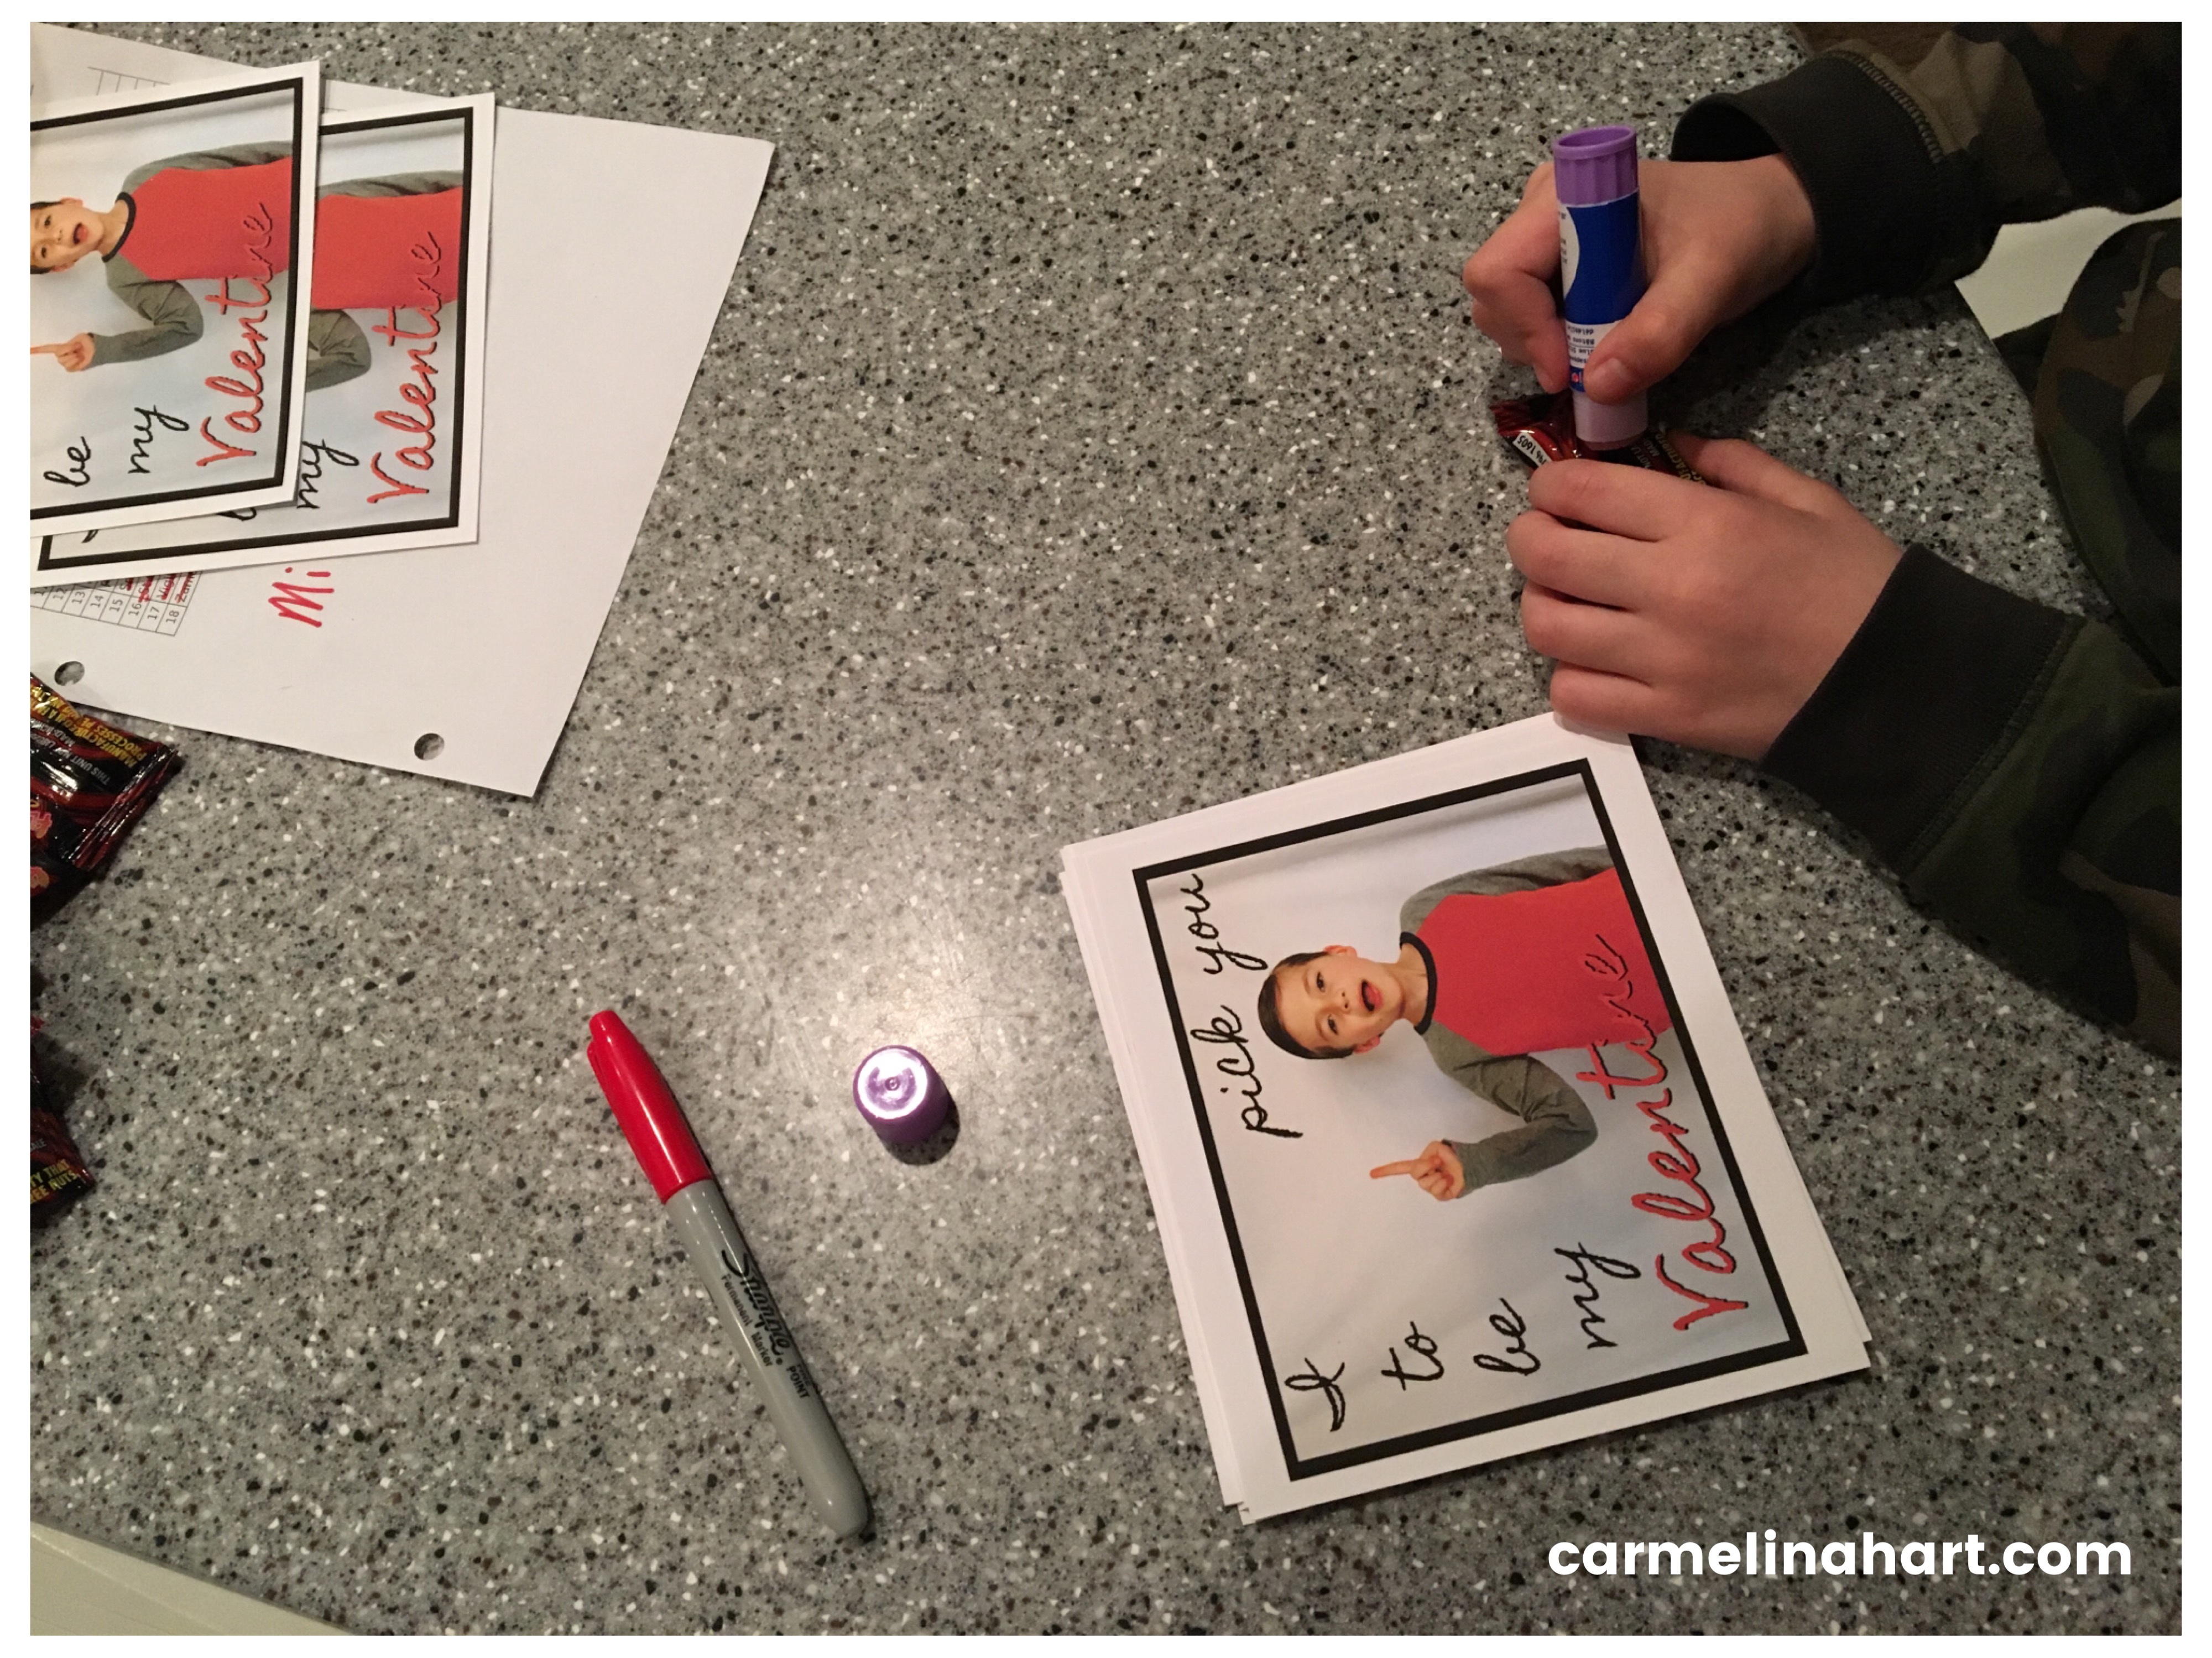
Step 6) We let them dry overnight.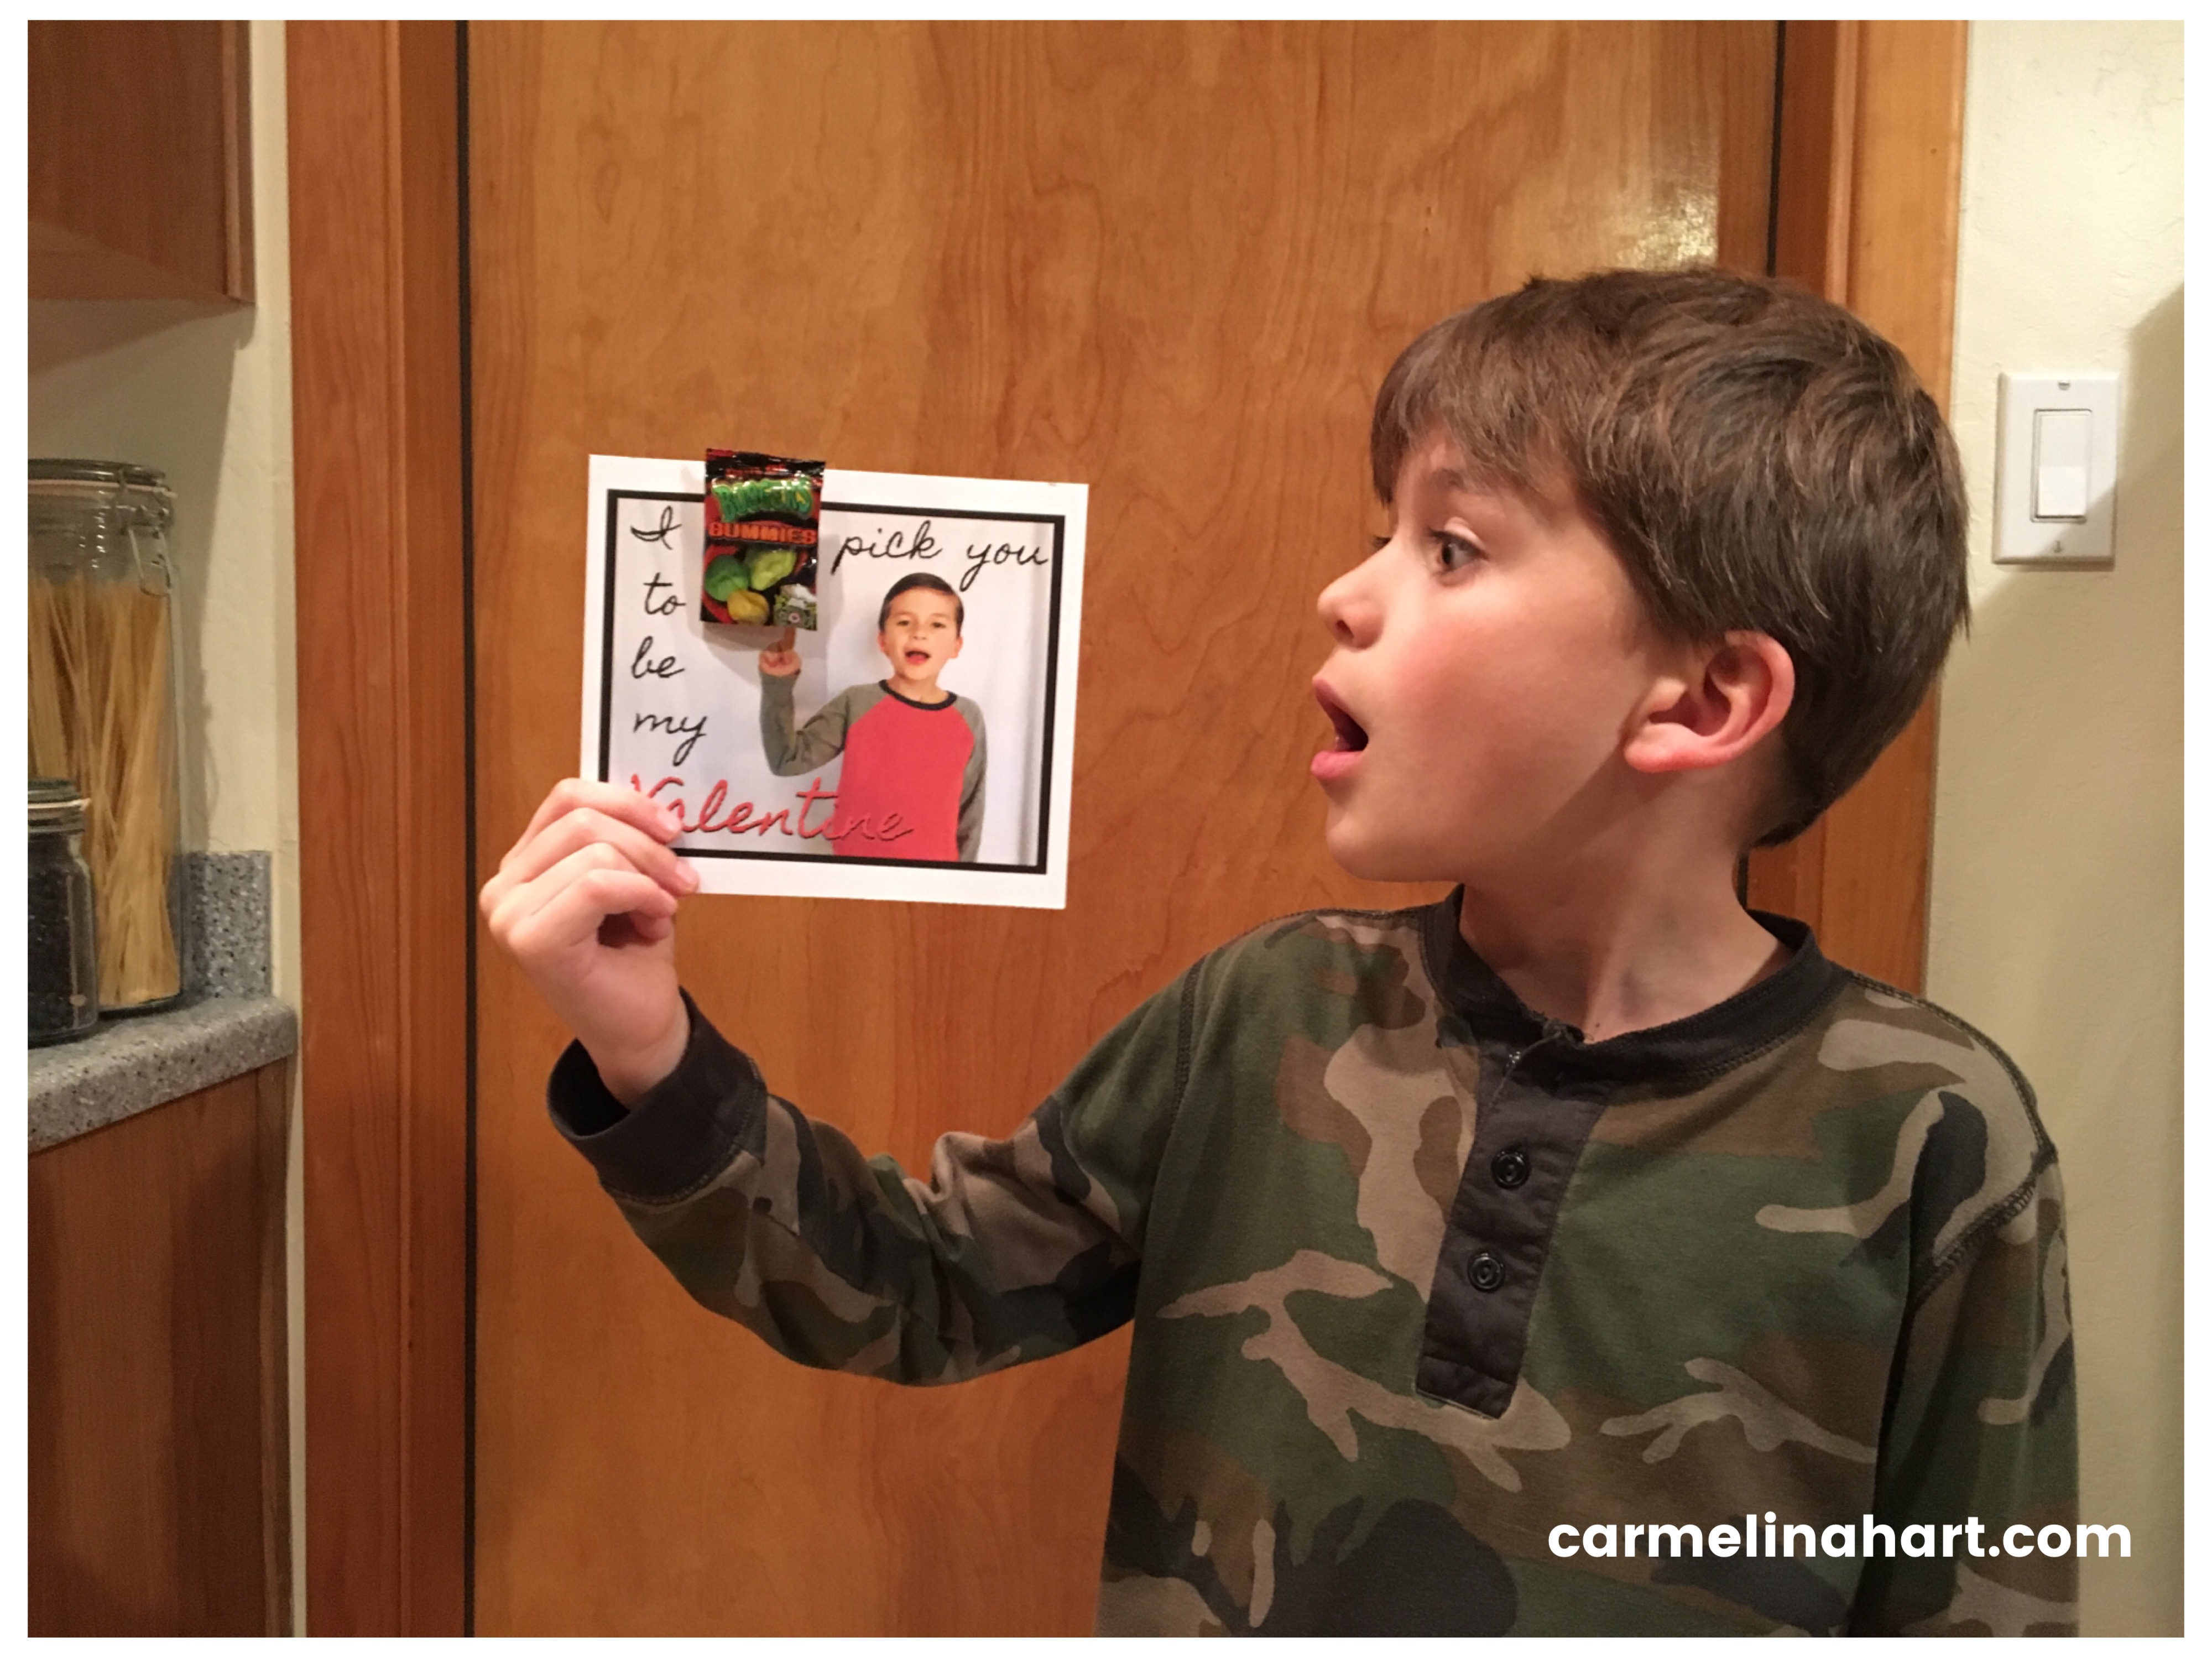 Azul, not wanting to get in trouble for being a little snot, decided to pick one for the teacher too. Good call!
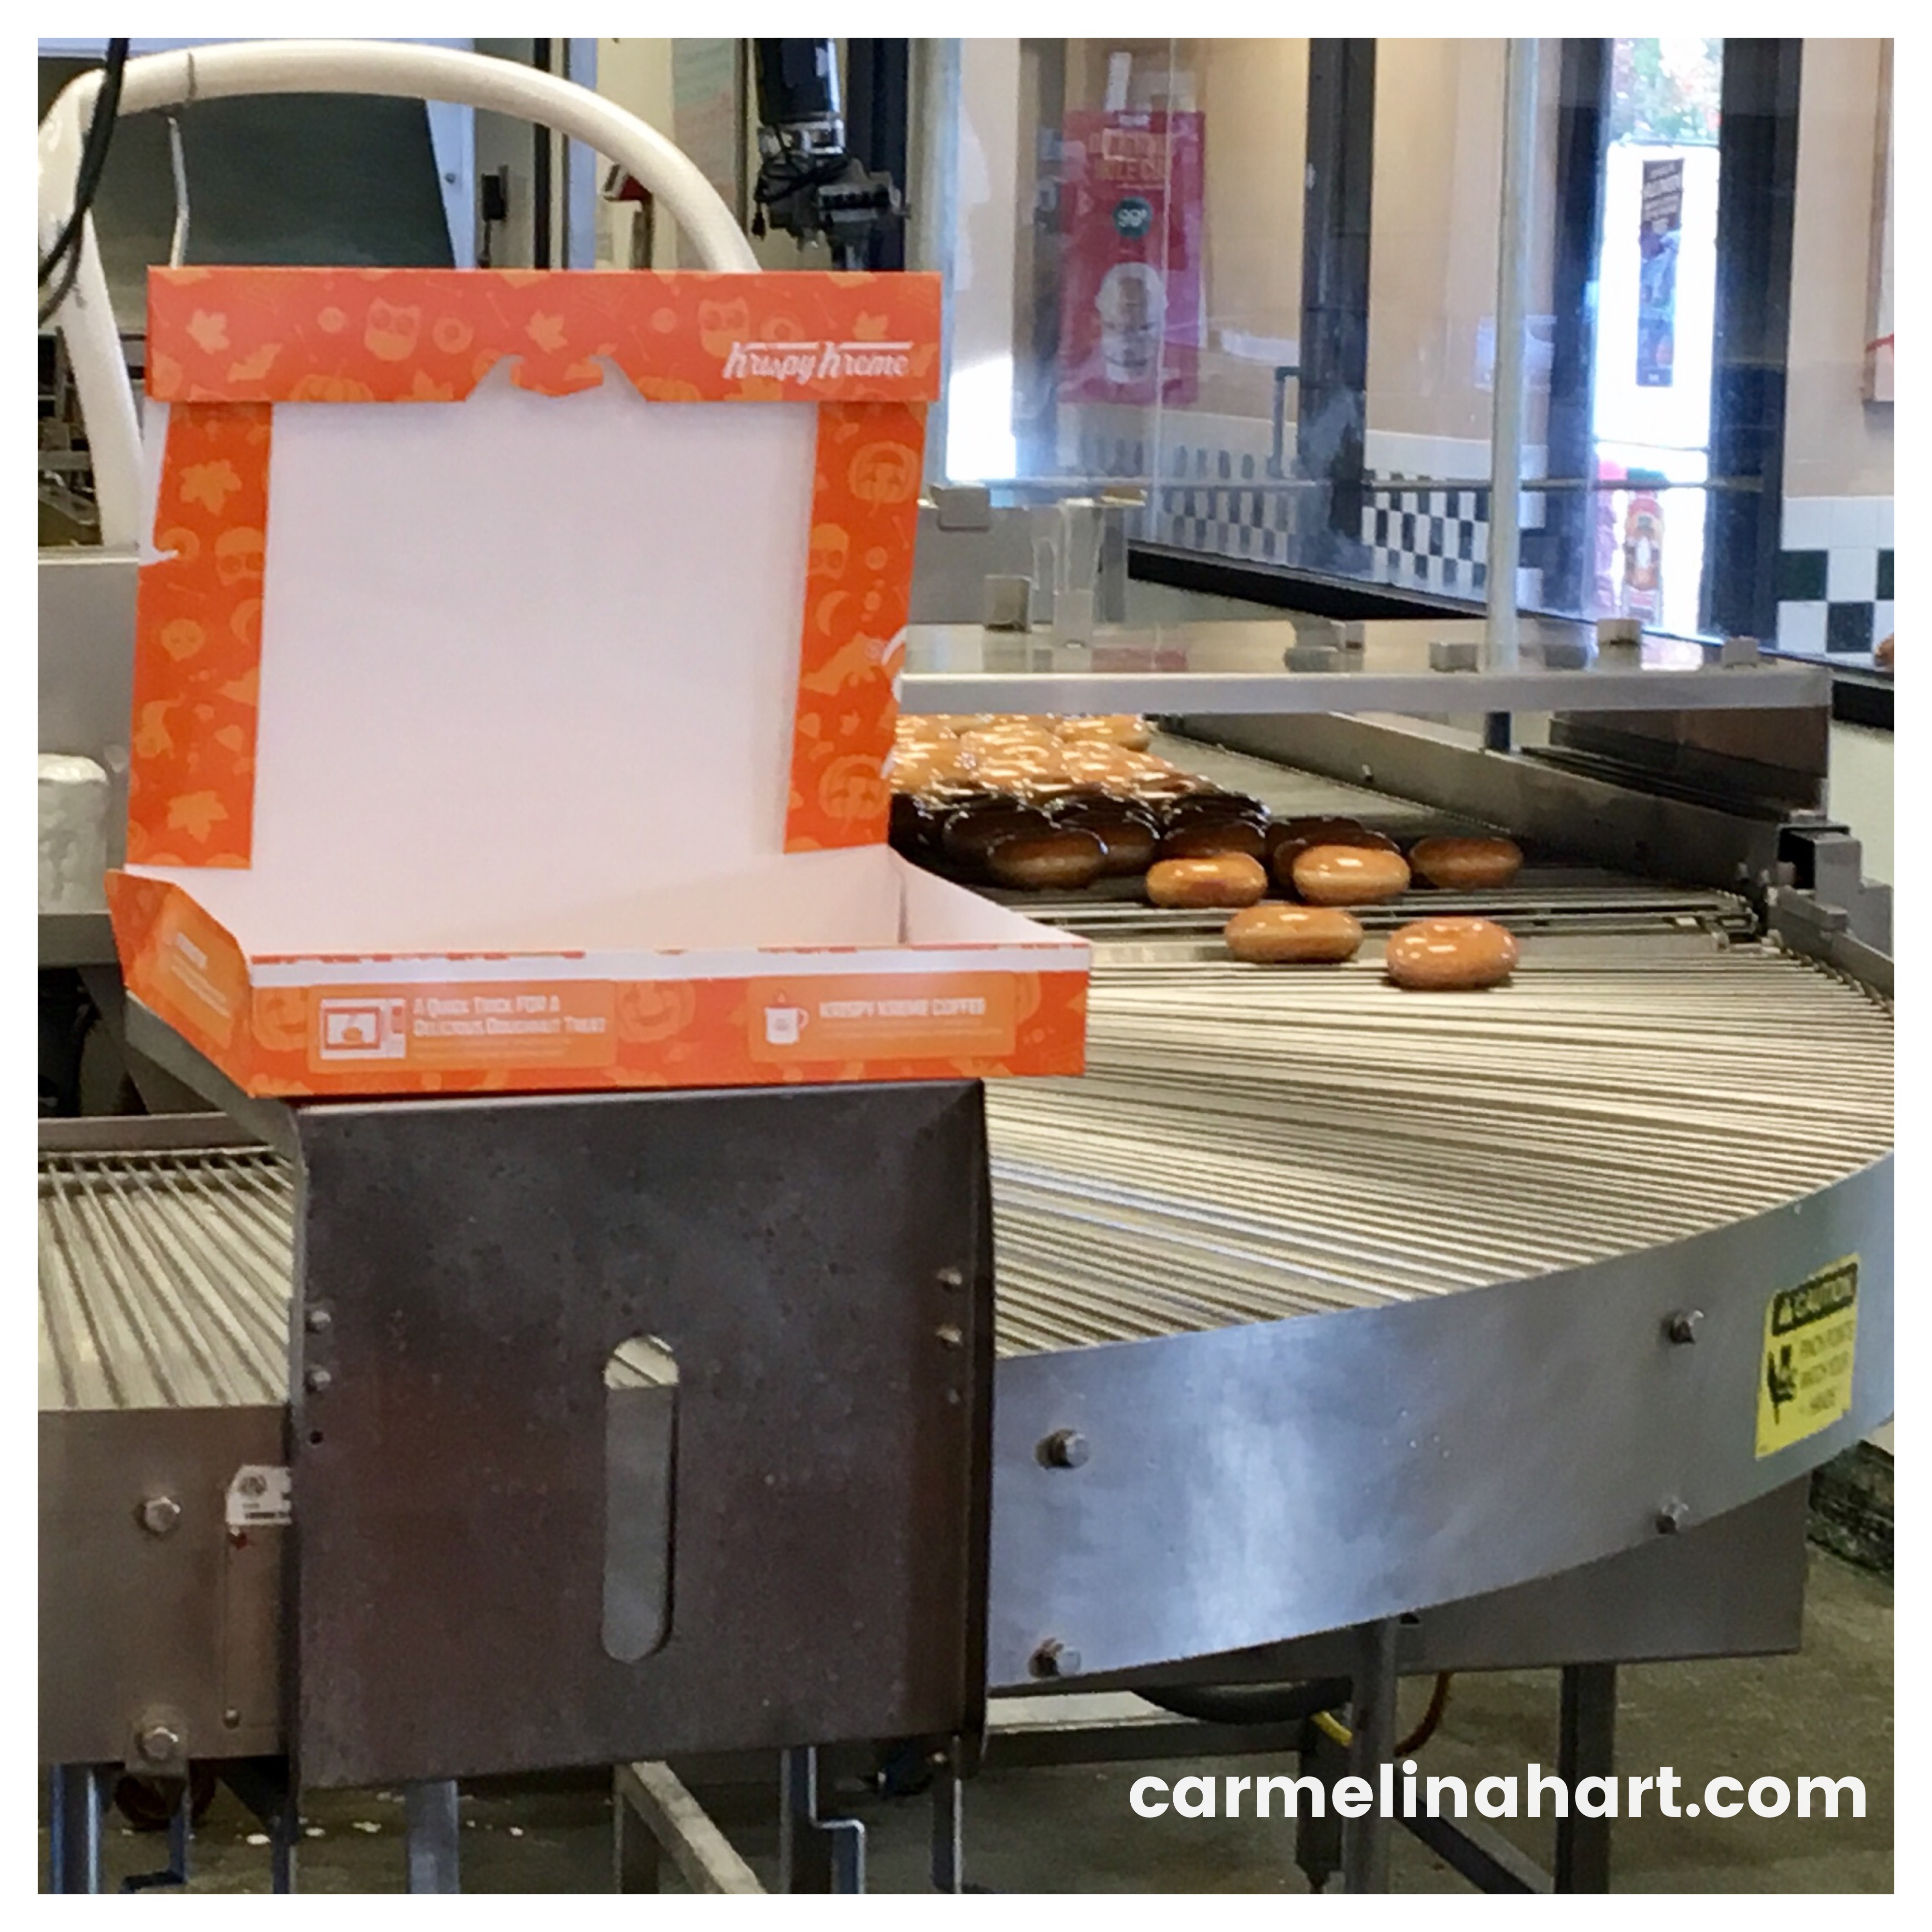
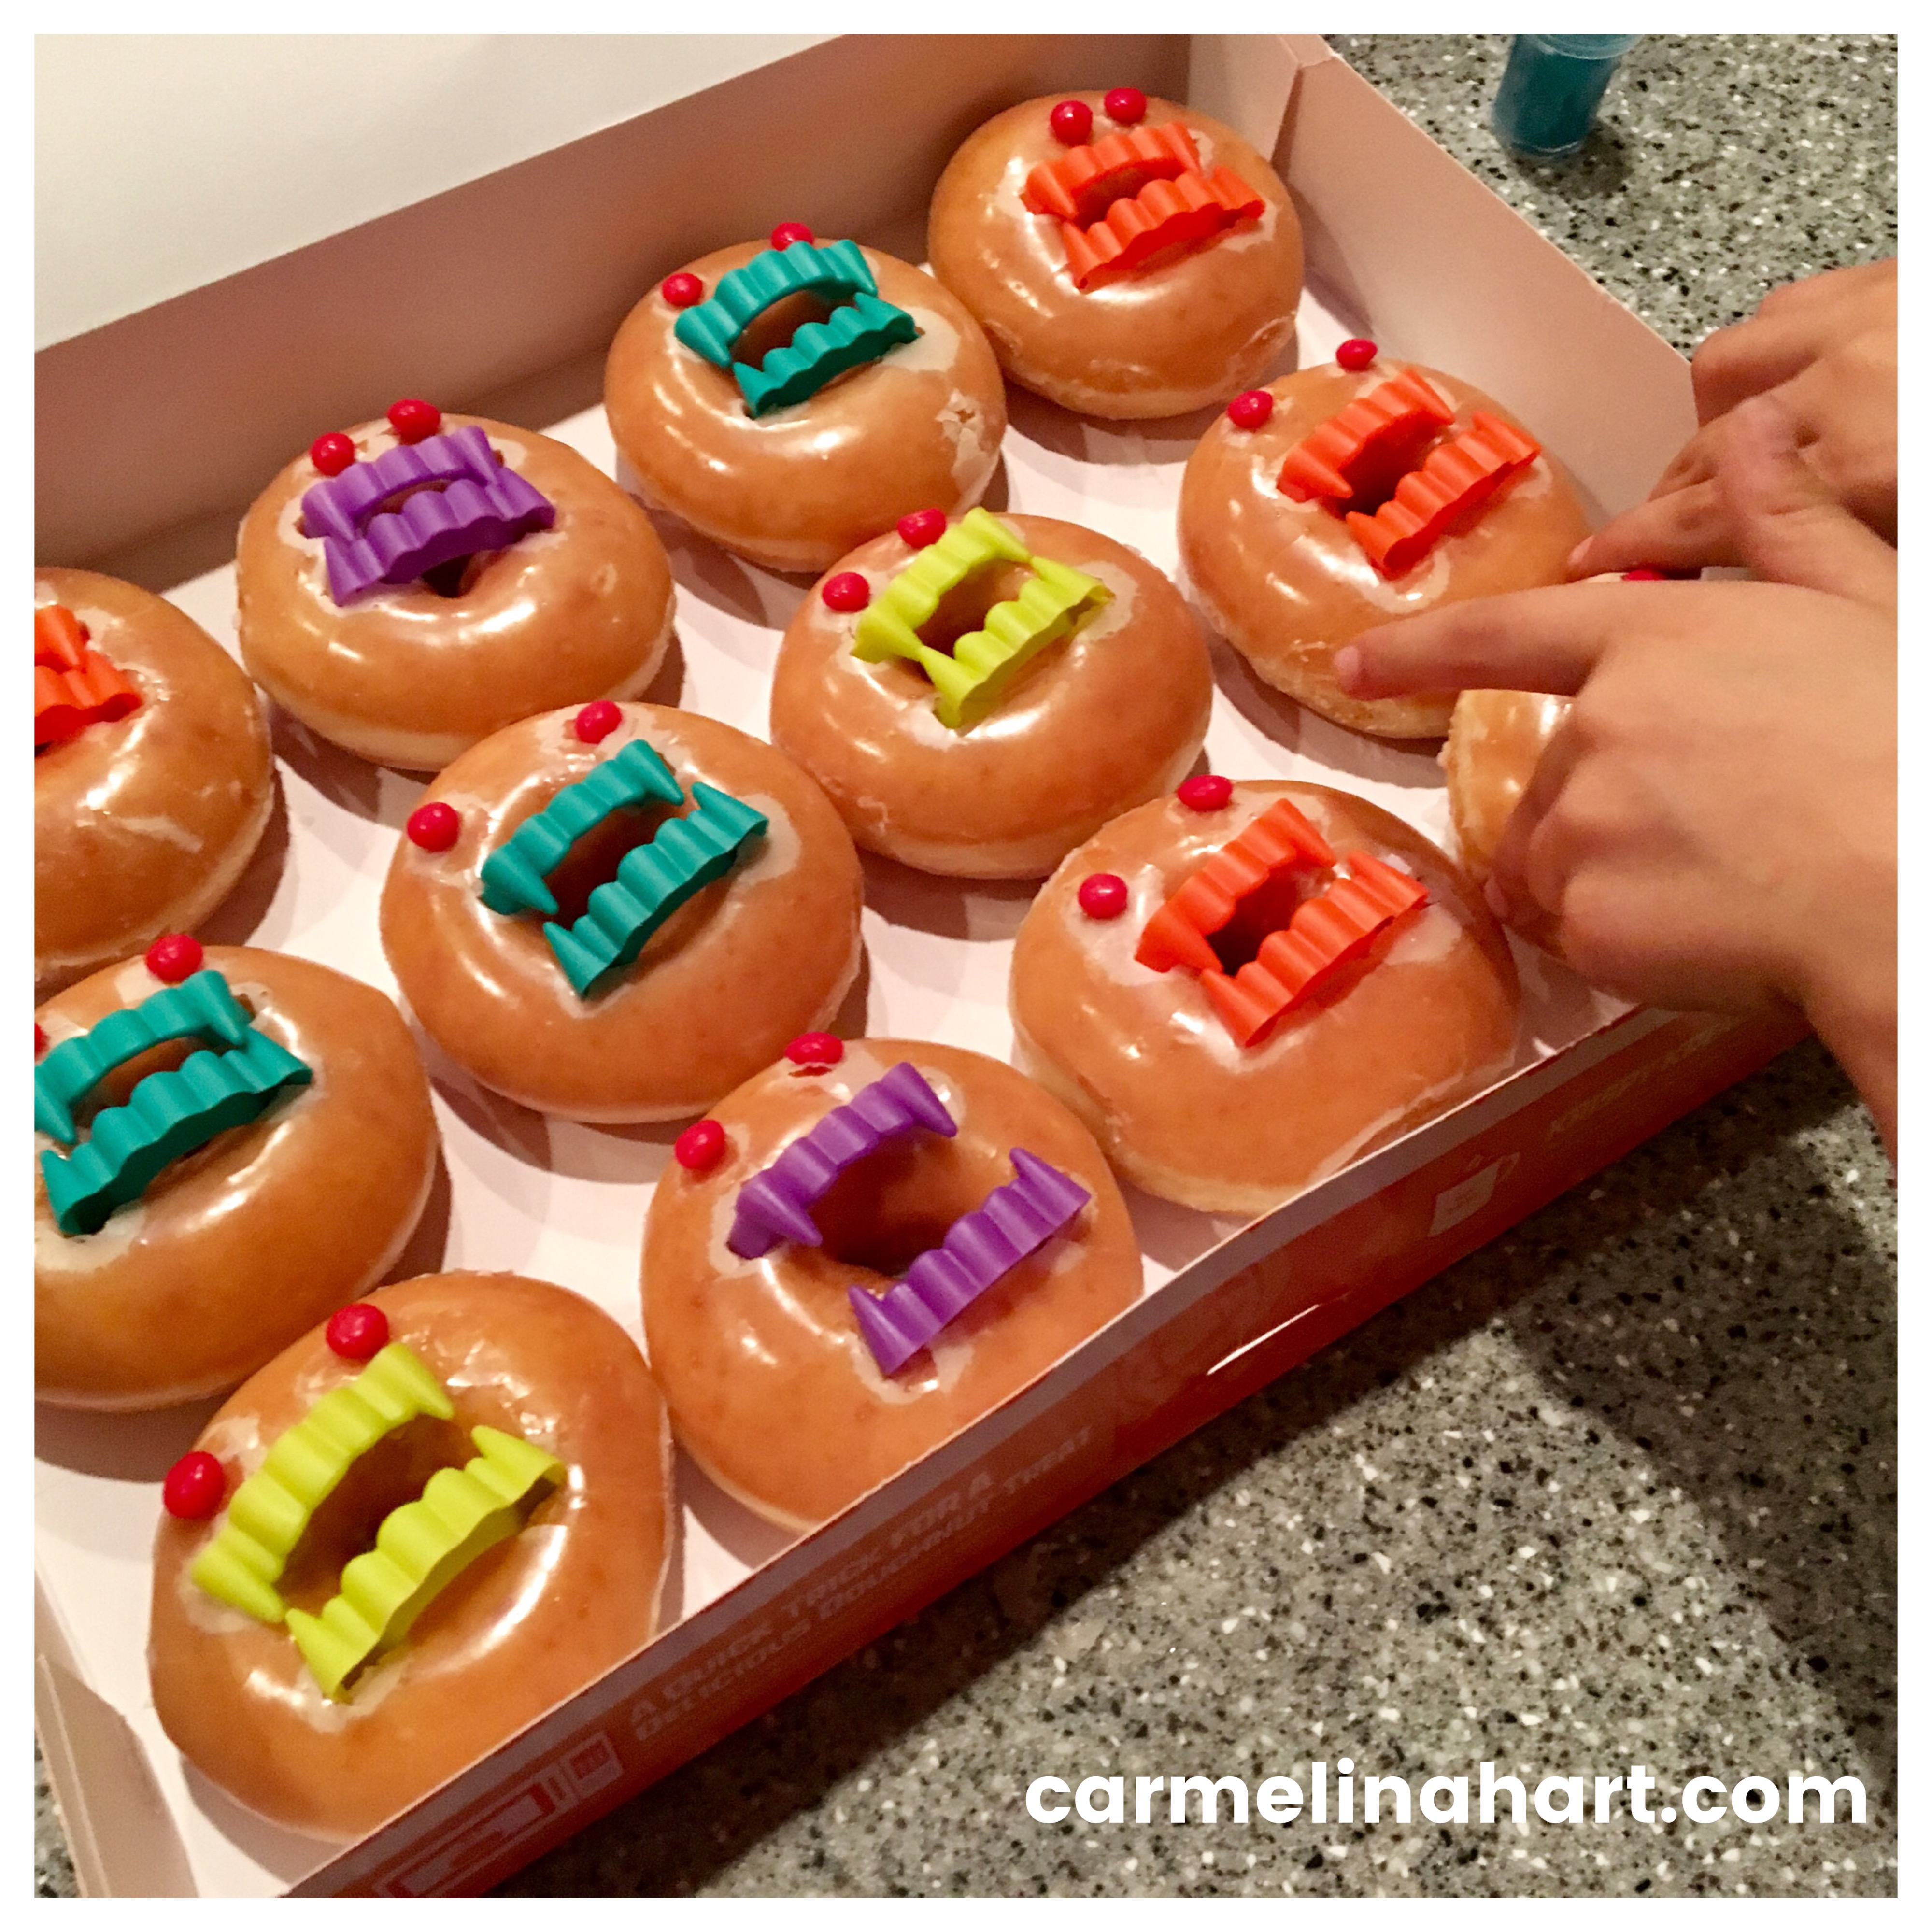
Ghoulish Donuts
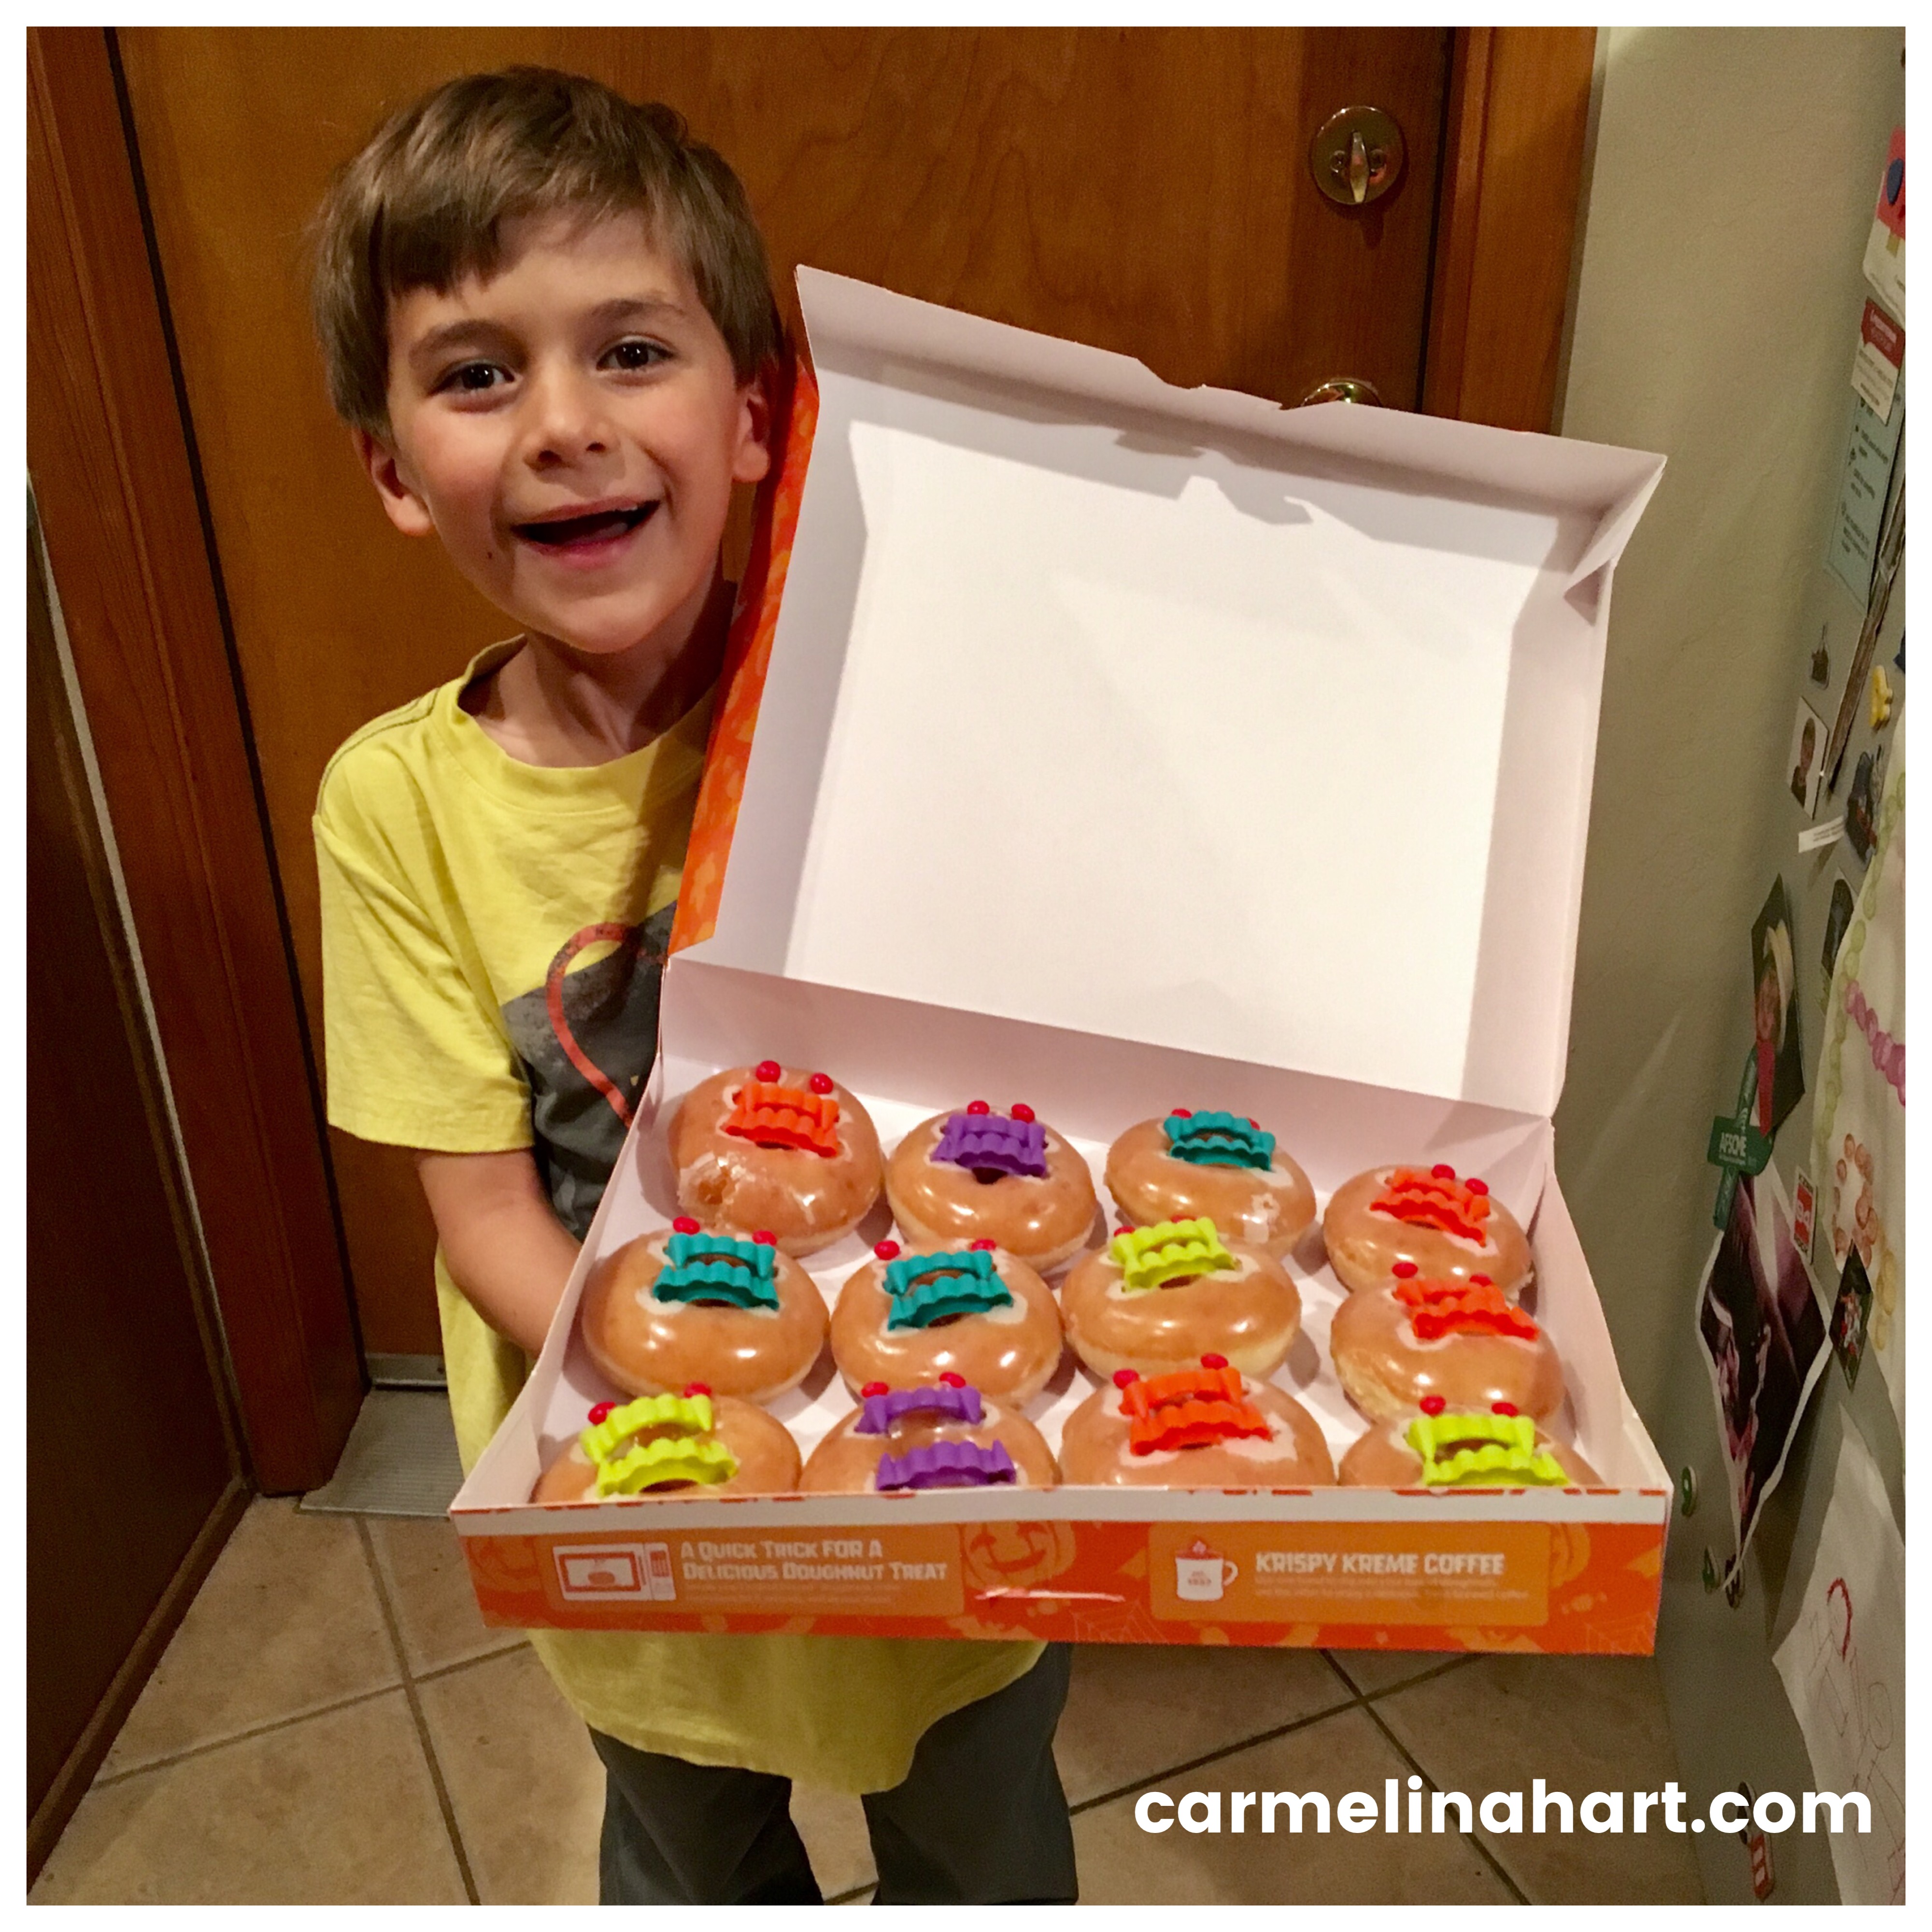
Occasionally, time is of the essence and a full-blown, hand-made, healthy class treat is out of reach, but that doesn’t mean you can’t send your kids to school without an awesome snack. Try these Ghoulish Donuts … they’re a scream!
 What you need:
Donuts – one for each kid in class.
Plastic vampire teeth – one for each donut.
Small circular candies – two for each ghoul.
 First, buy the donuts, or you could make them if you are feeling hauntingly motivated. Then gather the kids around to start working. Everyone has a job to do.
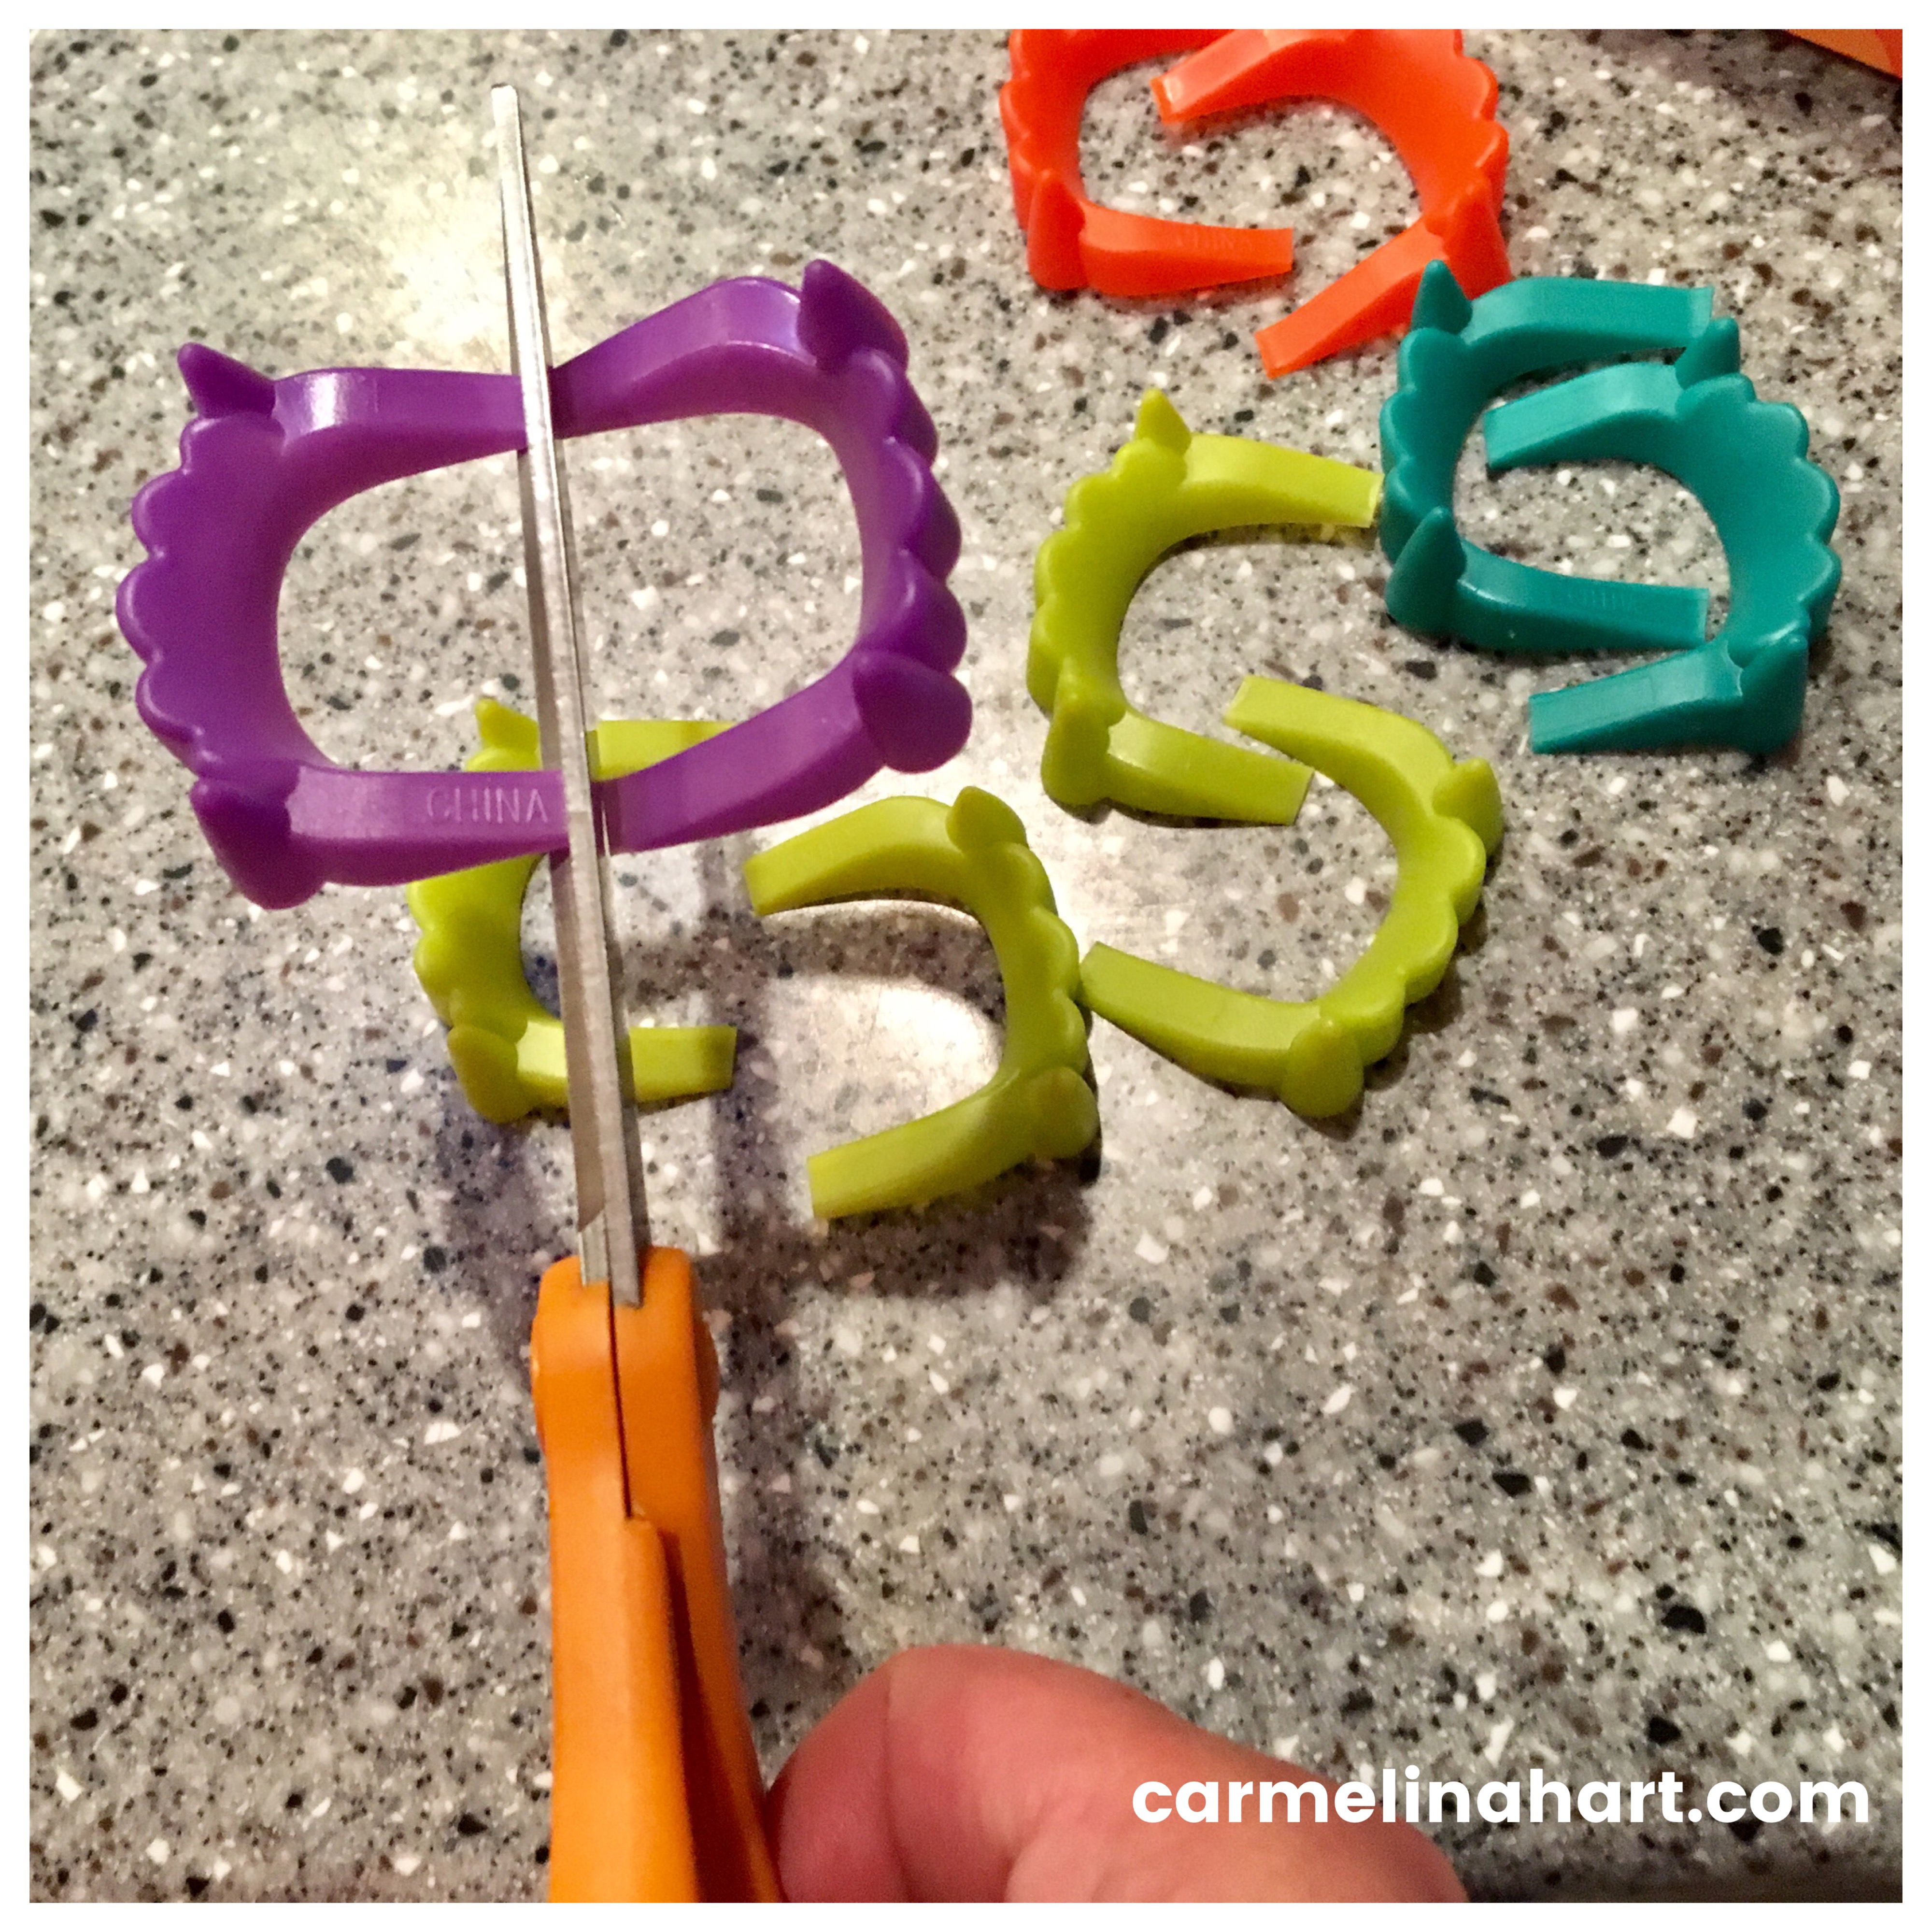 Step 1 – Cut the plastic teeth at the bend. This makes it easier to insert them into the donut holes.
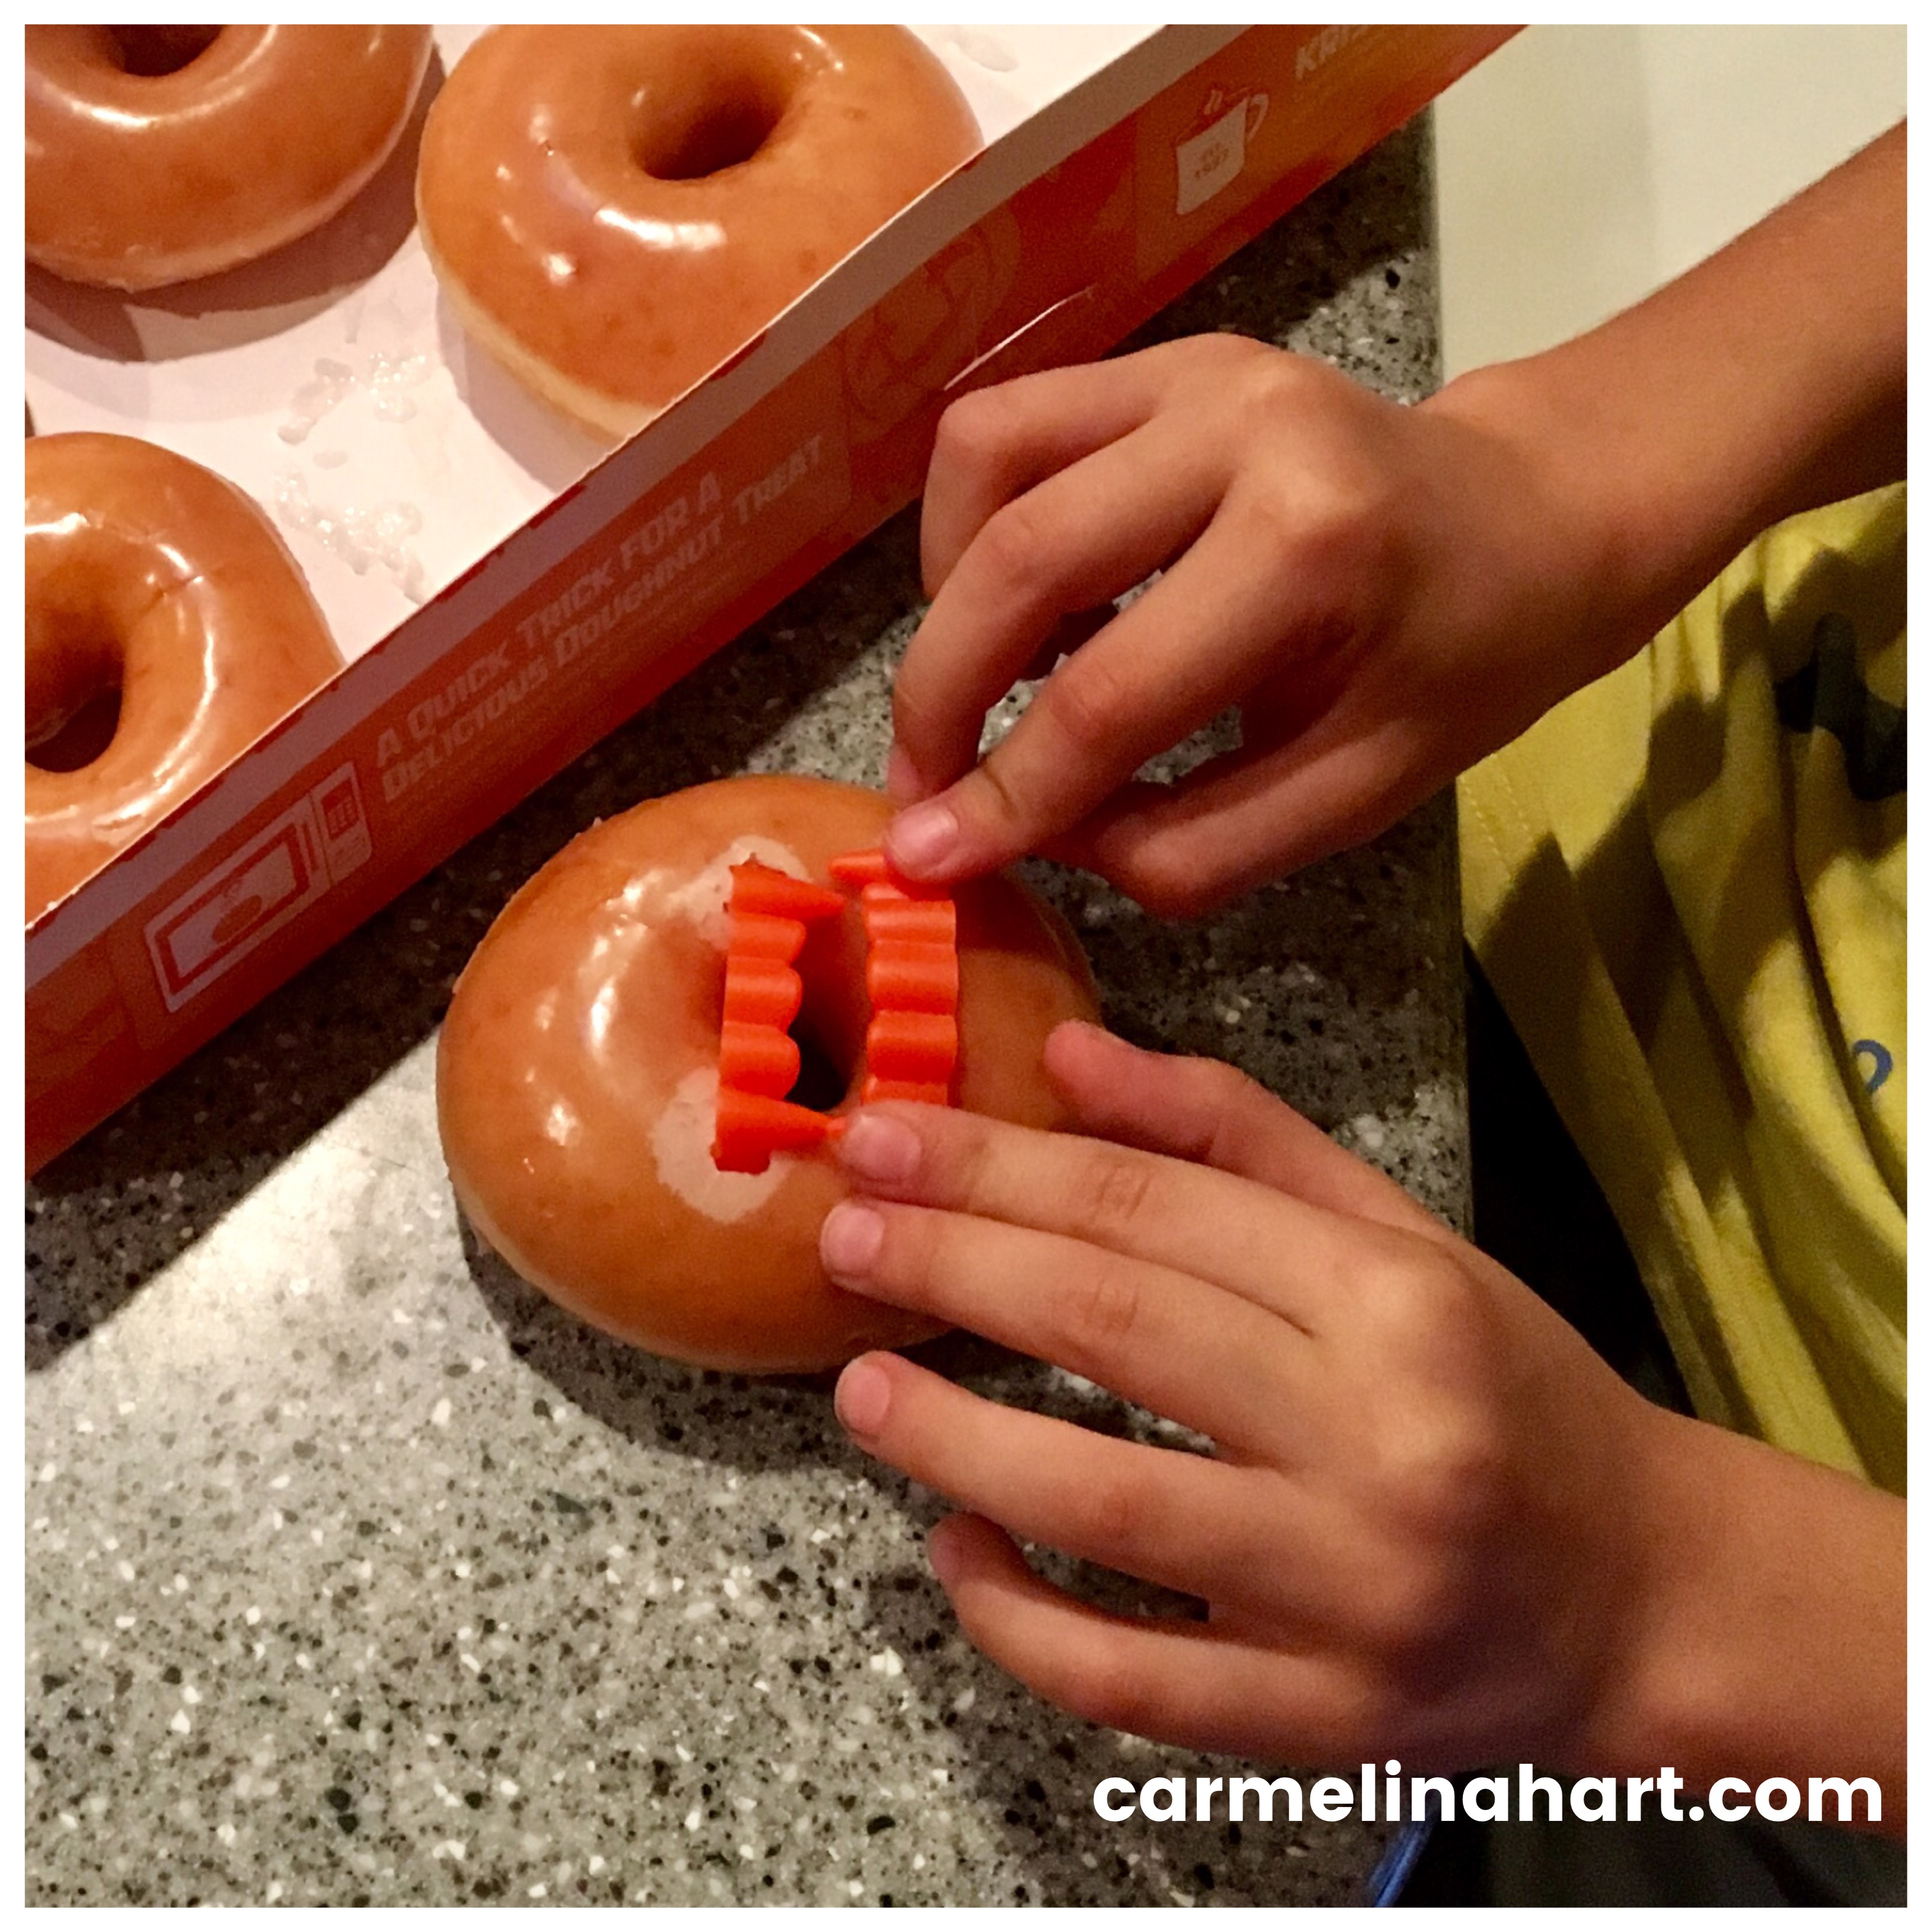 Step 2 – Insert the top and bottom teeth into the donut hole. You just made the perfect mouth.
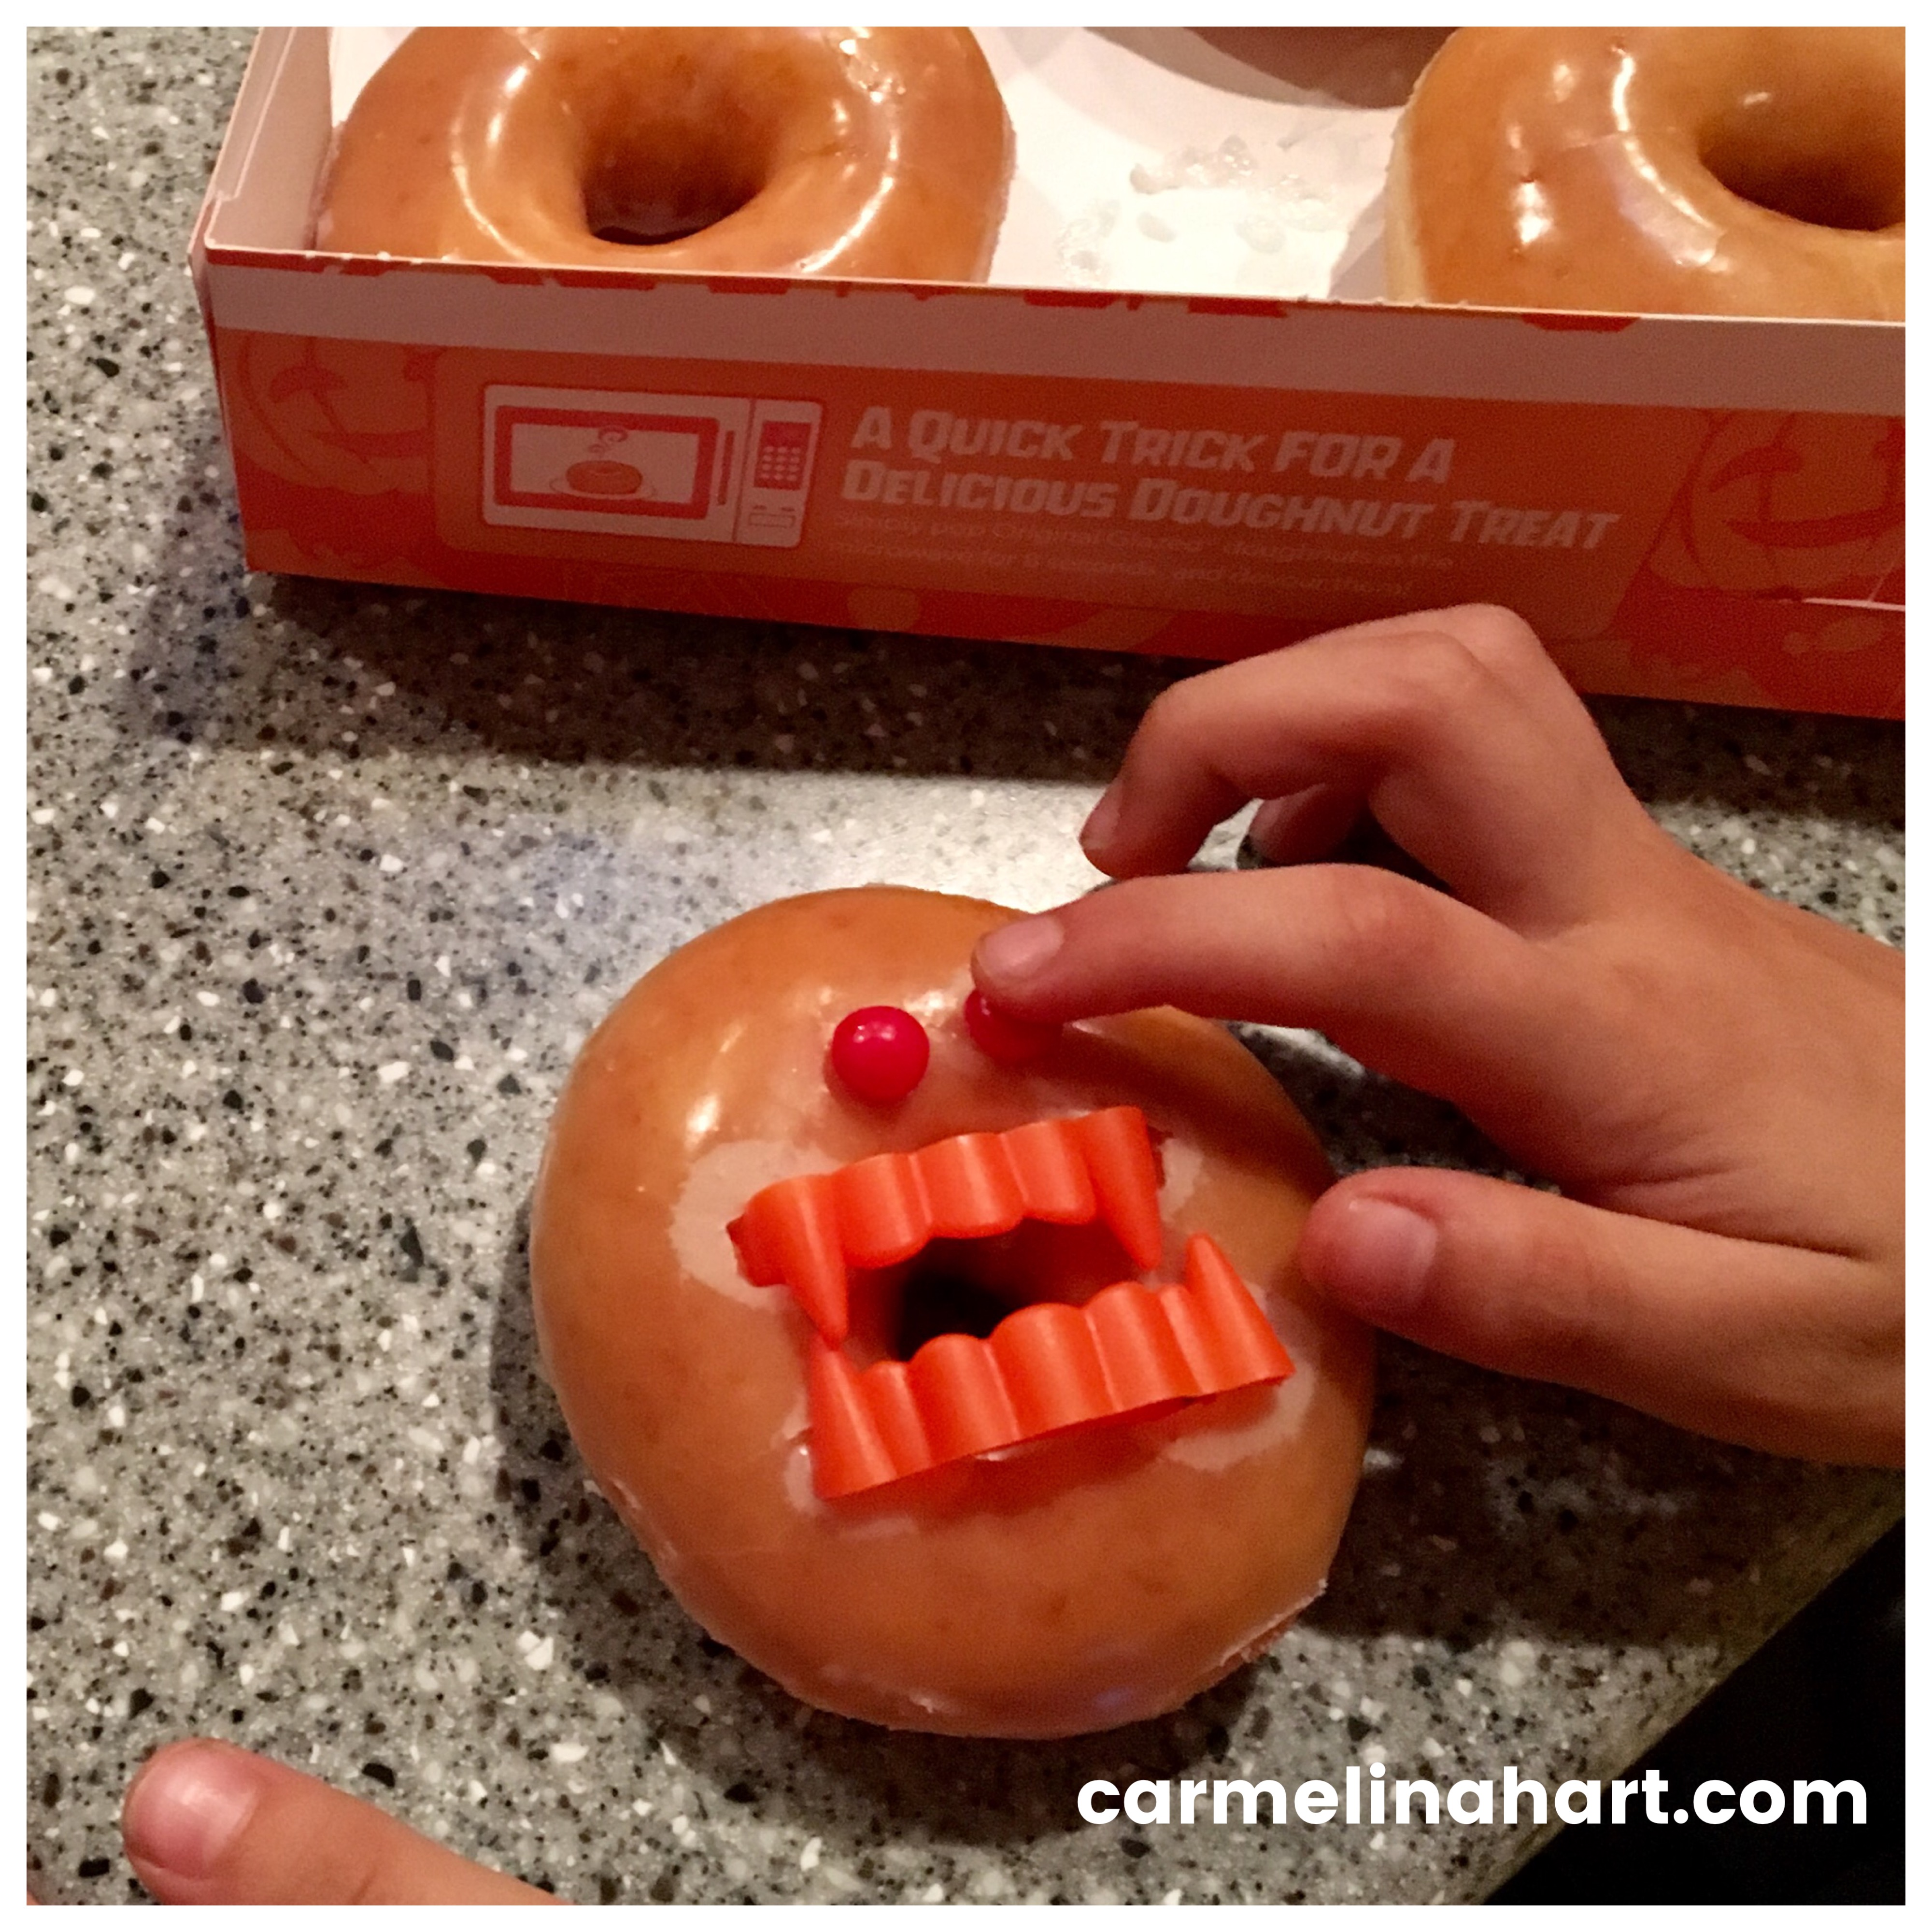 Step 3 – Place the eyes above the mouth. Yup, you know where eyes go.
 Boo! You’re done!
It’s almost scary, how quickly you’ll get these finished.
Happy Halloween.
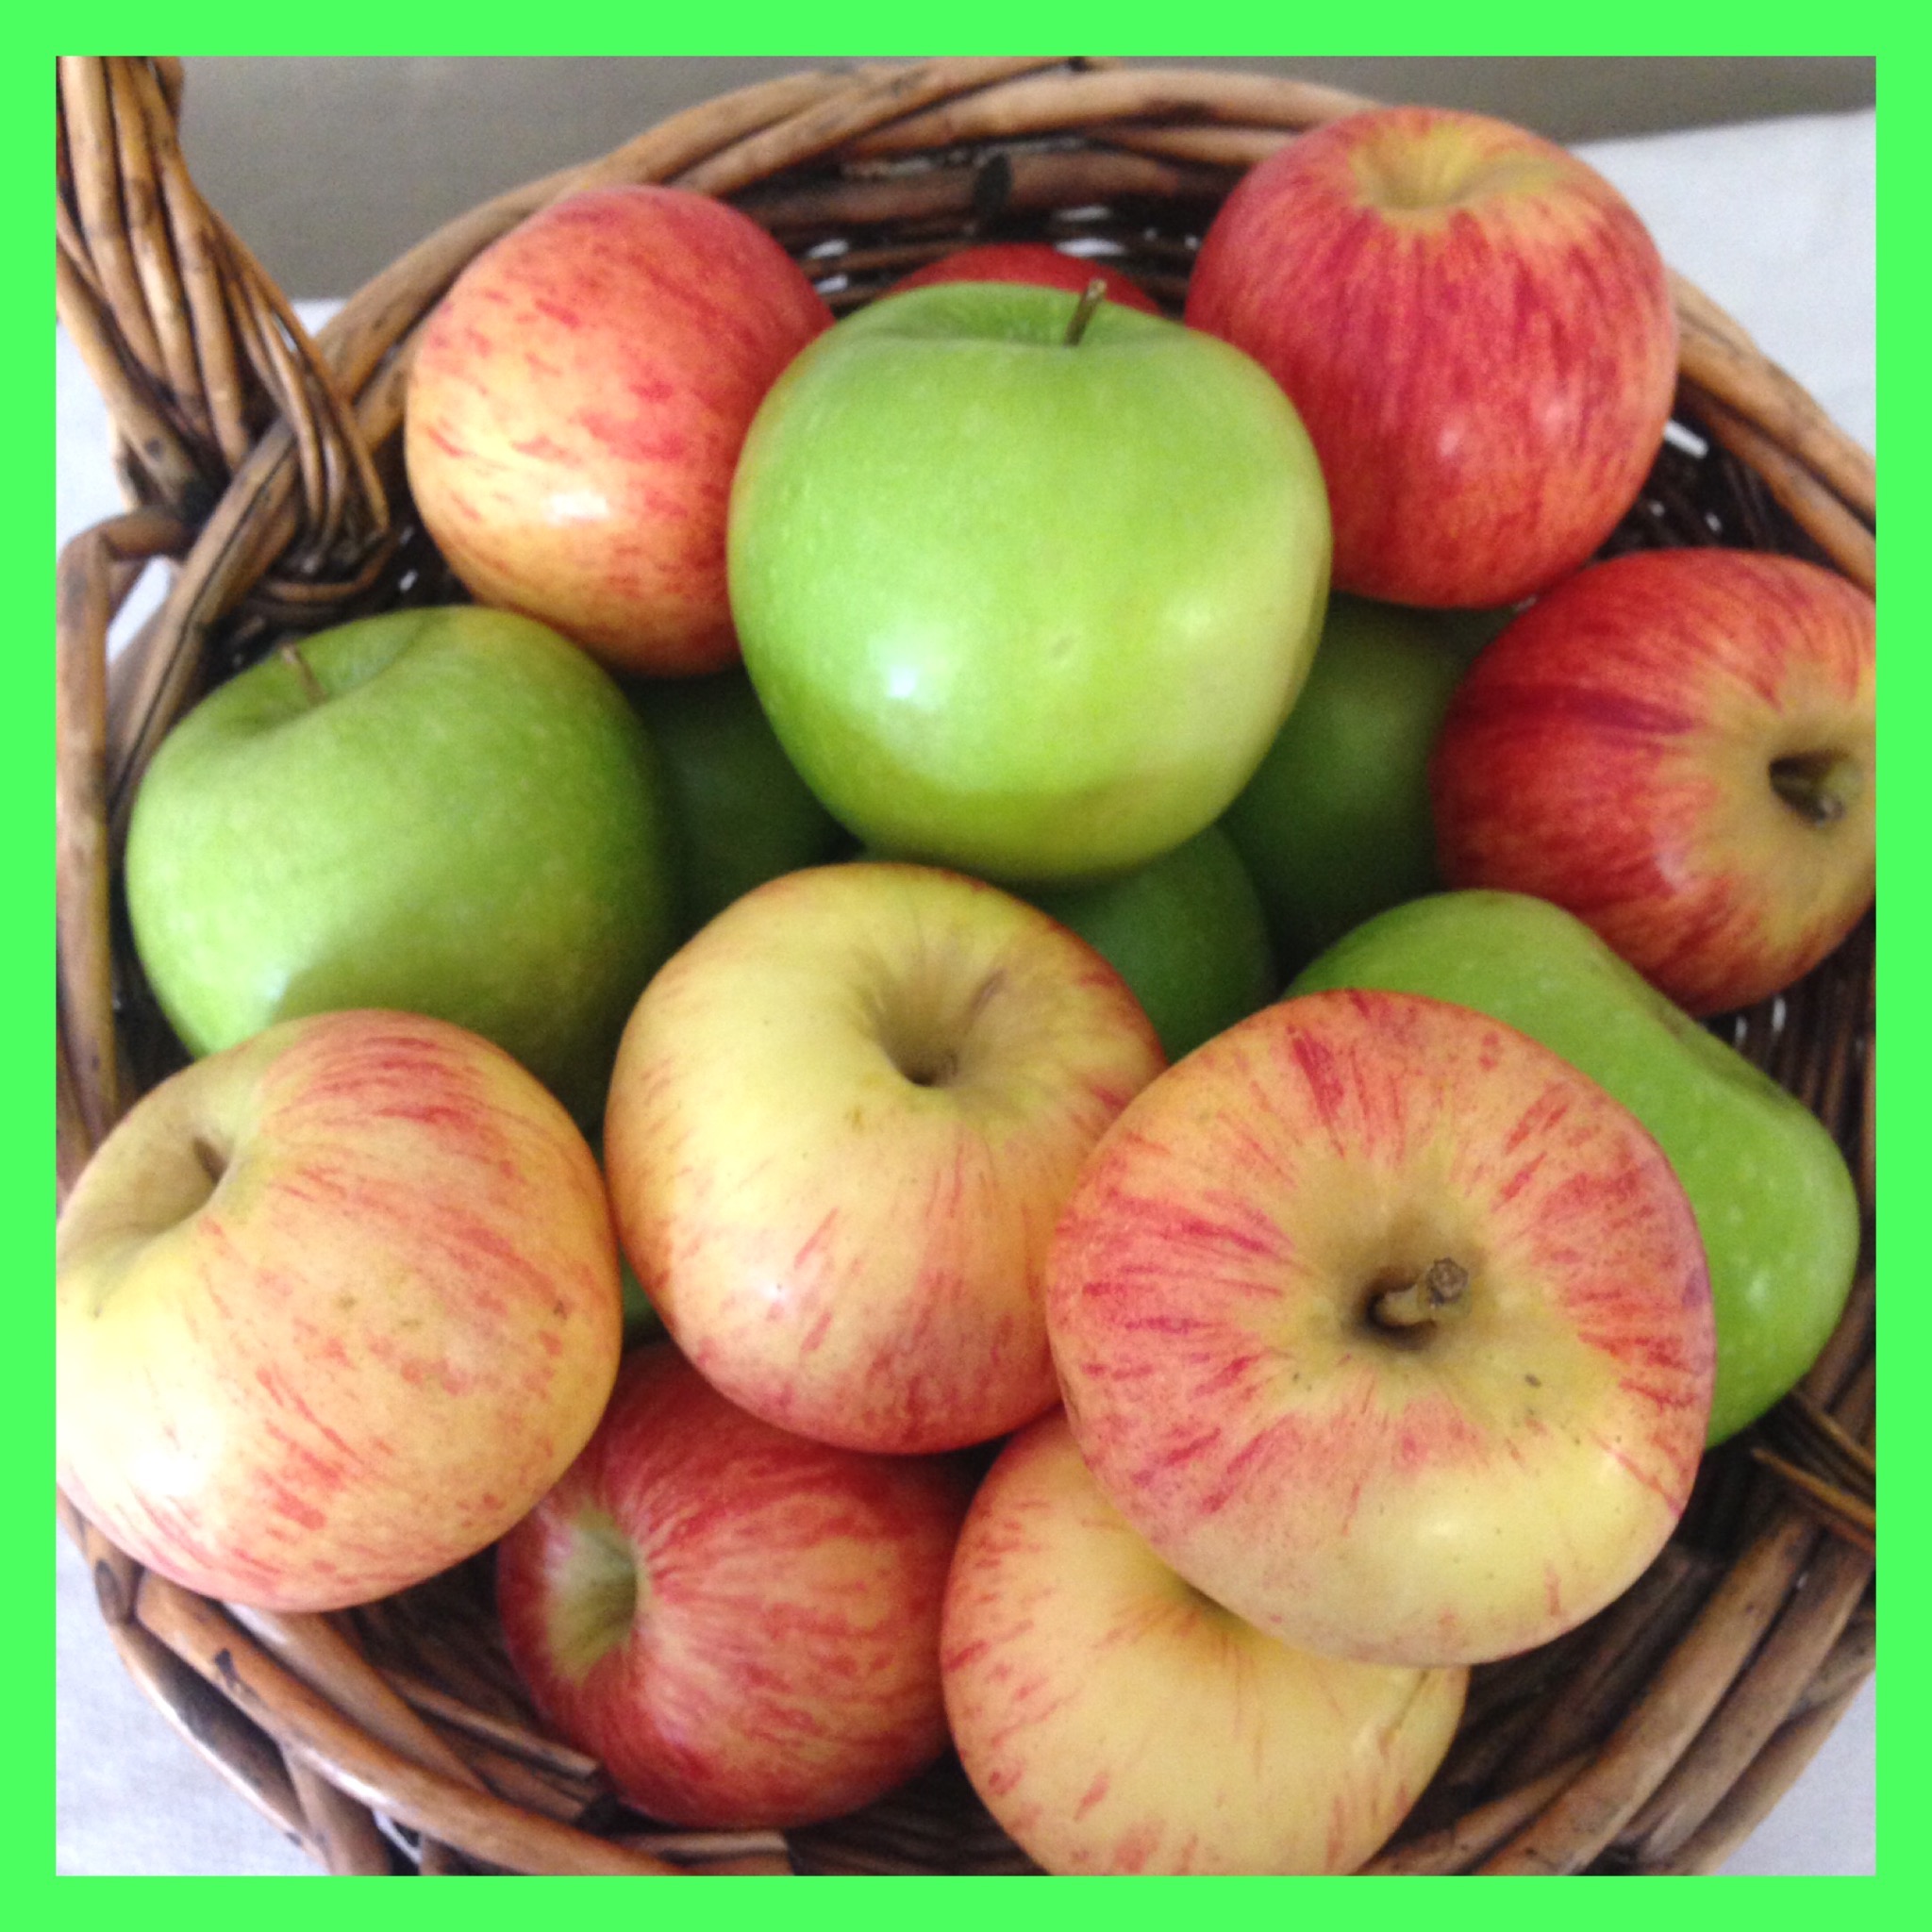
Meet-The-Teacher Gift: Step Up Your Apple Game
There are a lot of things said about apples:
“An apple a day keeps the doctor away.”
“As American as apple pie.”
“A bad apple.”
“Apple of my eye.”
“The apple doesn’t fall far from the tree.”
And a favorite, especially this time of year, “An apple for the teacher.”
The tradition of giving an apple to the teacher dates back to the frontier days when that was all the payment attainable by parents. Ah, the good old days! But it’s 2016, so let’s up our apple game.
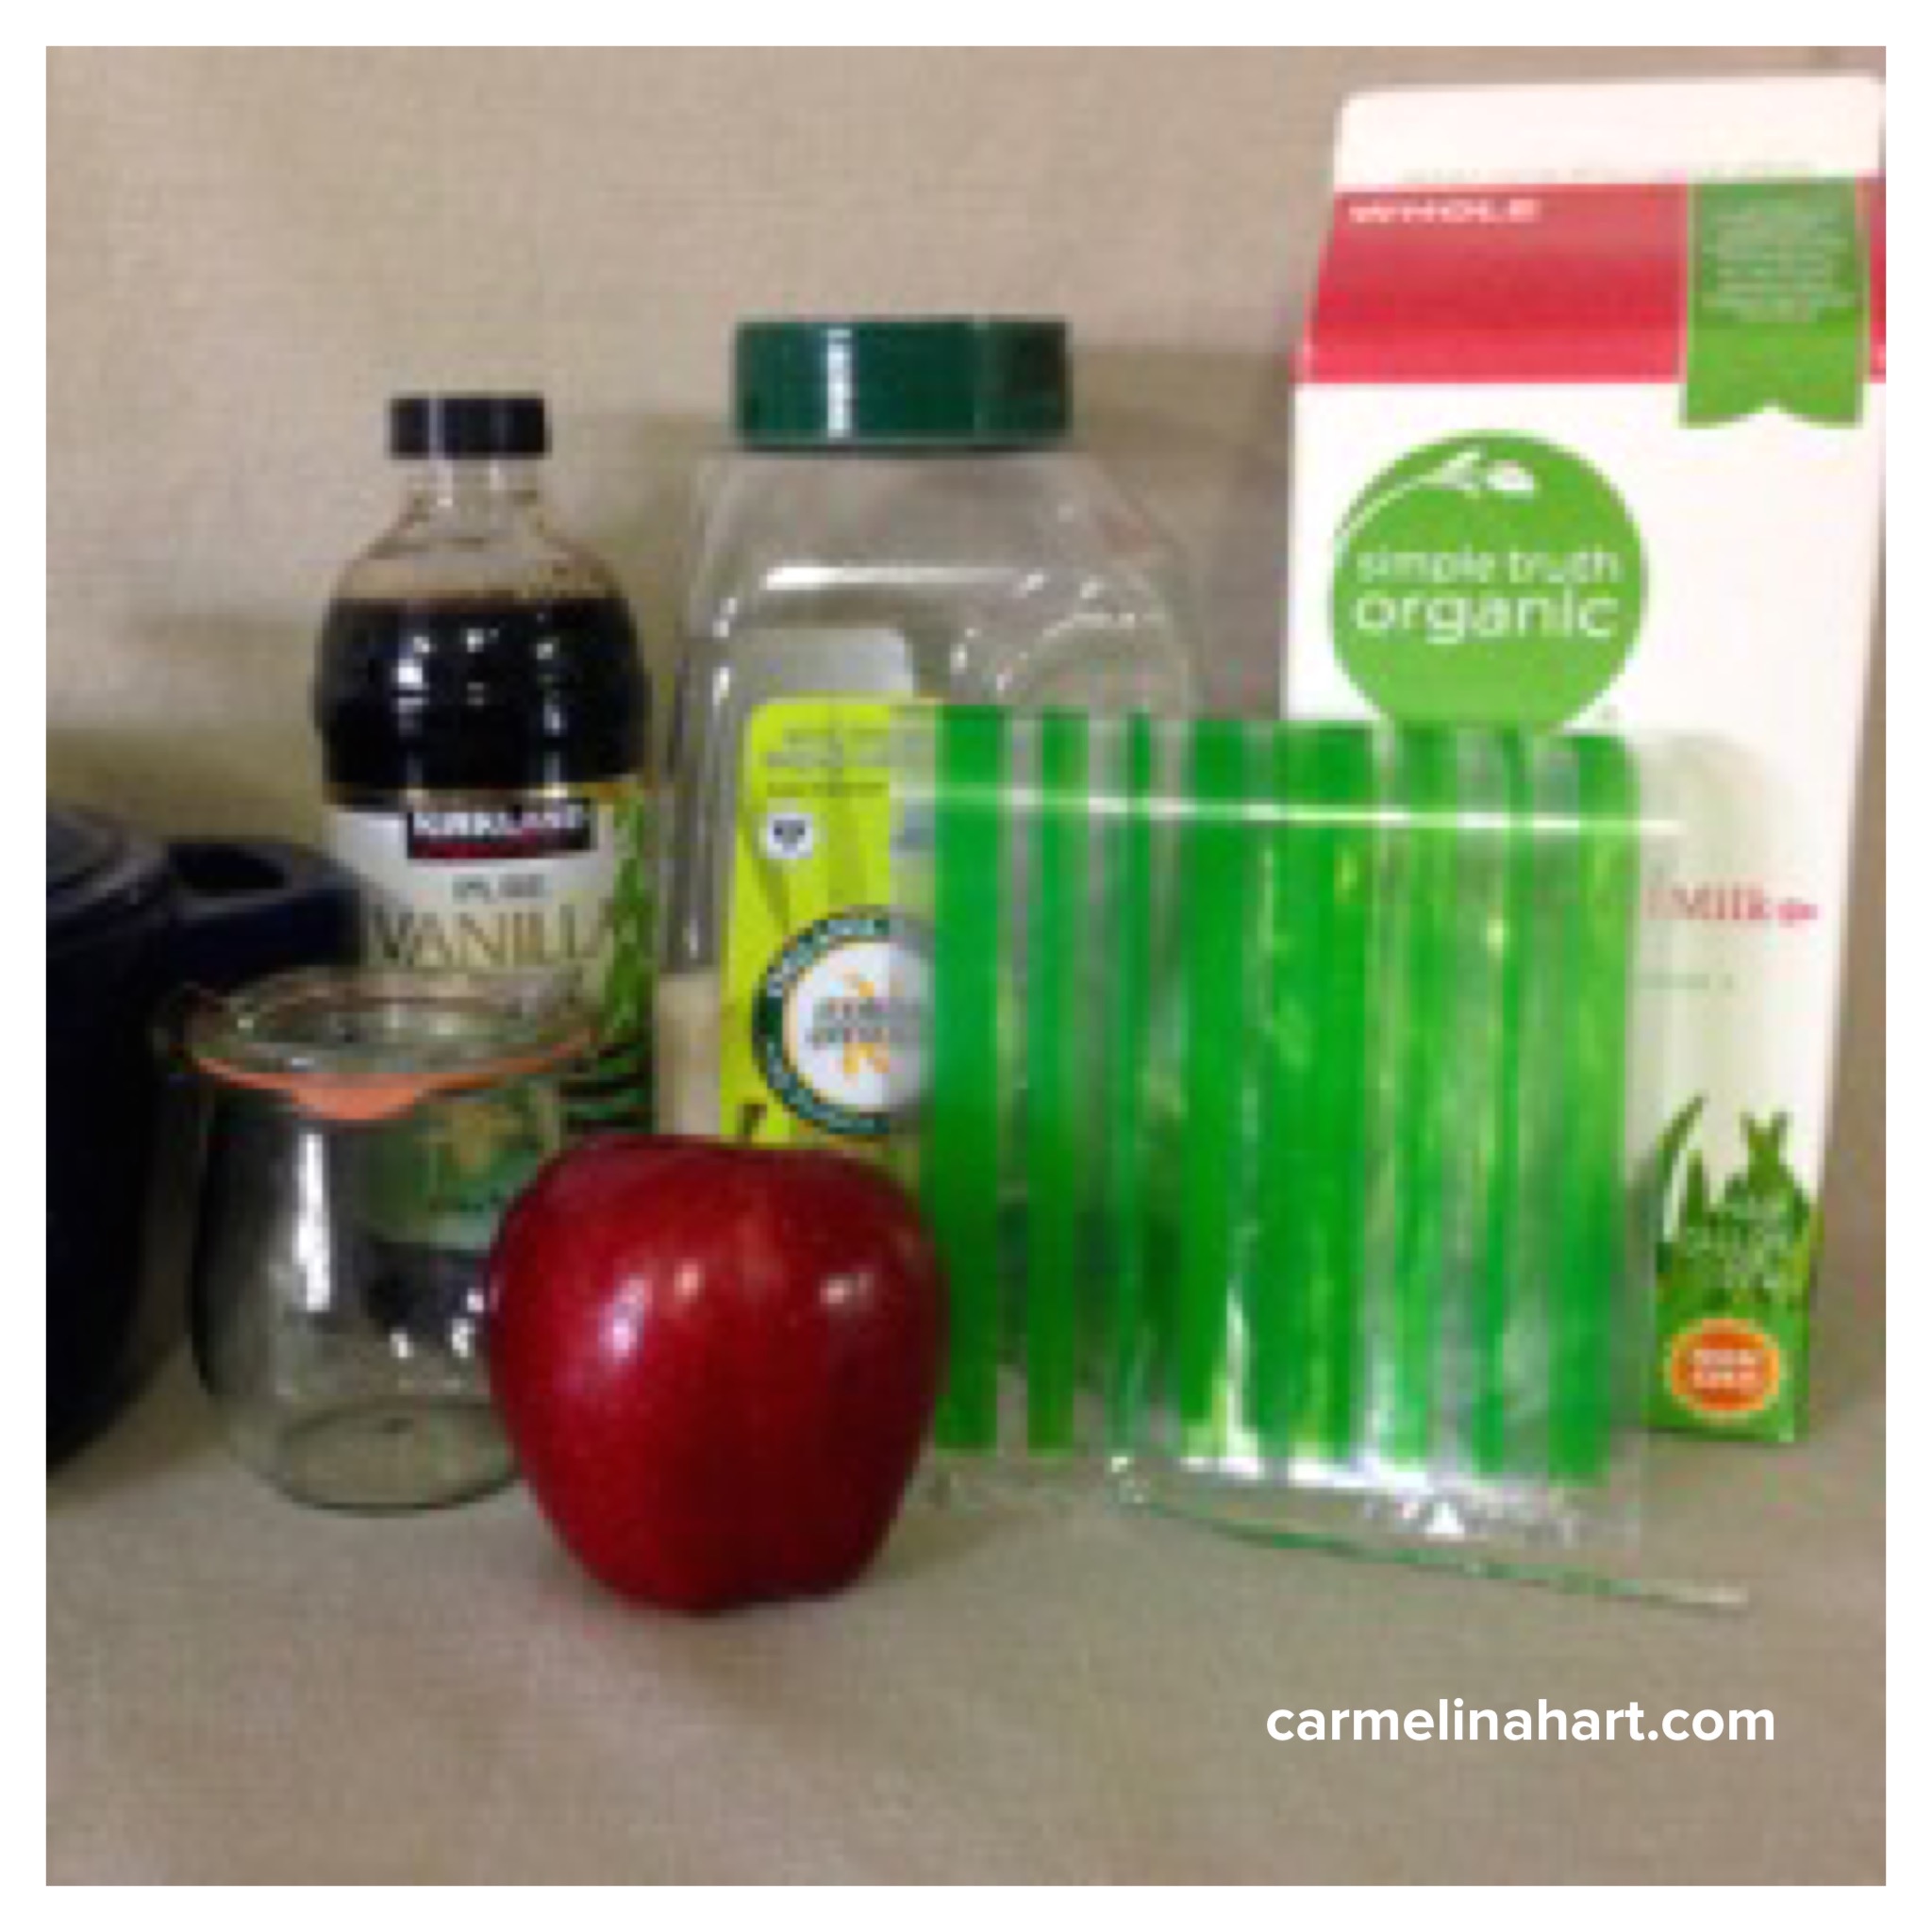 What you need:
1 cup granulated sugar
1/2 cup butter
1/4 cup milk
1 teaspoon vanilla
Apple
Canning jar
Decorative bag and tag
First, make the homemade caramel dipping sauce. And if you trust your kids stirring the ingredients, let them be part of the process.
Step 1 – Combine sugar, milk and softened butter in a heavy pot.
Step 2 – Turn the heat to medium high and continue stirring until smooth.
Step 3 – Bring to a boil and cook for a couple of minutes.
Step 4 – Turn off the heat and stir in vanilla.
Step 5 – Pour the caramel into a jar and let cool.
Then place the jar of caramel in the bag, place the apple on top of the jar seal the bag and add a tag.
Your meet the teacher gift is done and your kids will be proud that they helped, under adult supervision of course.