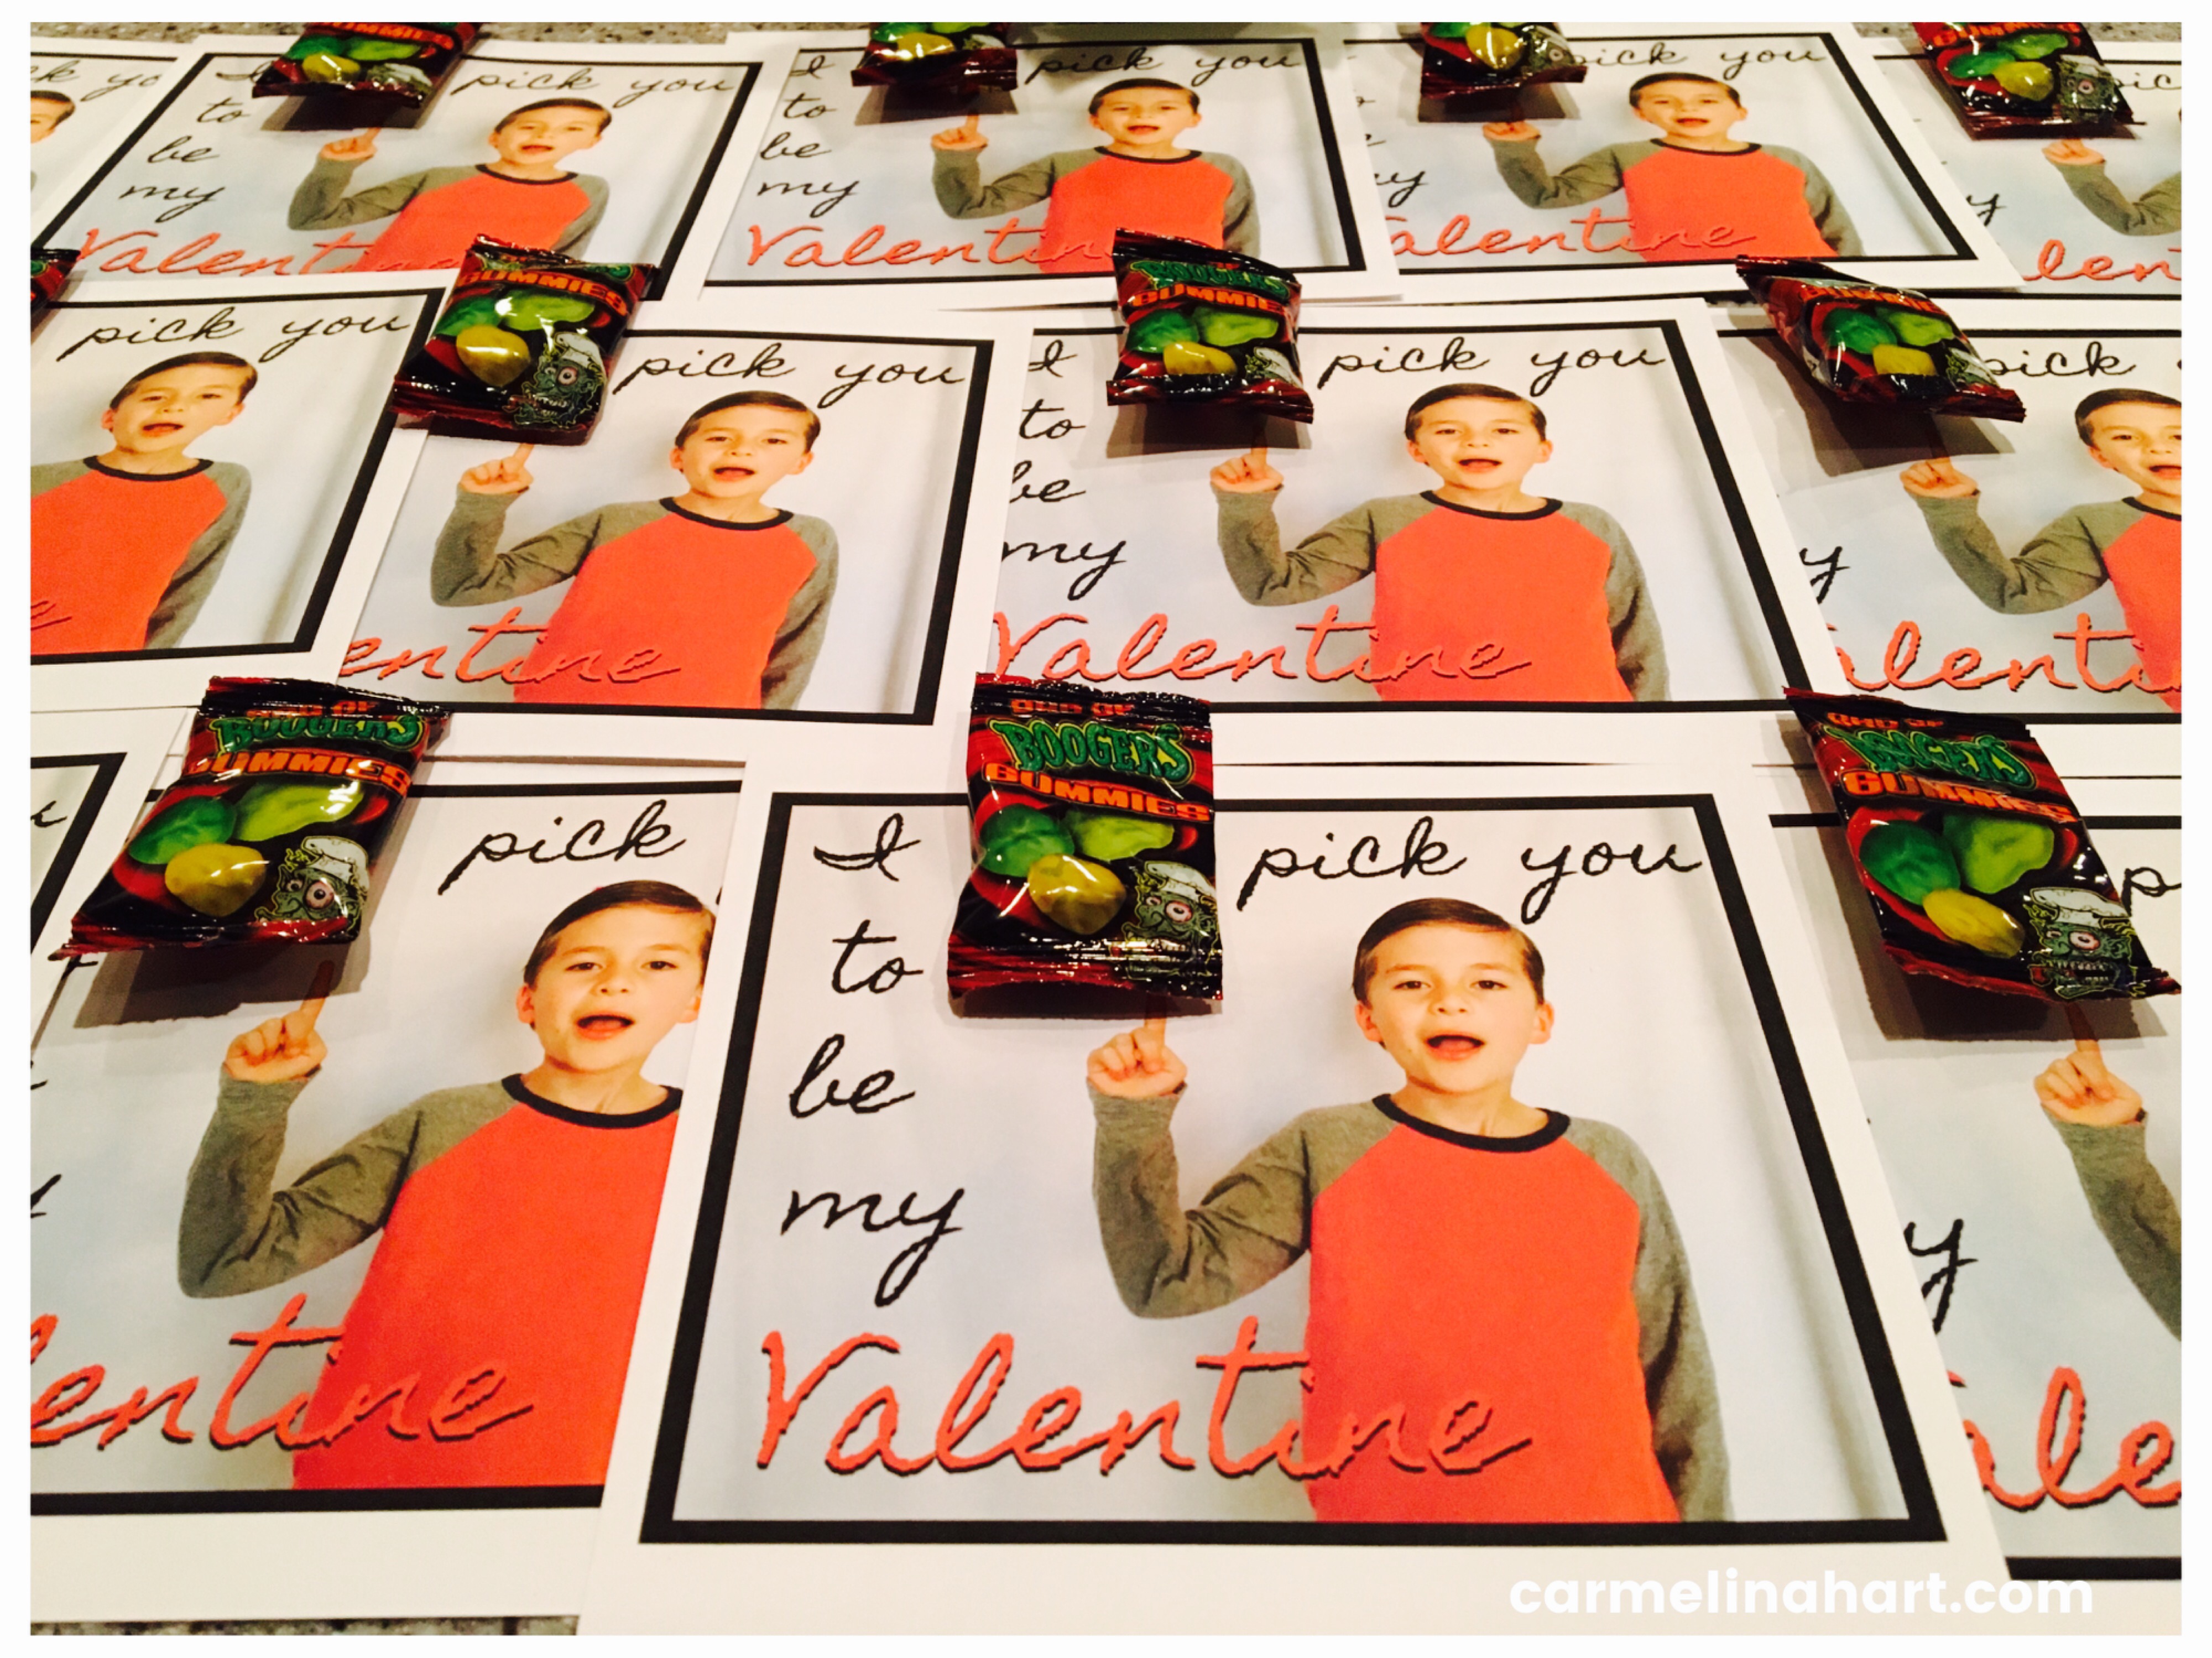
I Pick You To Be My Valentine
Valentine’s Day is one of our favorite holidays because we (okay, mostly me) love to make cards for Azul’s class. The ritual of actually making cards, came from his pre-school teacher when he was three. Her instructions were to make the cards and the entire family had to take part. Store-bought cards were allowed. So, not wanting to get in trouble with the pre-school teacher (you know how snotty they can be), we did as we were told and five years later, we still are.
This year’s project took some convincing and a little begging, things were thrown around like, “It’s the second grade, it’s not that gross, it’s funny, it’s just a play on words, come on, laugh, there’s candy” and then finally, “you won’t get an infraction, but if you do, I’ll tell the teacher it was my idea.” I used everything I had and succeeded, my eight year-old finally broke and we made the cards I wanted …
I pick you to be my Valentine, is this year’s theme.
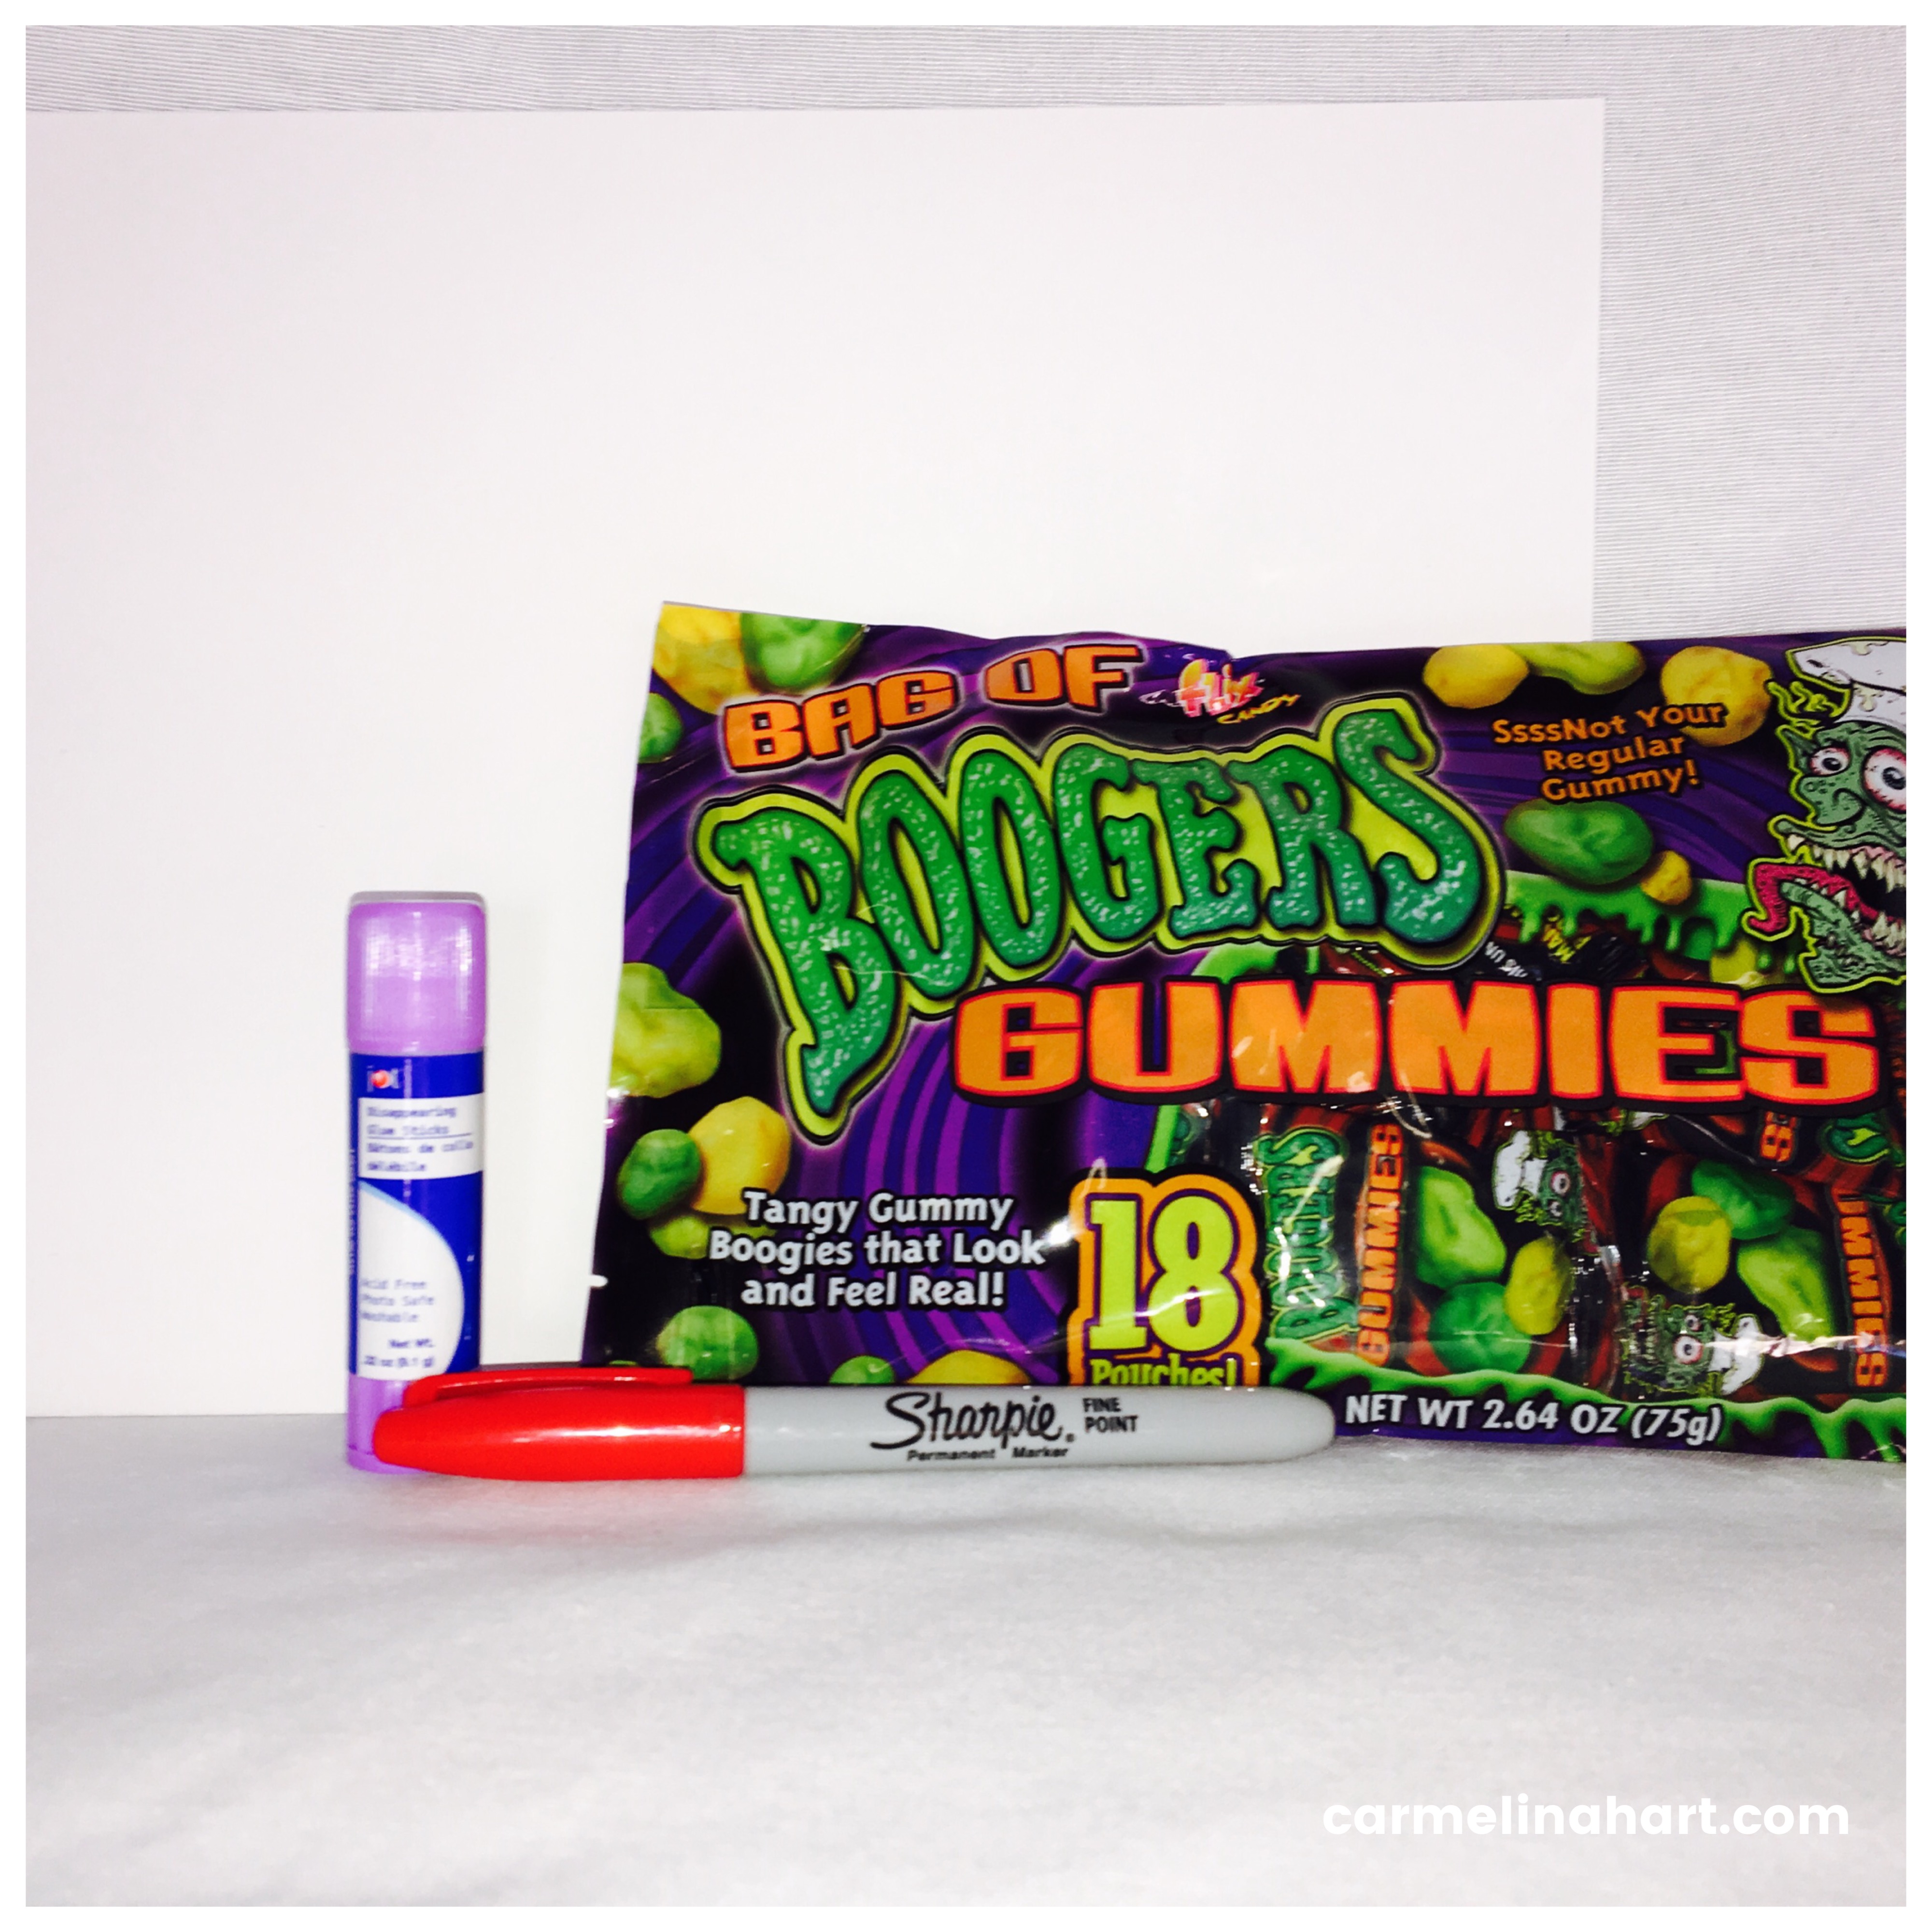 What you’ll need:
Bag of gummy boogers Candy, don’t be gross!
Sharpie
Glue stick
Card sock and Printer (If you print them yourself, like we did.)
Really, it’s not much!
Step 1) We took a few pictures with different expressions, while he held his hand next to his shoulder and his index finger pointing up. And he picked the one he wanted to use.
 Step 2) I used a picture app to write the saying on the picture to complete the card.
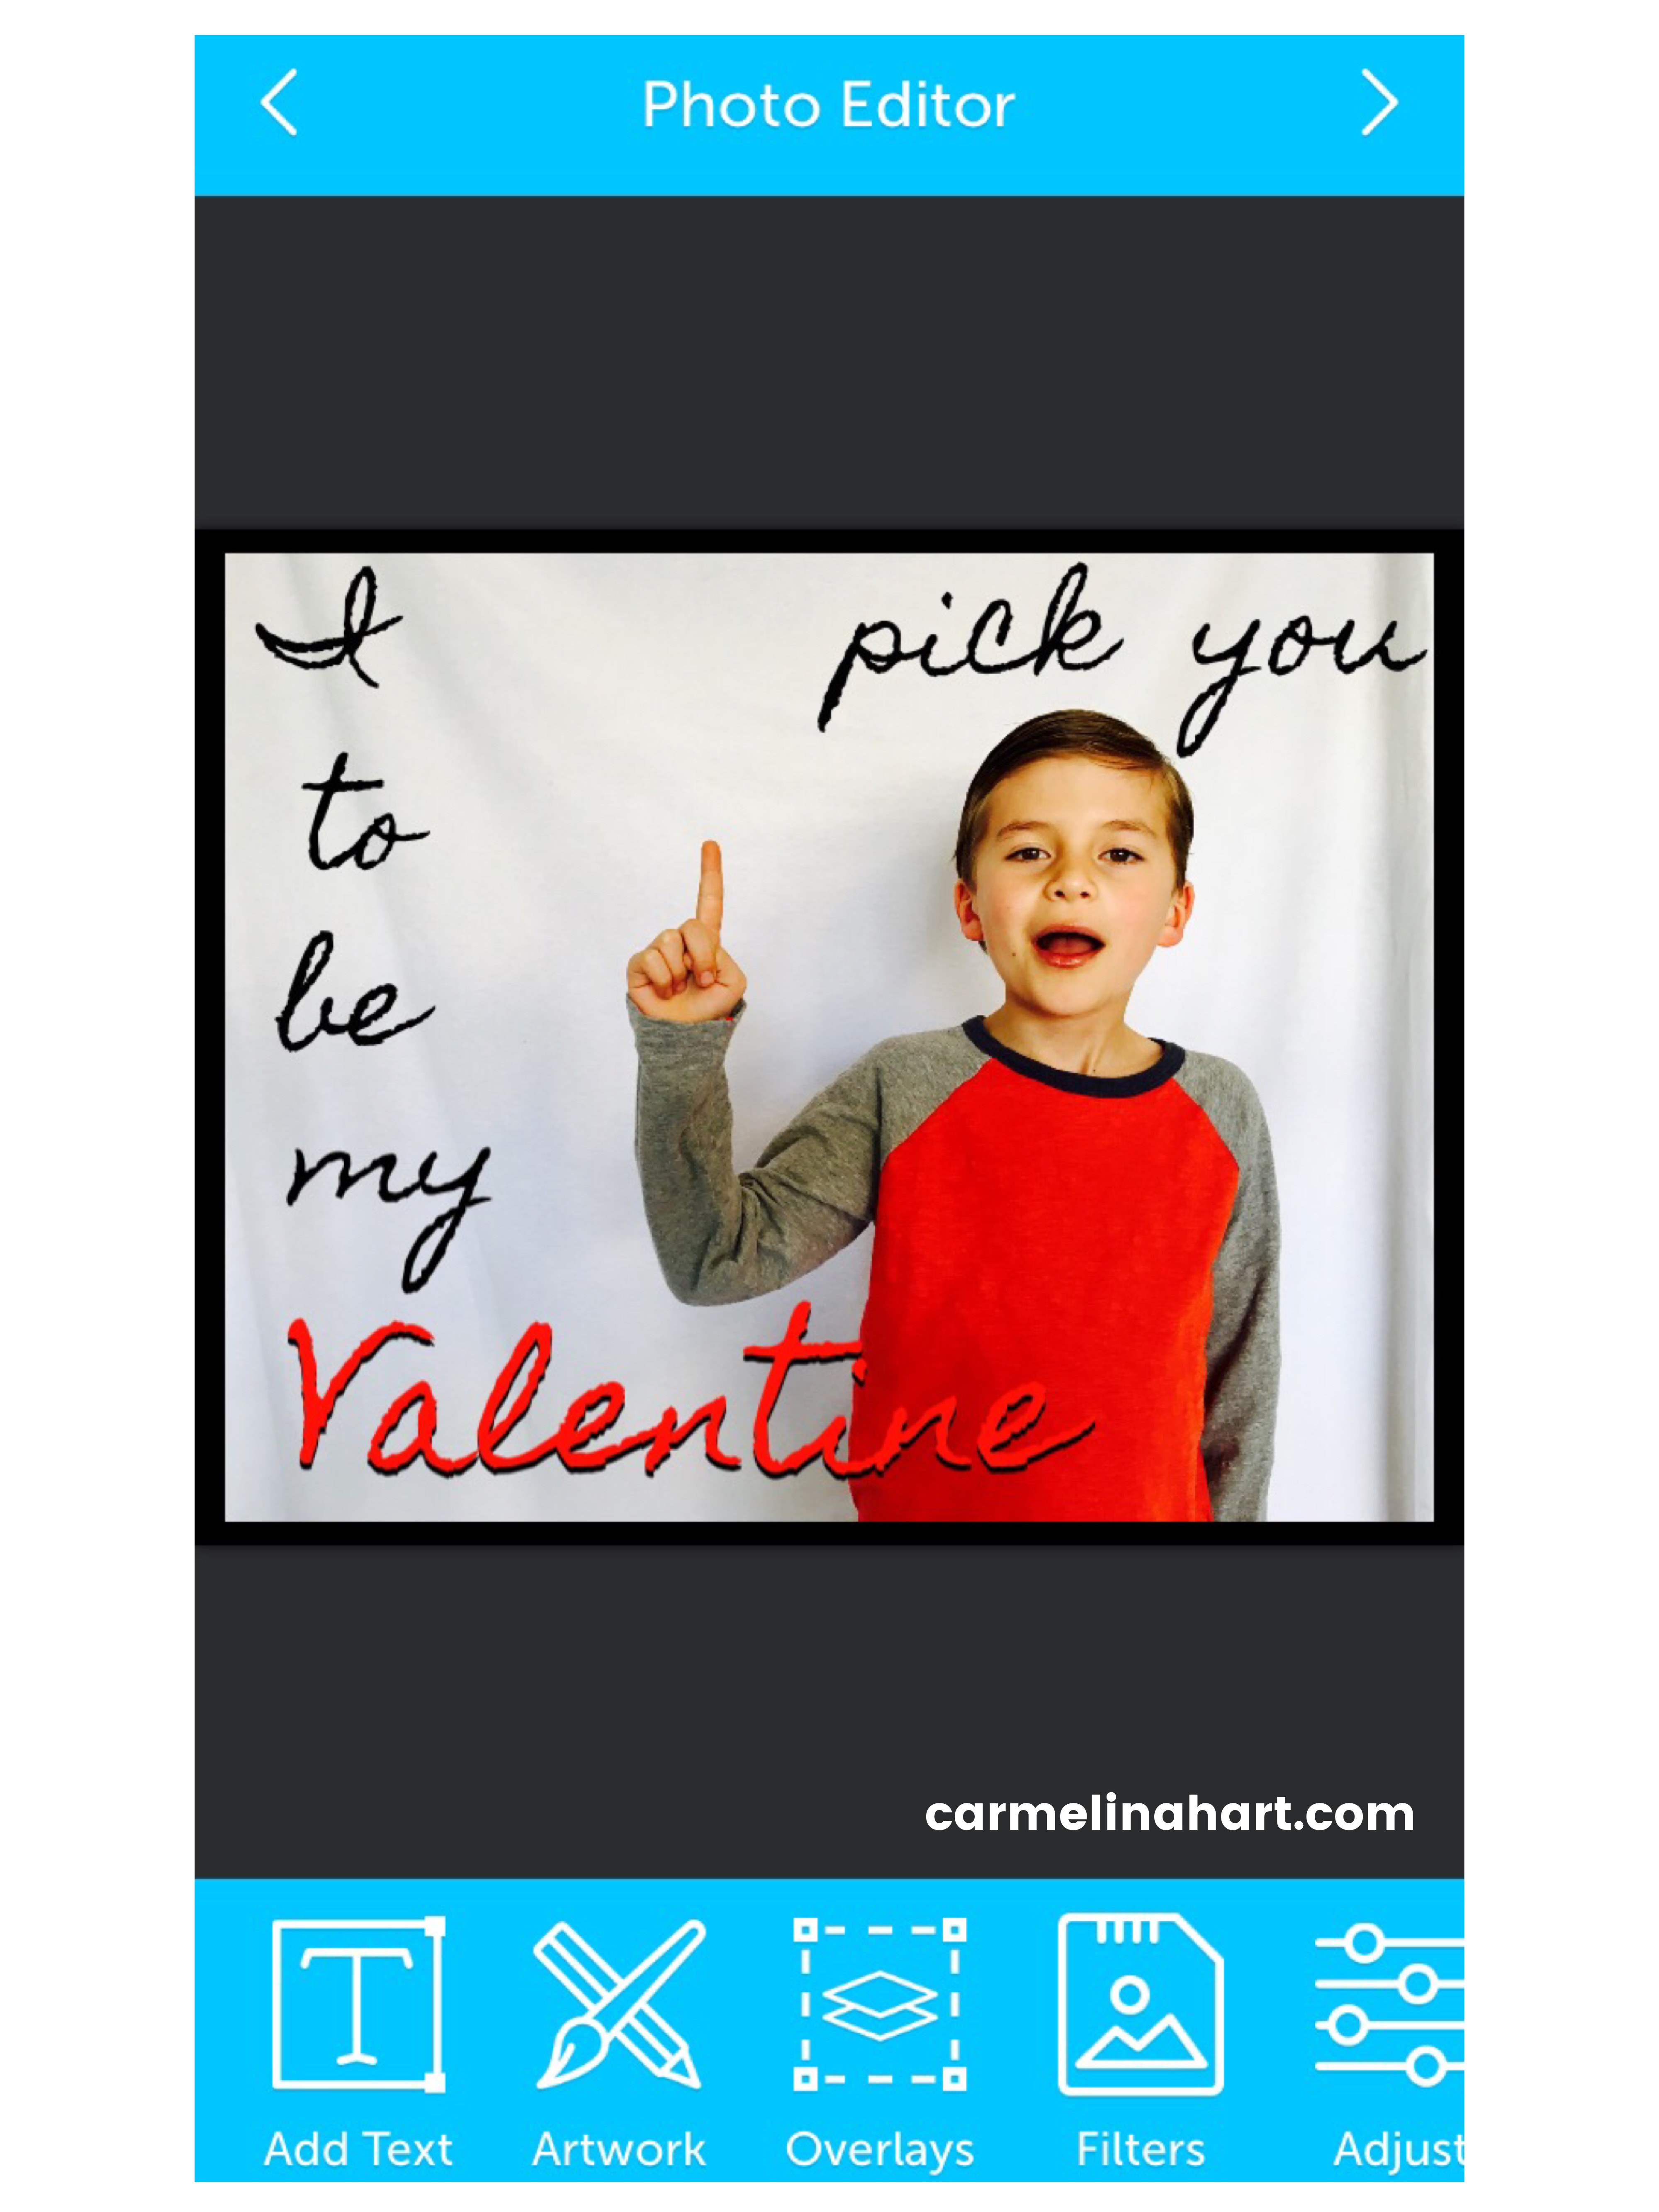
Step 3) We printed the cards at about 5” x 6” two to each sheet of paper and cut them to size. You can also have them printed fairly inexpensively at places like Costco. 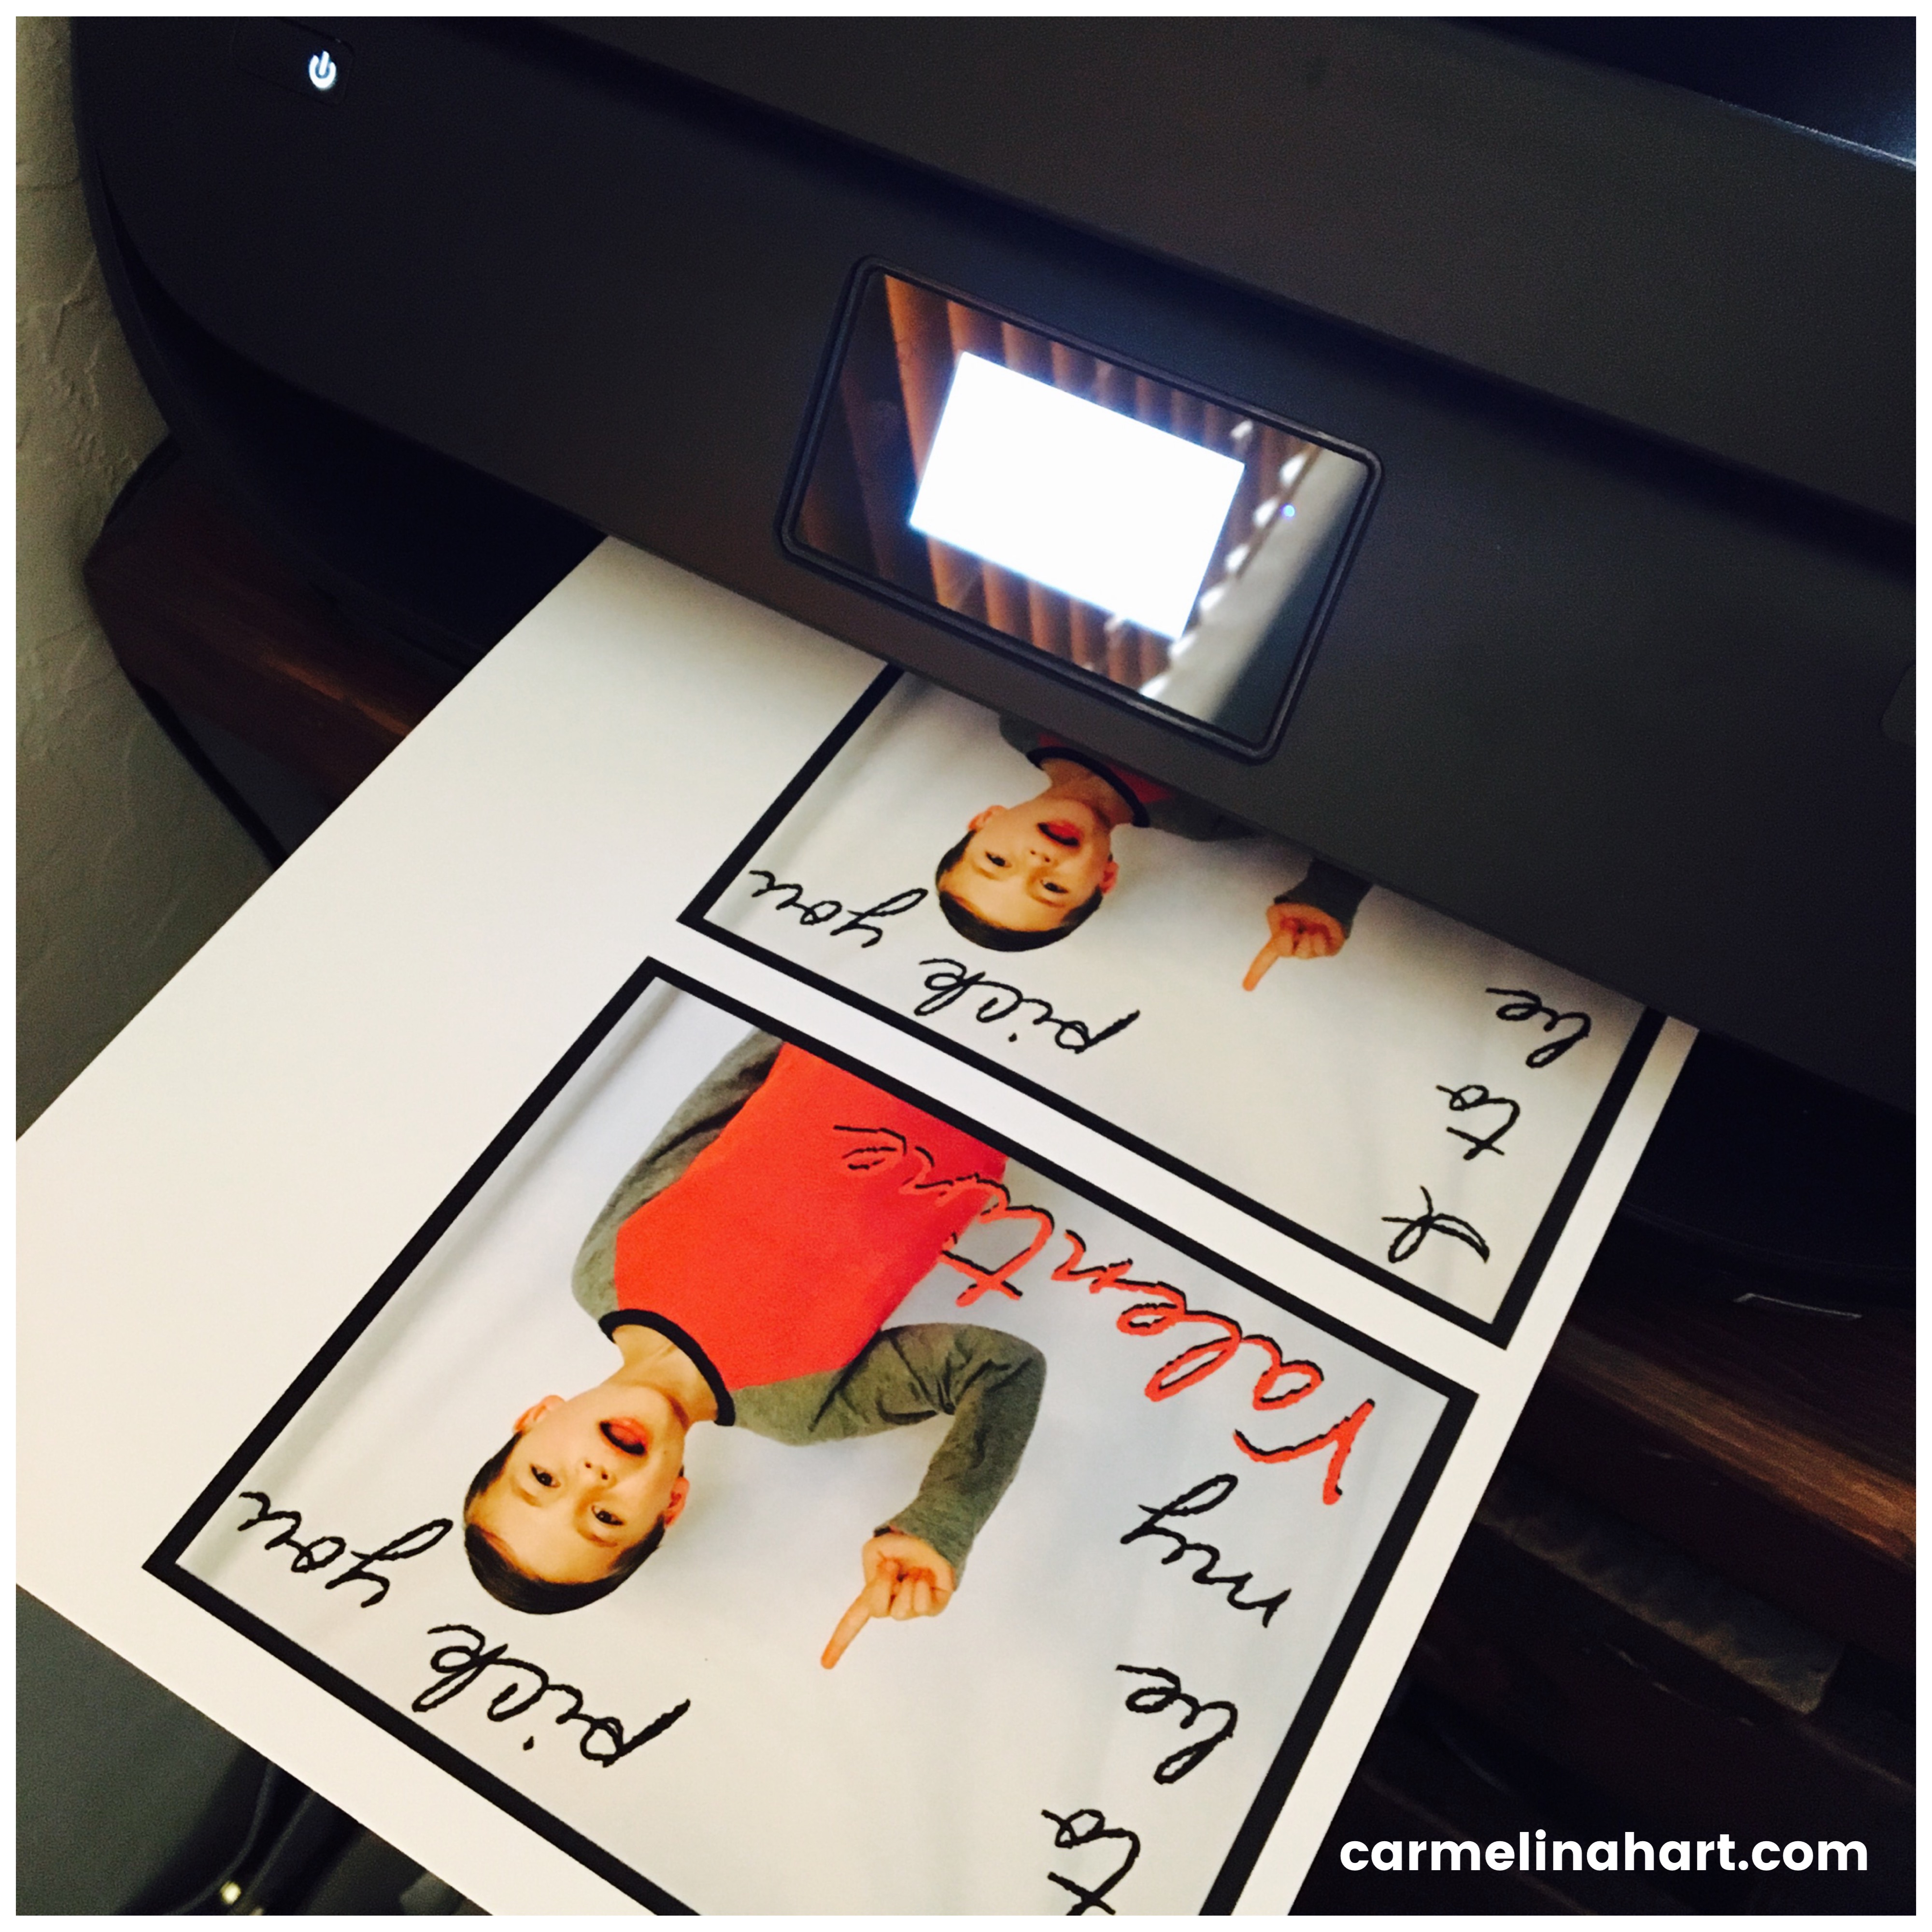 Step 4) He wrote the names of each of his friends in class, on the back of the cards.
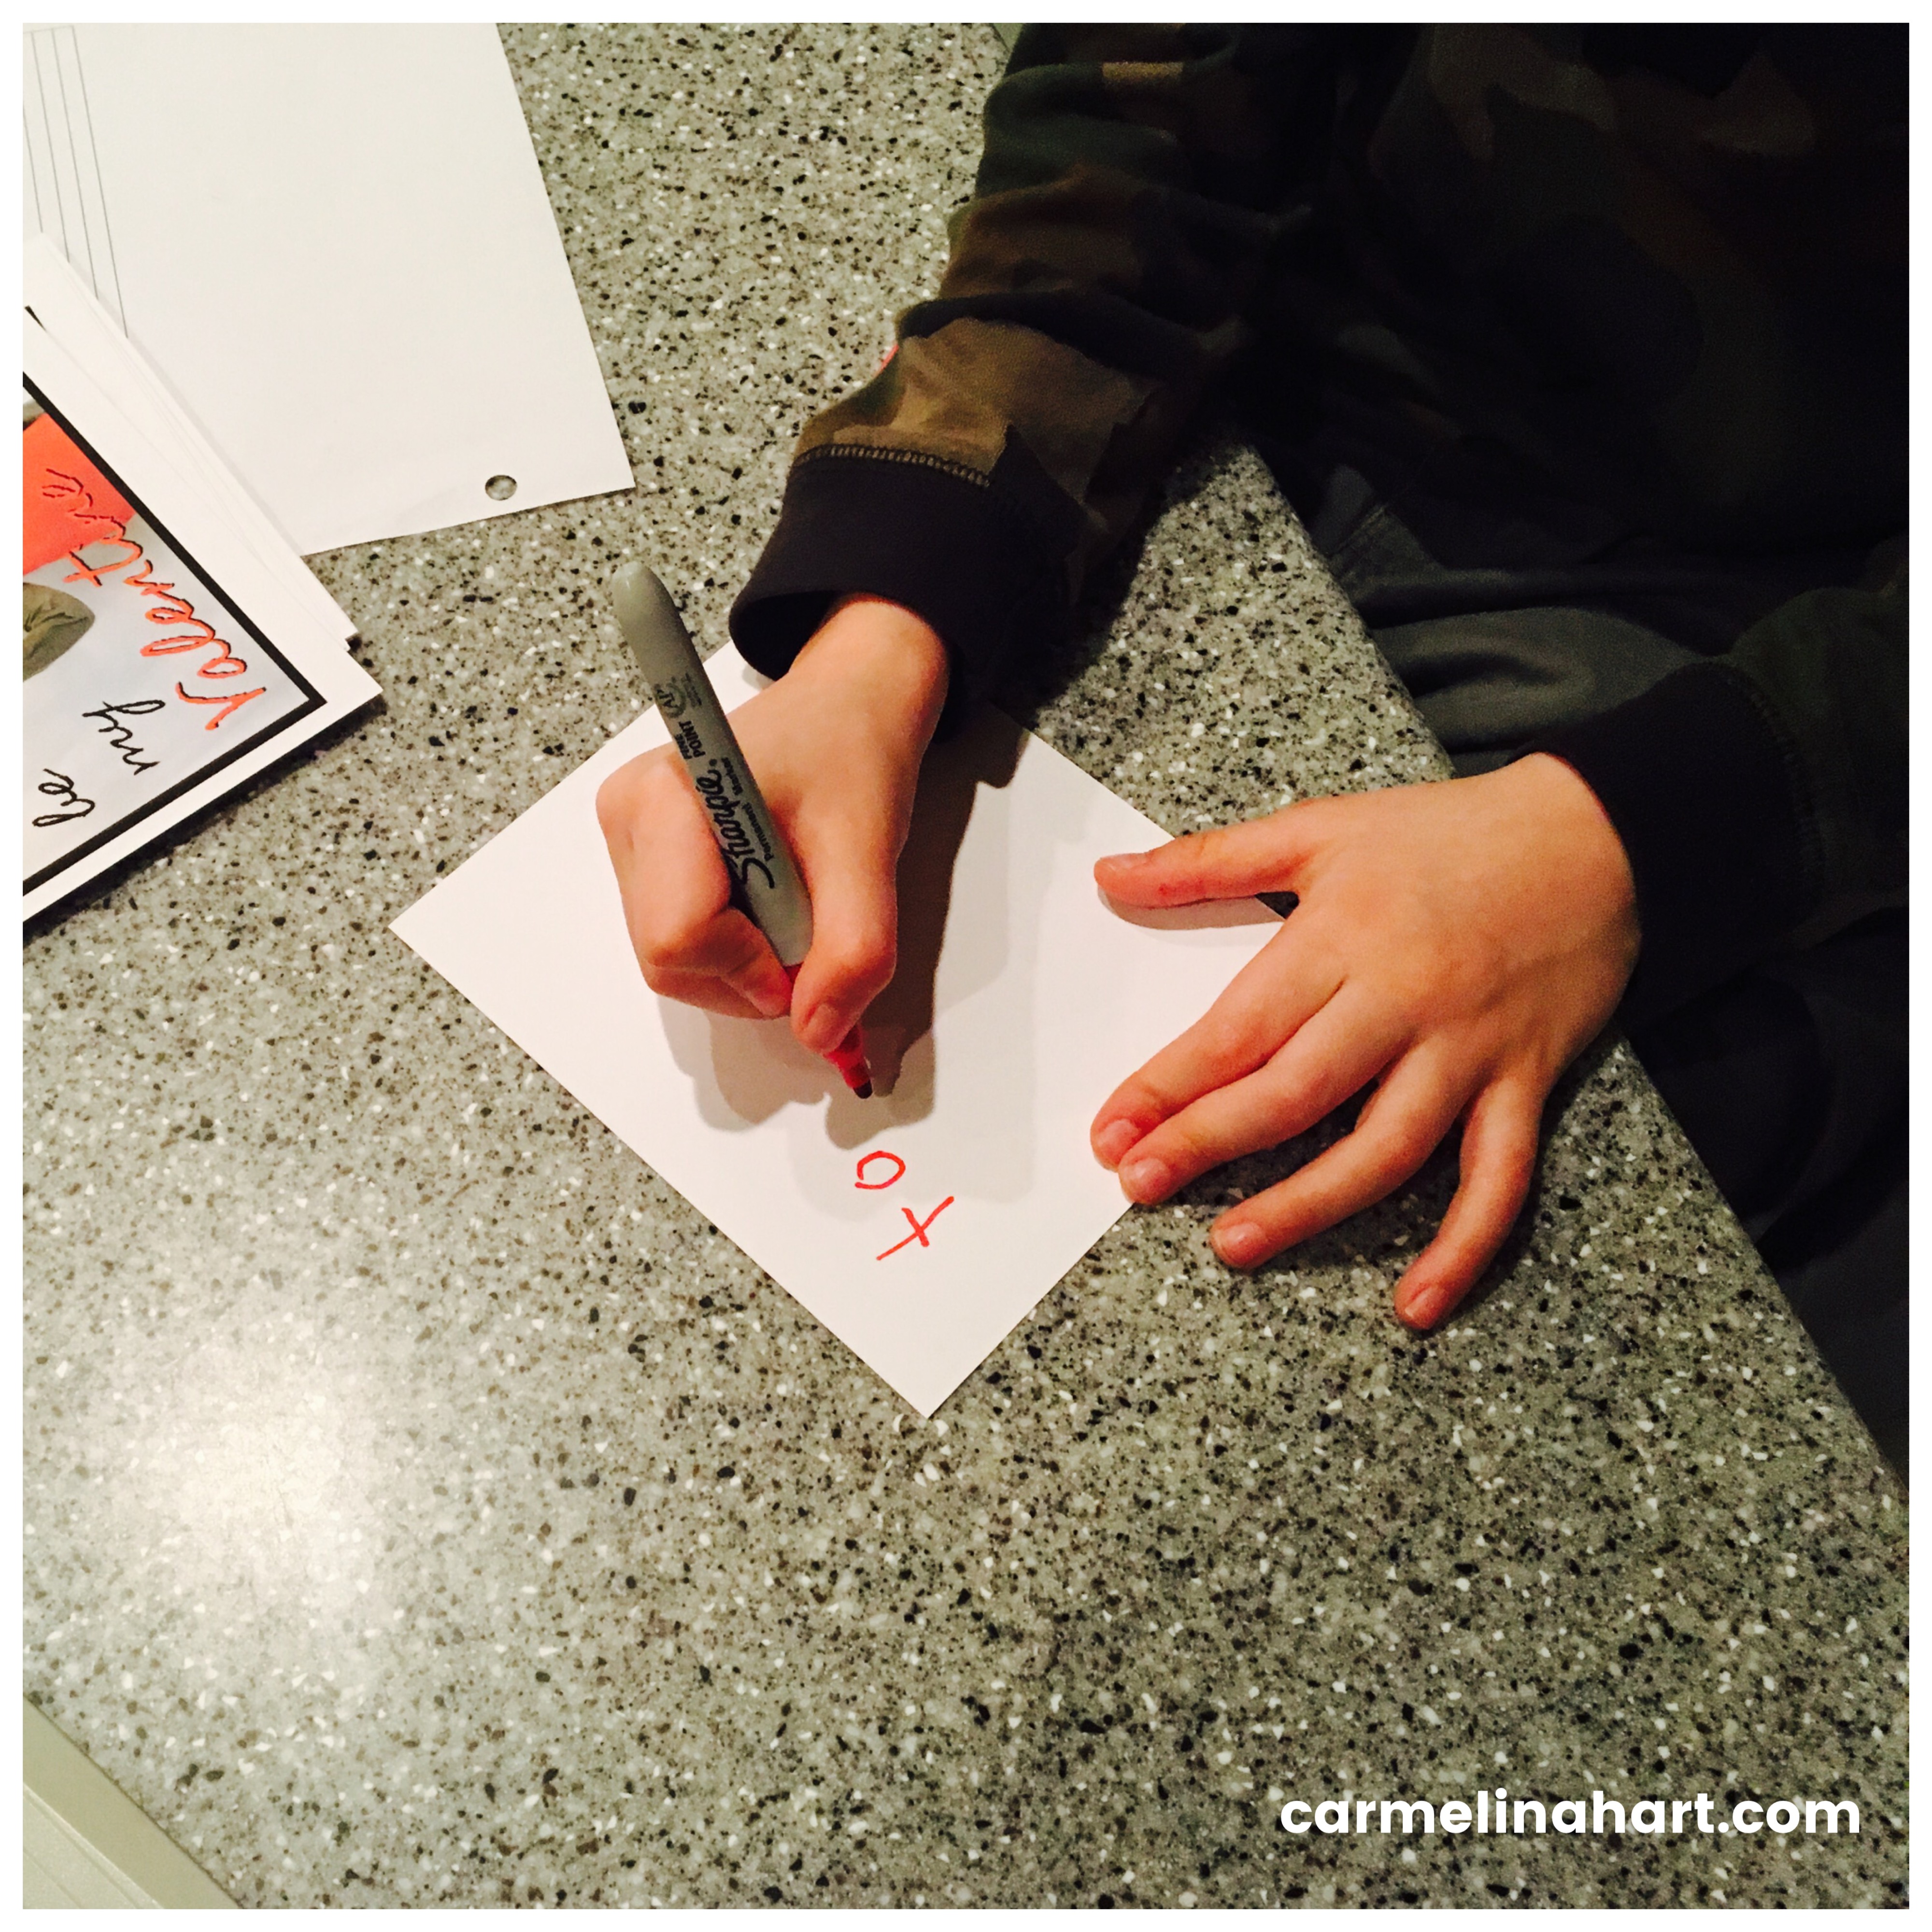
Step 5) Then he glued each small bag of gummy boogers to the tip of his finger on the card. I promise, it was glue!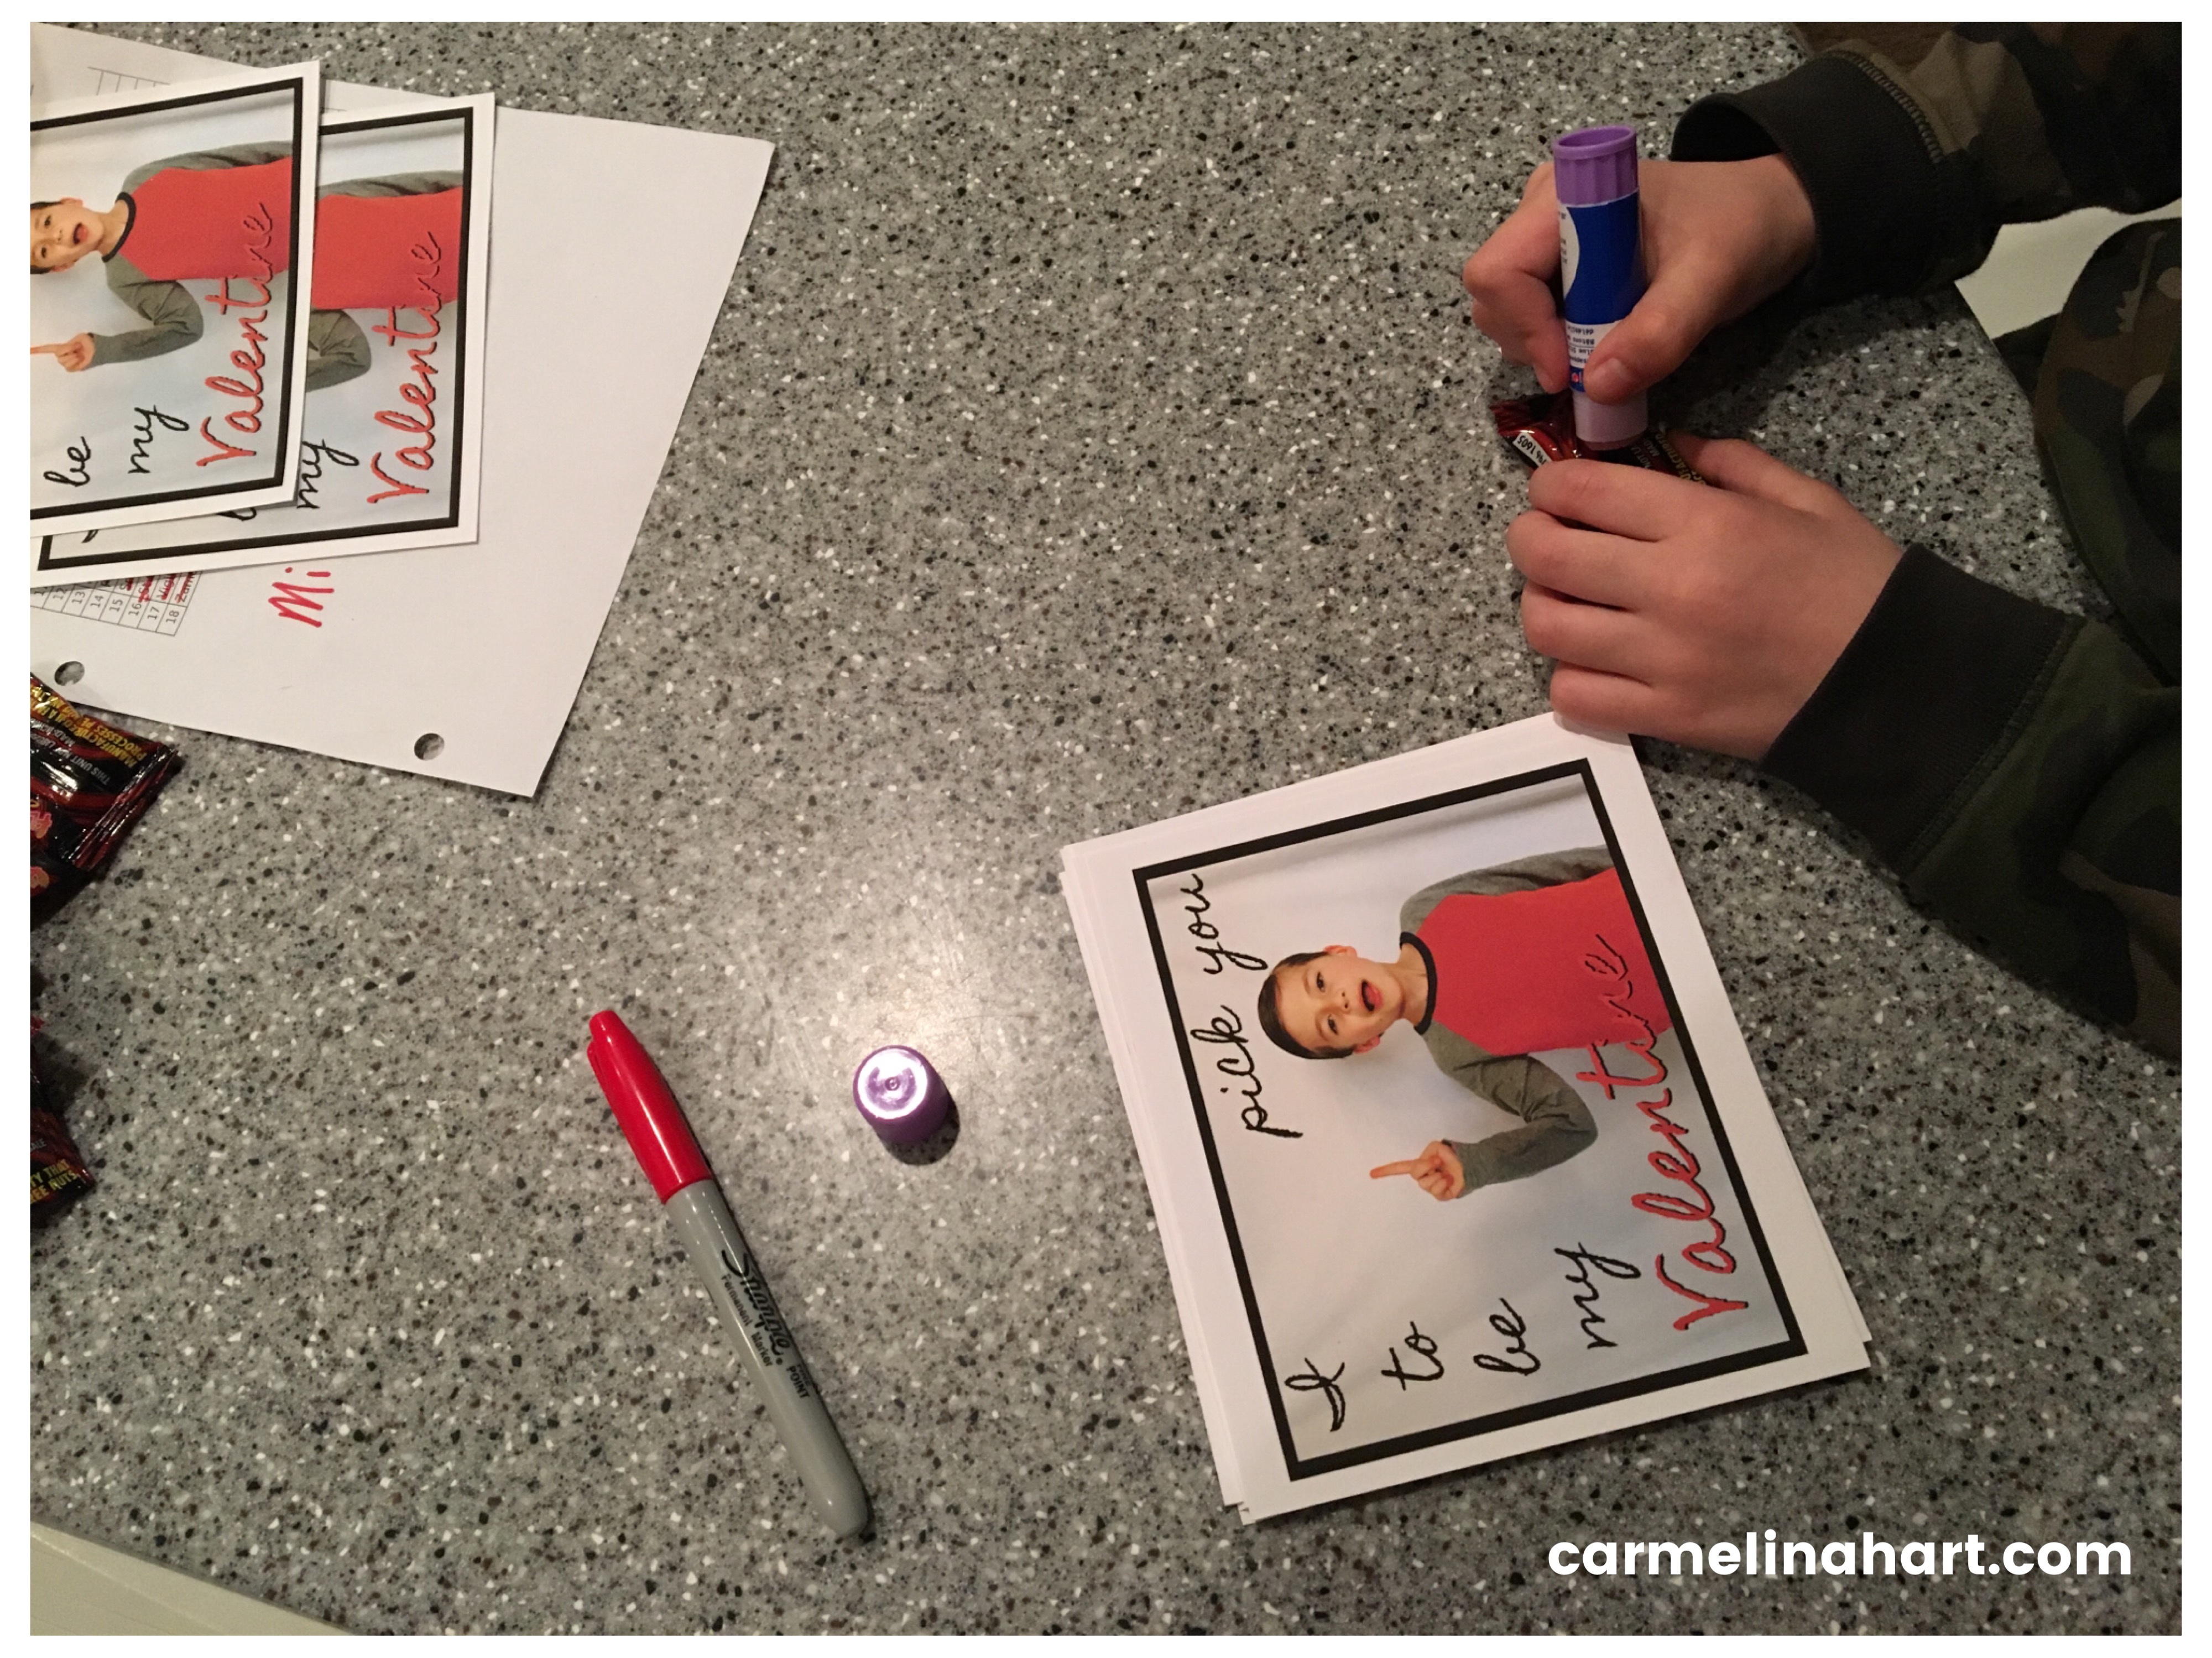
Step 6) We let them dry overnight.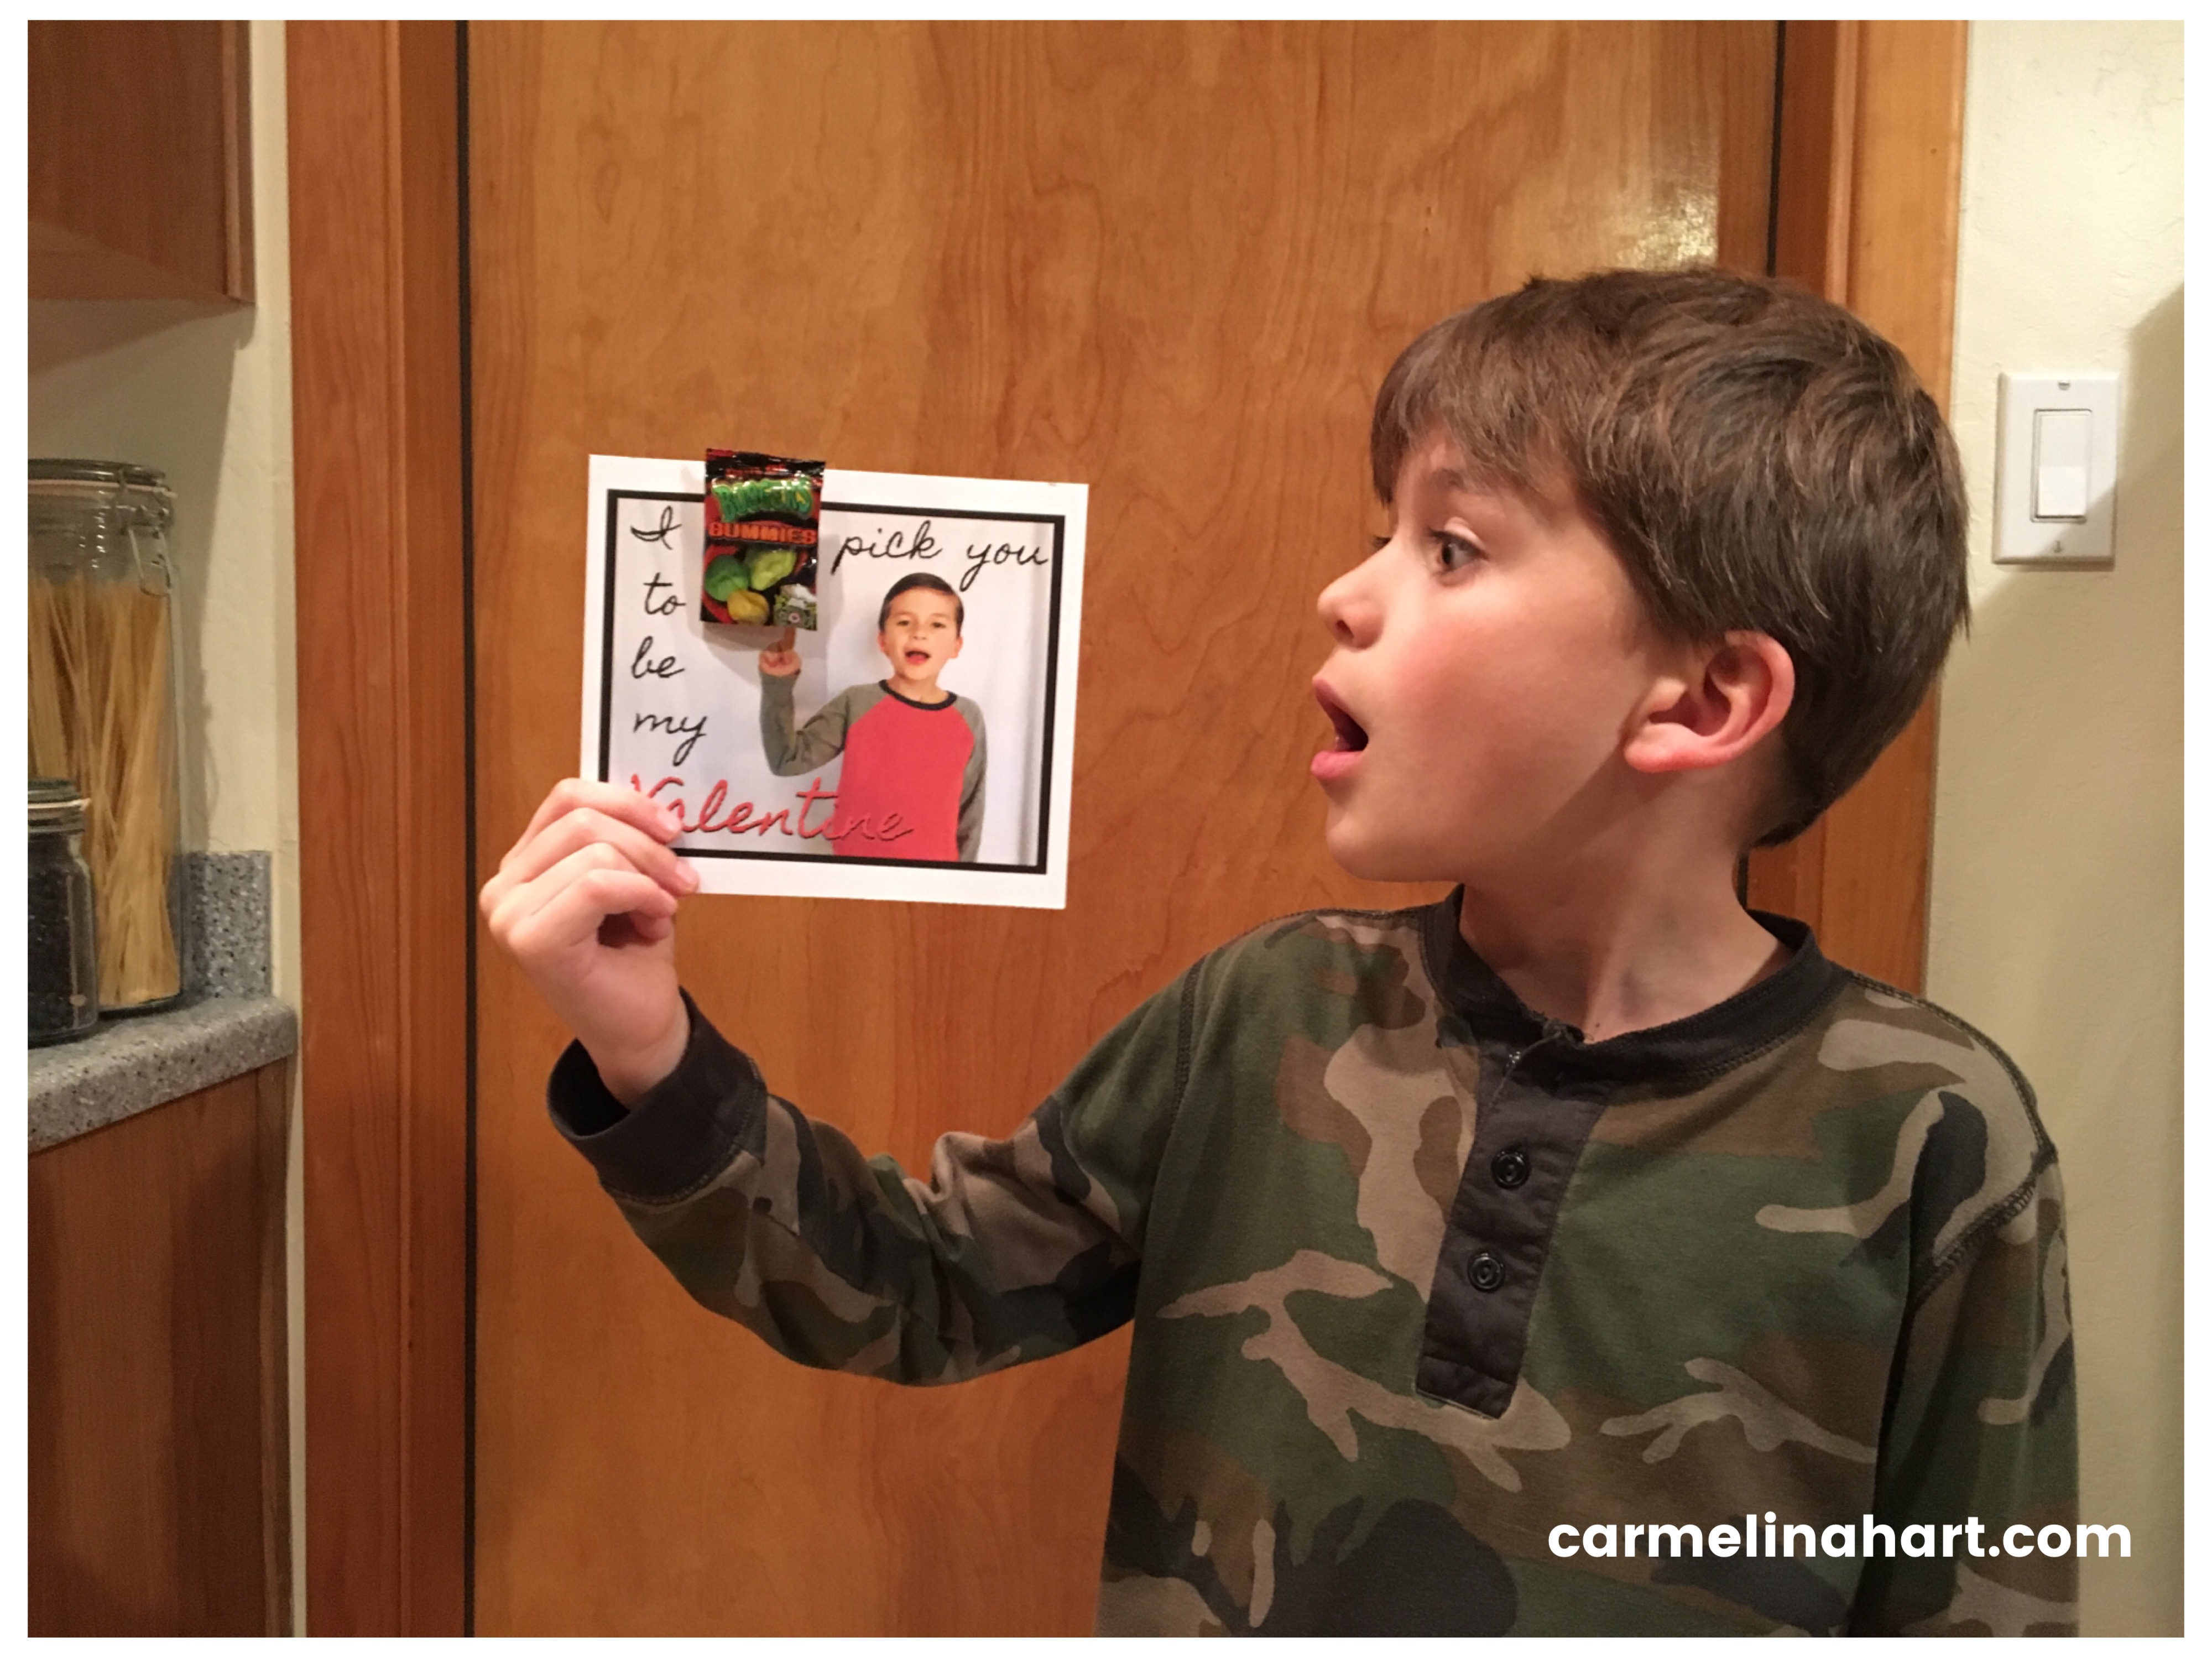 Azul, not wanting to get in trouble for being a little snot, decided to pick one for the teacher too. Good call!
Fish Kisses For Valentine’s Day!

Something is fishy this year for Valentine’s Day, and your kids and the “school” are going to love it! And really, so will you because it is super easy and cute.
What you need:
Goldfish crackers
Colored card stock or paper
Treat bags with ties
A Writing utensil and Scissors
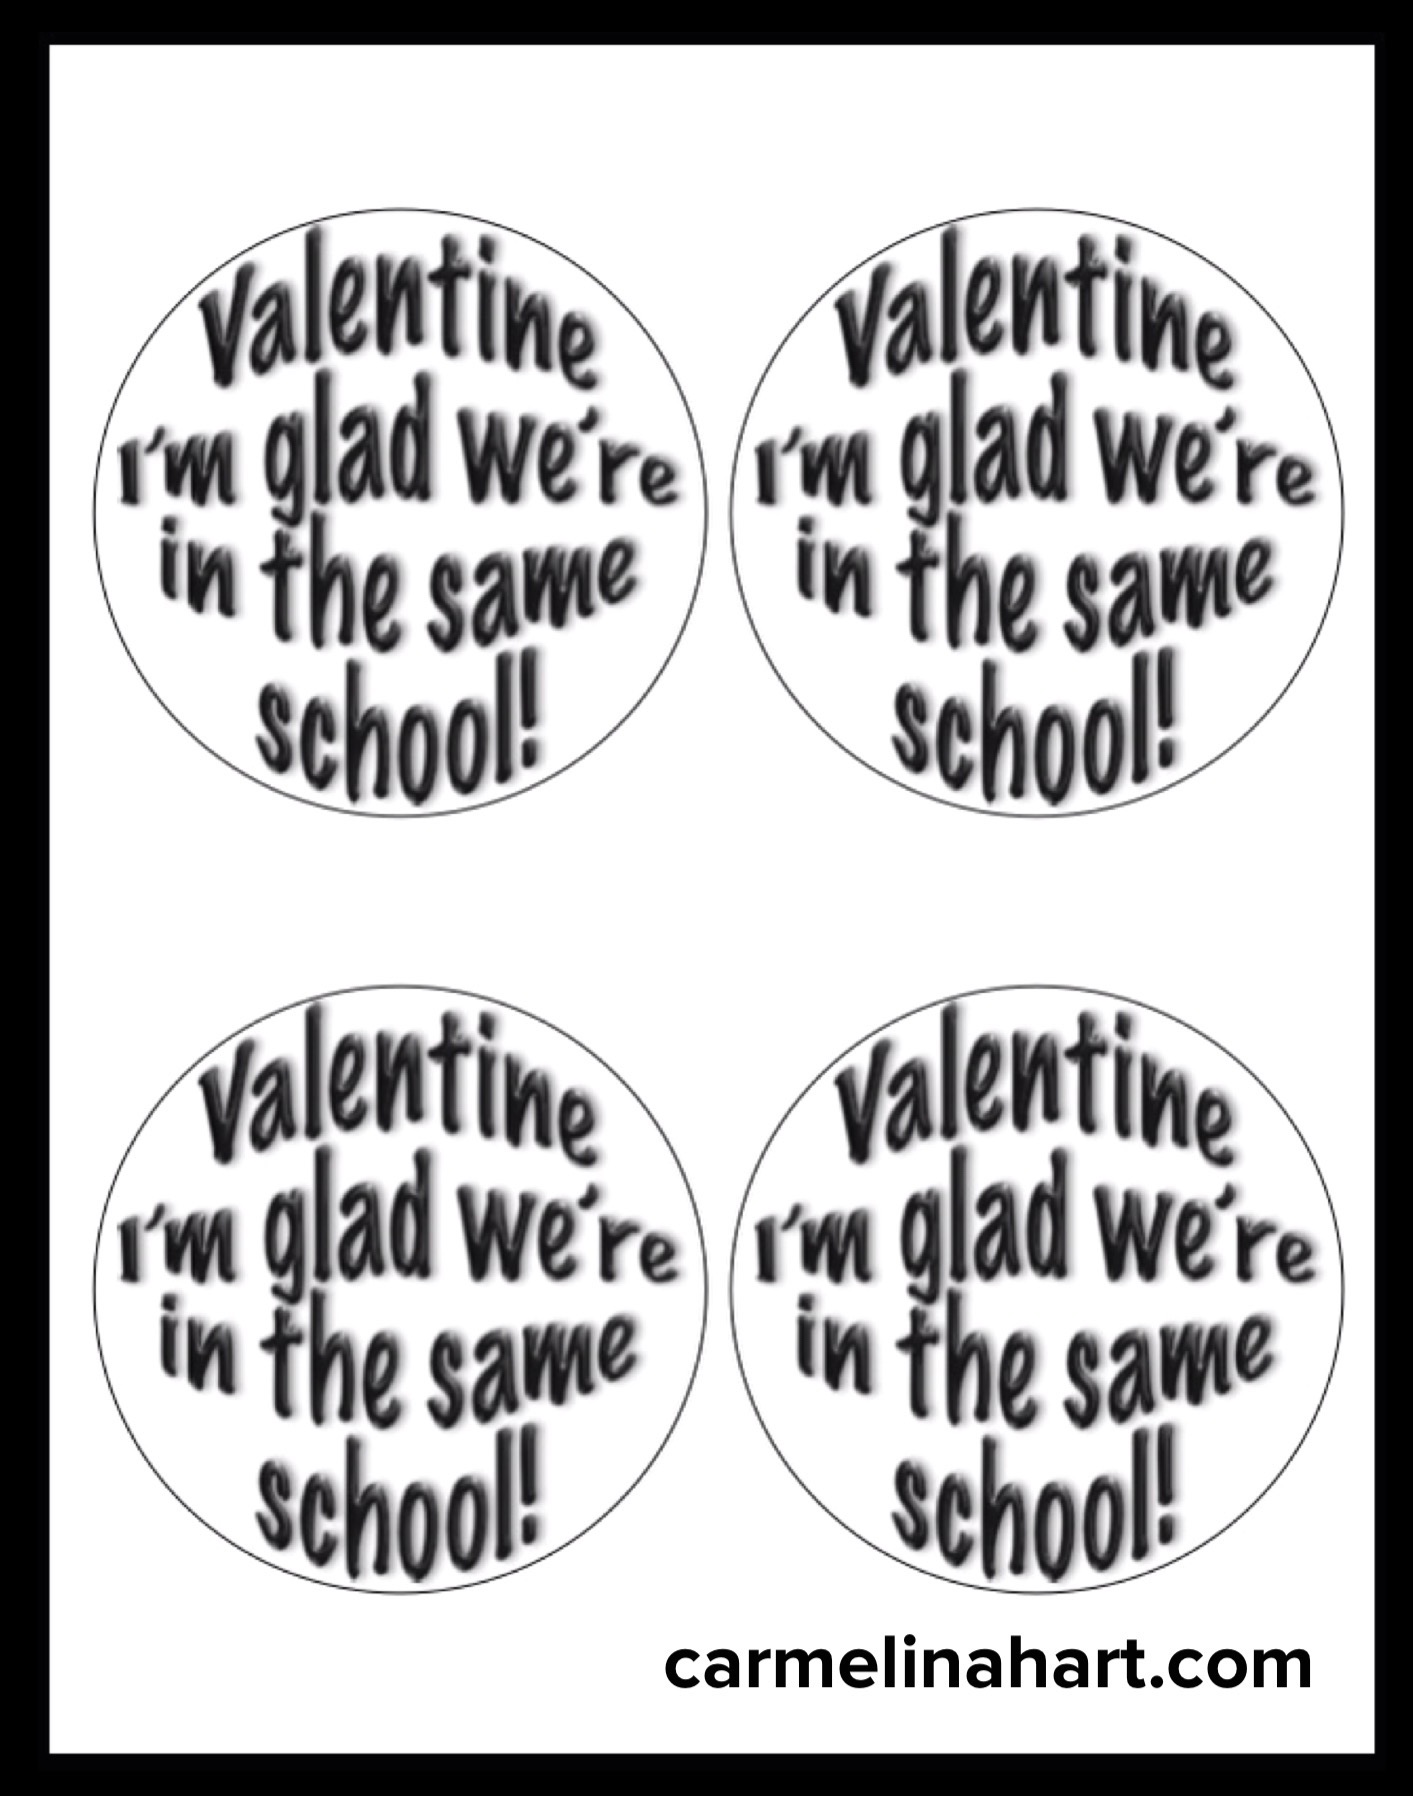
Template for the fishbowl cards

Step 1 – Print out the fishbowl cards on colored paper using the template below. Yup, super easy!
Step 2 – Have your child cut out each fishbowl. It doesn’t need to be perfectly cut out, after all they are just kids.

Step 3 – Now your child can write “To and From” on them. We wrote the names on the back. It was just easier that way.

Step 4 – Insert the cards into the treat bags and have your child fill them with a handful of Goldfish. Their little hands are the perfect size for a kids-sized snack!

Step 5 – Secure the bags with a twist tie. You are done.

I love the simplicity of these cards and who doesn’t love a good fish story.
Happy Valentine’s Day!
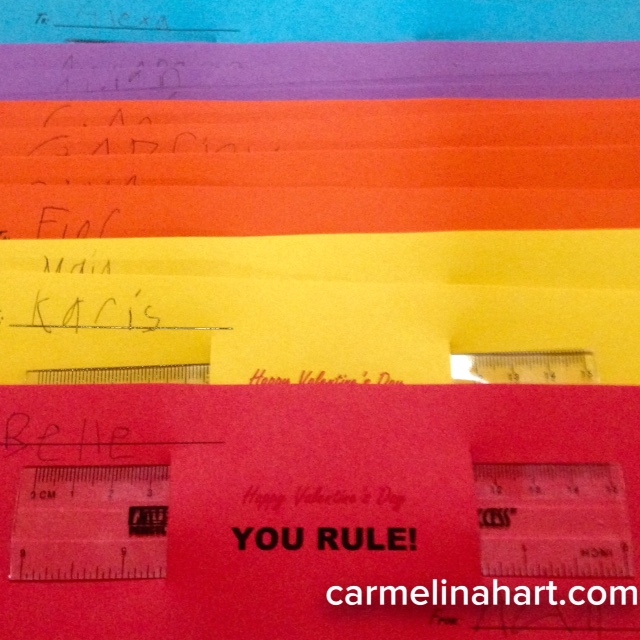
Kids Valentine’s Day Cards That Rule!
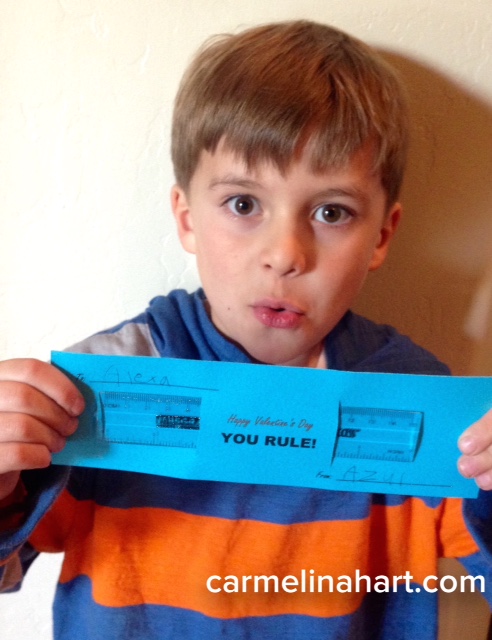
These Valentine cards will be the envy of the other parents in your child’s class and the kids will like them too. And in reality, parental envy is why we put any effort into out-of-class projects.

What you need:
1) Colored card stock 8 ½ x 11.
2) 6 inch rulers. (One for each card you intend to make.)
3) Scissors and a paper-cutter. (Scissors alone will suffice, the paper makes long cuts easier.)
4) The ability to print or hand write your super cool cards.
5) If you don’t have one of the supplies on the list, just wing it. After all, they’re just kids.
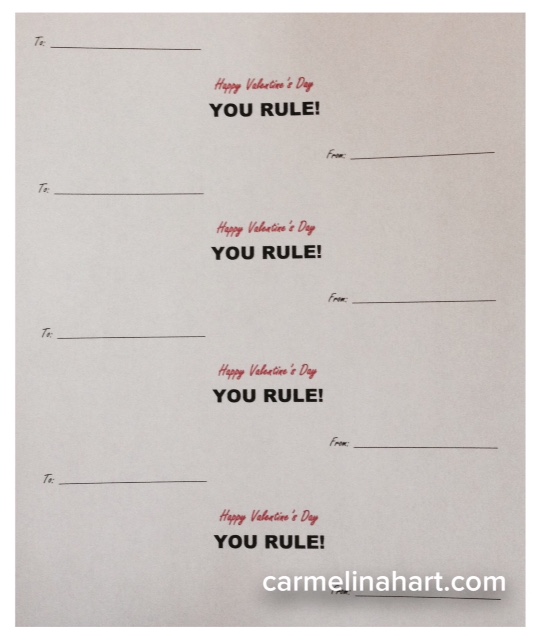
Step #1 – Print or write out your greeting, you can use the PDF above or write them by hand. Make four cards on each piece of card stock and print a few extras, just in case. If you leave the “To” and “From” blank, this will allow your child to write their friend’s names and their own name as well. Sometimes it takes kids a while to write, don’t panic, just get a glass of wine and relax. Warning: the next step involves scissors, so don’t get carried away with the “relaxing.”

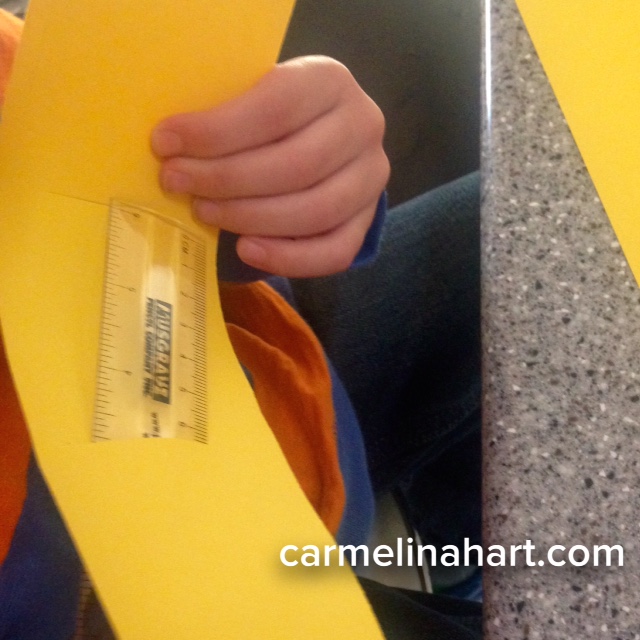
Step #2 – Once your child is done writing out the names, cut each card horizontally, separating the four cards. Next, you need to cut two vertical cuts on each side of the center greeting, about an inch and a half long. This will give you enough room to weave the ruler through the card. Your child’s small fingers are perfect for this job. There are no more sharp tools at this point if you want to “relax” a little more.
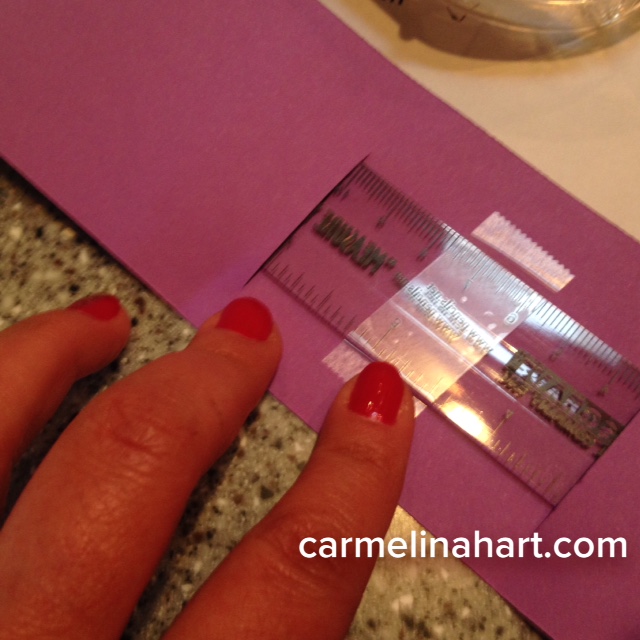
Step #3 – Last, place a small piece of tape on the back side of the card and ruler to hold the ruler in place.
All done, these cards really do rule. And so do you!
Happy Valentine’s Day and have fun.
