Jam On It!
Every parent knows how important jelly is to a child (I mean who doesn’t love peanut butter and jelly sandwiches?), and when you run out of the sweet nectar of the gods, your child and your own inner child scream like Luke Skywalker does when he learns Darth Vader is his father. Nooooo!

In order to avoid the PB&J meltdown all you have to do is make your own and store it in the pantry. Yeah, Darth Vader has nothing on you! The ingredients are few, but the time it will take may seem like forever, so give yourself a couple of hours for this project, and although there are things your child can do, don’t be surprised if you are left working alone at times. Also very important is naming your jam, this should not be taken lightly, or you can just let your kid do it. Lighten up, it’s just jam.
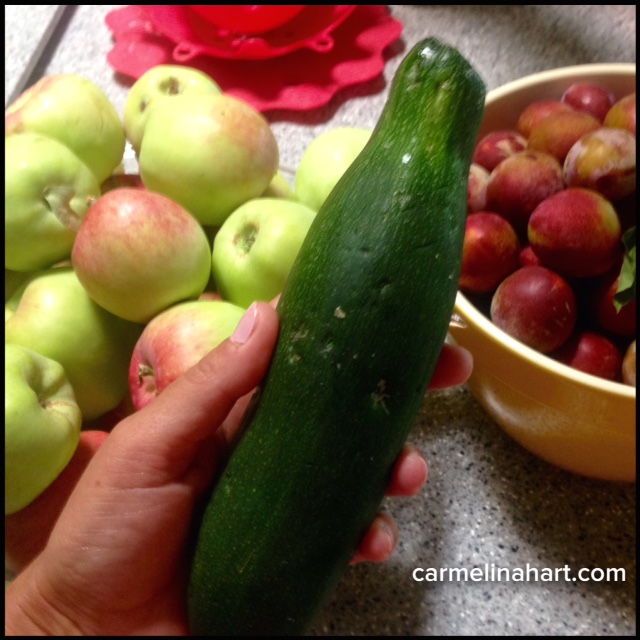
Step 1 – The first thing you need to do is obtain the fruit. For this recipe, we have used a combination of plums and apples. I’m sure you can use almost any firm juicy fruit. Really, no bananas or melons, come on. We started by trading with our neighbors, our squash for their plums and apples. Our bartering was successful, we ended up with a lot of fruit, and now ready to make jam.
 Ingredients:
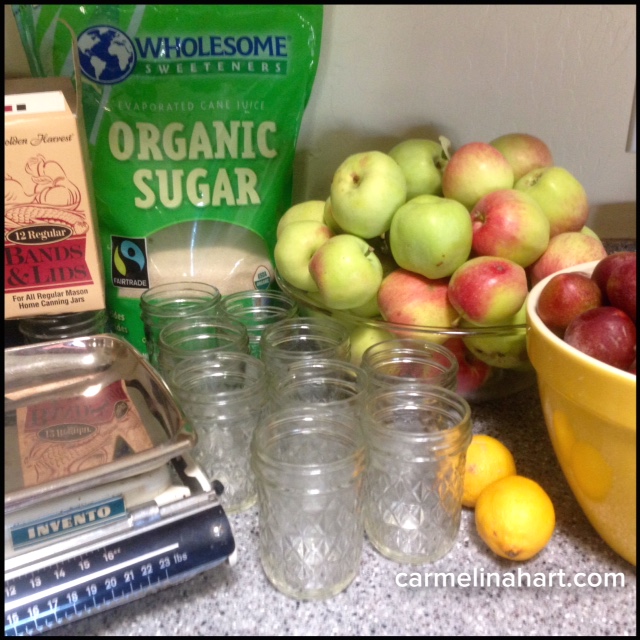
6 pounds of fruit
3 lemons
6 cups of sugar
1 cup of water
canning jars and lids
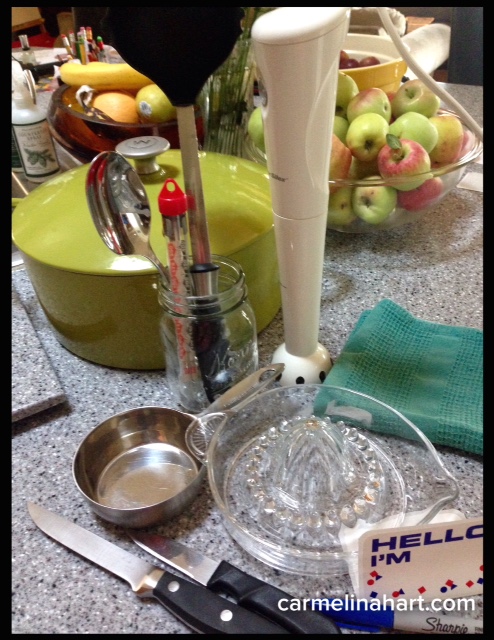 Other things you may need:
scale
large pot
immersion blender
spoon
ladle
knives
thermometer
juicer
labels and marker
extra dish towels
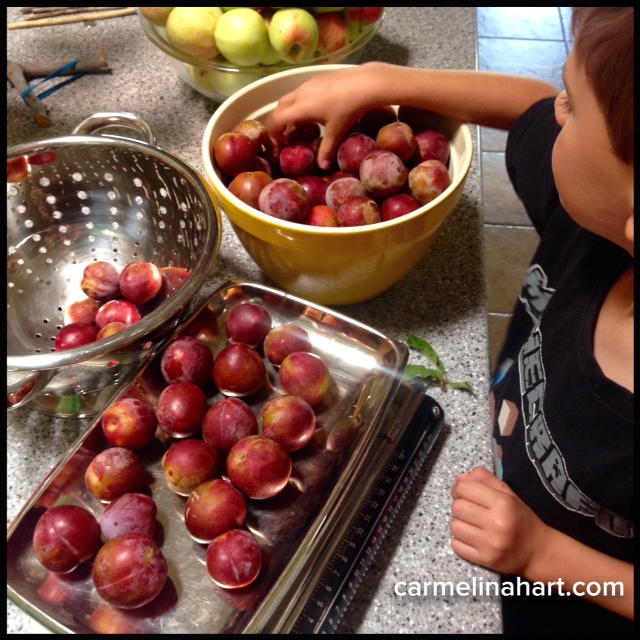
Step 2 – Sort and weigh the fruit. This is a perfect job for your young assistant. Azul loved it.
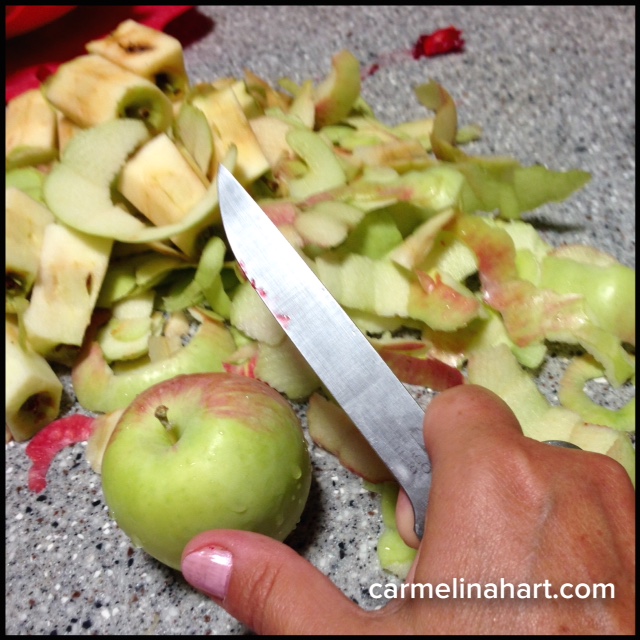
Step 3 – With your child busy with a job, you can juice the lemons and zest one lemon. Then prep the fruit. Wash, peel and core or pit whatever fruit you were able to pick, buy or trade. This job, because it involves a knife, may be best for an adult. Prepping takes some time and can be booor-rring!
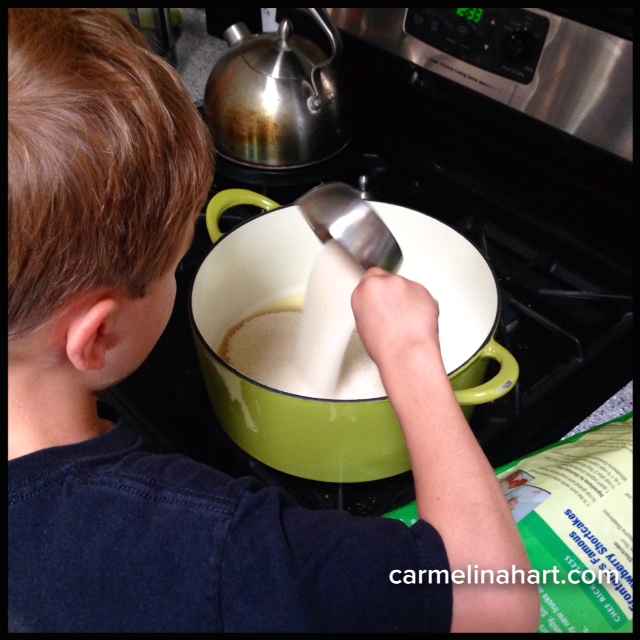
Step 4 – While you prep, your child can measure out the other ingredients and add them to the pot. Place the pot on the stove over low heat and add the peeled fruit. Cook on low heat and stir occasionally. Just remember low and slow, low and slow.
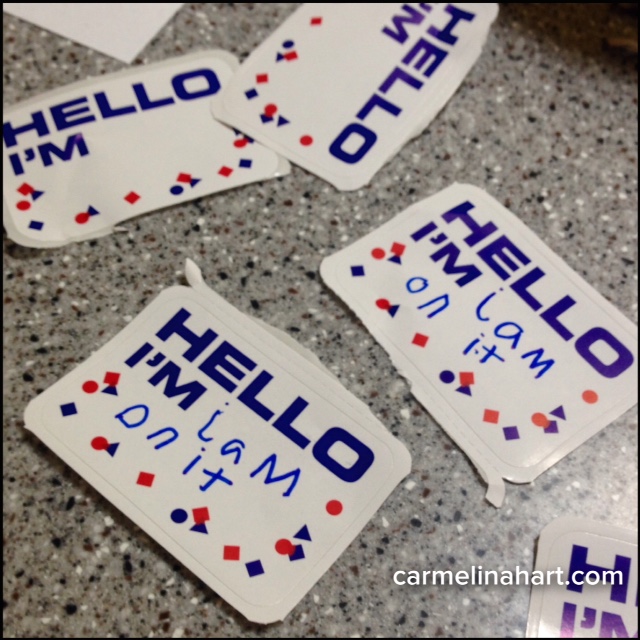
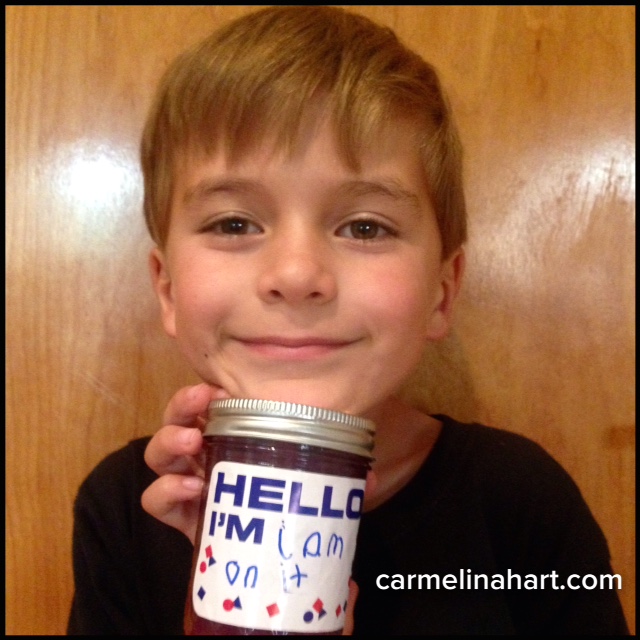
Step 5 – Have your child make the labels for the jars. You don’t have to do this, but it is super cute!

Step 6 – Once the fruit is cooked down, use a hand blender to blend any peels or large pieces to make it smoother. Now, turn the heat up to medium and bring to a boil, stirring constantly. Keep an eye on this hot liquid, there is so much sugar in it, it can burn easily.

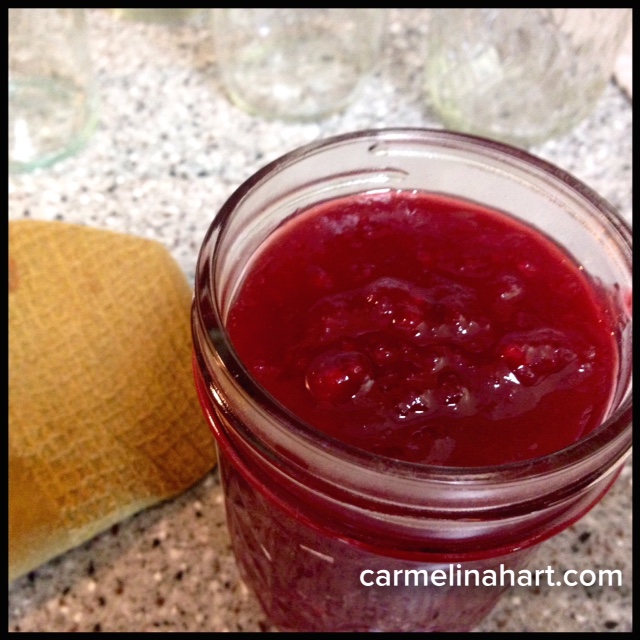
Step 7 – Cook to 220°, this is hot enough for the jam to set. Then turn off the burner and begin to ladle “the reason you are the best mom ever” concoction into the jars. Leave 1/4 to 1/2 inch of head space, tighten the lids, place the jars on their heads, and let them cool. There is no need to boil the jars, the heat from the jam will help the lids seal.
Step 8 – While the jars of jam cool, you can clean up. Yeah! Once the jars are cooled, stick the labels on the jars and place in a cool dry place or in the refrigerator to chill.
After all our work, my six year-old said, “I think it’s cool we make our own jam.” And because I am a child of the 80s, enjoy … and Jam On It!
